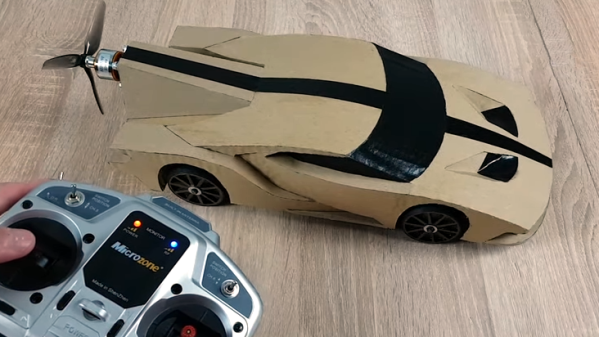
 [Kryzer Channel] takes making a DIY RC car to a whole new level with this prop-driven electric car that is made almost entirely out of cardboard (YouTube video, also embedded below.) By attaching an electric motor with a push prop to the back of the car, [Kryzer] avoids the need for any kind of drive system or gearing. Steering works normally thanks to some scratch-built linkages, but the brake solution is especially clever.
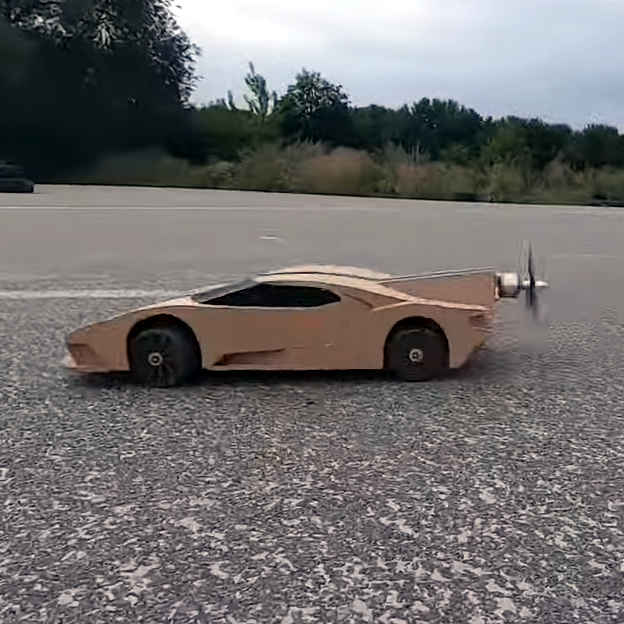
Braking is done by having a stocky servo push a reinforced stub downward, out of a hole in the center of the car. This provides friction against the road surface. After all, on an RC car a functional brake is simply not optional. Cutting the throttle and coasting to a stop works for a plane, but just won’t do for a car.
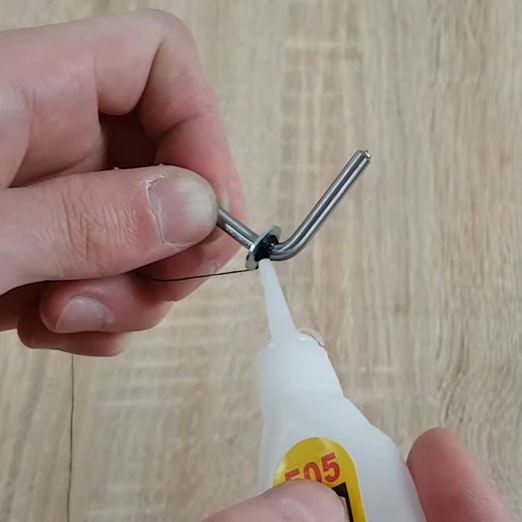
Layers of corrugated cardboard and hot glue make up the bulk of the car body, and some of the assembly techniques shown off are really slick and make the video really worth a watch. For example, the construction of the wheels (starting around 2:24) demonstrates making them almost entirely out of cardboard, saturated with CA glue for reinforcement, with a power drill acting as a makeshift lathe for trimming everything down. A section of rubber inner tube provides the tire surface and a piece of hard plastic makes a durable hub. Wraps of thread saturated in CA glue, shown here, is another technique that shows up in several places and is used in lieu of any sort of fasteners.
The well-edited video (embedded below) is chock full of clever assembly and construction. Unsurprisingly, this is not [Krazer]’s first cardboard vehicle: their video channel has other impressive cardboard models and racers to show off.
Continue reading “Prop-Driven Cardboard RC Car Doesn’t Skimp On Performance”


 To solve these problems, [theguymasamato] decided to design his own


