Hackaday Prize Entry: Industrial Servo Control On The Cheap

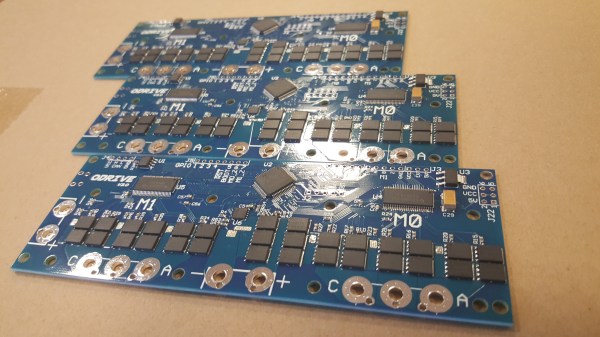
[Oscar] wonders why hobby projects ignore all the powerful brushless motors available for far less than the equivalent stepper motors, especially with advanced techniques available to overcome their deficiencies.  He decided it must be because there is simply not a good, cheap, open source motor controller out there to drive them precisely. So, he made one.

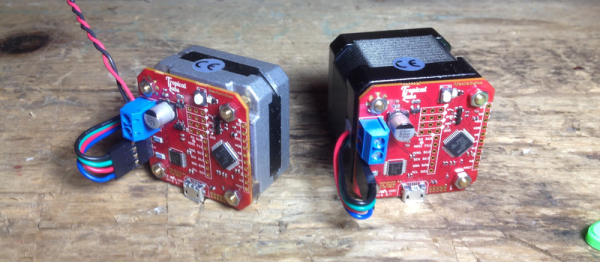
Stepper motors are good for what they do, open-loop positioning along a grid, but as far as industrial motors go they’re really not the best technology available. Steppers win on the cost curve for being uncomplicated to manufacture and easy to control, but when it comes to higher-end automation it’s servo control all the way. The motors are more powerful and the closed-loop control can be more precise, but they require more control logic. [Oscar]’s board is designed to fill in this gap and take full advantage of this motor control technology.

The board can do some pretty impressive things for something with a price goal under $50 US dollars. It supports two motors at 24 volts with up to 150 amps peak current. It can take an encoder input for full closed loop control. It supports battery regeneration for braking. You can even augment a more modest power supply to allow for the occasional 1 KW peak movement with  the addition of a lithium battery. You can see the board showing off some of its features in the video after the break.

Continue reading “Hackaday Prize Entry: Industrial Servo Control On The Cheap”

Video Gives You The Basics Of DIY Rotary Encoders

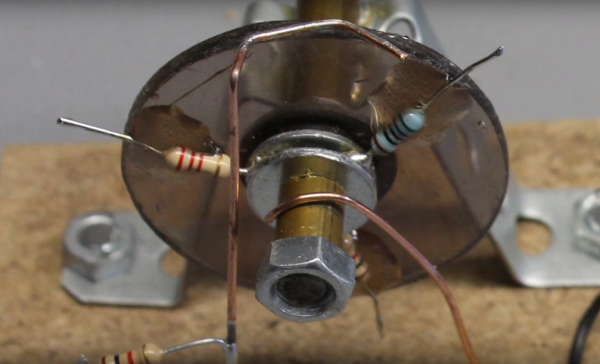
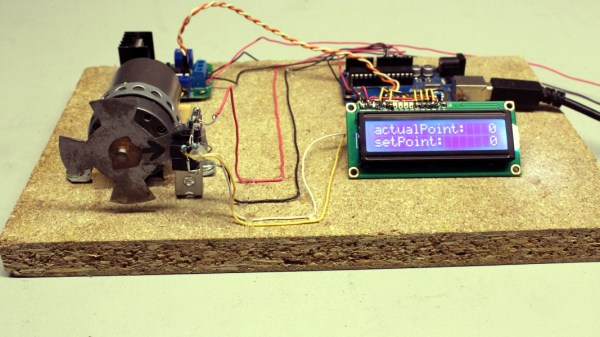
Is it really possible to build a rotary encoder out of a flattened tin can and a couple of photodetectors? Sure it’s possible, but what kind of resolution are you going to get from such a contraption? Is there any way that you’d be able to put them to work in a DIY project like a CNC router? If you pay attention to the basics then the answer is yes, and [HomoFaciens] wants to prove that to you with this detailed video on homebrew encoder design.

Faithful Hackaday readers will no doubt recognize [HomoFaciens] from a number of prior appearances on these pages, including this recent hardware store CNC router build. When we first ran across his builds, we admit a snicker or two was had at the homemade encoders, but if you watch the results he manages to get out of his builds, you quickly realize how much you can accomplish with very little. The video is a primer on encoder design, walking you through the basics of sensing rotation with phototransistors, and how a pair of detectors is needed to determine the direction of rotation. He also discusses the relative merits of the number of teeth in the chopper; turns out more isn’t necessarily better. And in the end he manages to turn a car wiper motor into a high-torque servo, which could be a handy trick to have filed away.

Continue reading “Video Gives You The Basics Of DIY Rotary Encoders”

USB Volume Control

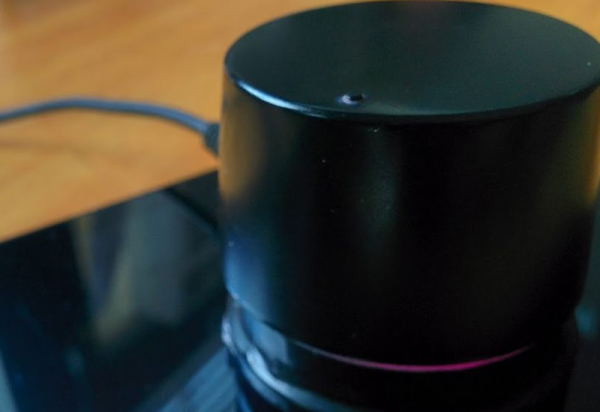
If you buy expensive computer speakers, they often have a volume knob you can mount somewhere on your desk so you aren’t dependent on the onboard volume control. [Kris S] decided to build his own version of the remote volume control. Not surprisingly, it uses an Arduino-compatible Digispark board and a rotary controller. The Digispark (that [Kris S] bought for $2) is compatible with the Adafruit Trinket. This is key because the Trinket libraries are what make it easy to send media keys over the USB (using the HID interface) to control the volume.

Really, though, the best part of the build is the good looking knob made out of a pill bottle (see the video below). The micro Digispark is small enough to fit in the lid of the pill bottle, and some wax and pellets add some heft to the volume control. Continue reading “USB Volume Control”

Prevent Failed Prints With A Filament Speed Sensor

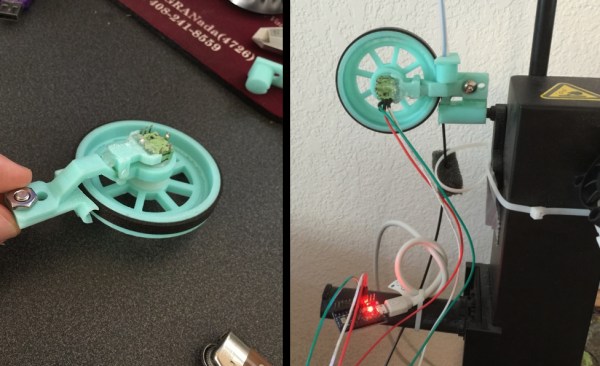
If you have used a 3D printer for any length of time, you’ve probably experienced a failed print caused by a clogged nozzle. If you’re not around to stop the print and the nozzle stays hot and full of filament for hours, the clog gets even worse. [Florian] set out to solve this issue with an encoder that measures filament speed, which acts as an early warning system for nozzle clogs.

static1.squarespace.com[Florian] designed a small assembly with a wheel and encoder that measures filament movement. The filament passes under the encoder wheel before it’s fed into the 3D printer. The encoder is hooked up to an Arduino which measures the Gray code pulses as the encoder rotates, and the encoder count is streamed over the serial port to a computer.

When the filament slows down or stops due to a nozzle clog, the Python script plays a notification sound to let you know that you should check your nozzle and that your print might fail. Once [Florian] works out some of the kinks in his setup, it would be awesome if the script could stop the print when the nozzle fails. Have any other ideas on how to detect print failures? Let us know in the comments.

A Raspberry Pi Helmet Cam With GPS Logging

20140126_222809-1 Over the last 20 years, [Martin] has been recording snowboarding runs with a standard helmet cam. It was good but he felt like he could improve upon the design by building his own version and logging additional data values like speed, temperature, altitude, and GPS. In the video shown after the break, a first person perspective is displayed with a GPS overlay documenting the paths that were taken through the snow. [Martin] accomplished this by using a python module called picamera to start the video capture and writing the location to a data file. He then modified the program to read the current frame number and sync GPS points to an exact position in the video. MEncoder is used to join the images together into one media file.

The original design was based on the Raspberry Pi GPS Car Dash Cam [Martin] developed a few months earlier. The code in this helmet cam utilizes many of the same functions surrounding the gathering of GPS data points, recording video, and generating the overlay. What made this project different though were the challenges involved. For example, a camera inside a car rarely has to deal with extreme drops in temperature or the wet weather conditions of a snowy mountain. The outside of the vehicle may get battered from the snow, but the camera remains relatively safe from exposure. In order to test the Raspberry Pi before venturing into the cold, [Martin] stuck the computer in the freezer to see what would happen. Luckily it worked perfectly.

Click past the break for the rest of the story.

Continue reading “A Raspberry Pi Helmet Cam With GPS Logging”

A USB Connected Box-o-Encoders

picoscope-encoder

[Colin] loves his PicoScope, a USB based “headless” oscilloscope. While using it he found himself longing for a classic oscilloscope interface. Mouse clicks just weren’t a replacement for grabbing a dial and twisting it. To correct the situation he created his USB-Connected Box-o-Encoders. The box maps as a USB keyboard, so it will work with almost any program.

[Colin] started by finding encoders. There are plenty of choices – splined or flatted shaft, detents or no detents, panel, PCB, or chassis mount. He settled on an encoder from Bourns Inc. which uses an 18 spline shaft. His encoder also includes a push button switch for selection. With encoders down, knobs were next. [Colin] chose two distinct styles. The two knob styles aren’t just decorative. The user can tell which row of knobs they are on by touch alone. Electronics were made simple with the use of a Teensy++ 2.0. [Colin] used a ATUSBKey device running Teensy software, but says the Teensy would have been a much better choice in terms of size and simplicity.

Once everything was wired into the box, [Colin] found his encoders would “spin” when the knobs were turned. They are actually designed to be PCB mounted, and then screwed into a control panel. Attempts to tighten down the panel mounting nut resulted in a broken encoder. Rather than redesign with purely panel mounted encoders, [Colin] used a dab of epoxy to hold the encoder body in place.

Continue reading “A USB Connected Box-o-Encoders”

Ditch That Boring Mouse For A Military-grade Trackball

military-grade-trackball

The bad thing about this type of hack is that now [Tomek Dubrownik] needs to cut a hole in his desk to house the thing. He got this military grade trackball working over USB. It’s old, and could be used as a blunt weapon. But as the video shows it still makes a great input device.

He found the hardware on Allegro — a Polish auction site similar to eBay — for just $20. The original circuitry didn’t make a lot of sense, but a bit of probing with the old oscilloscope let him establish connections to the encoders which are read by some TI 54xx parts. Apparently they use the same logic as 7400 parts but are military grade. He chose a ATmega32u4 development board for his replacement control board. That chip has native USB support so the rest is just a matter of passing data like an HID input device. His code even lets him use those pushbuttons to toggle between cursor movement and window scrolling.

[Tomek] translated his post into English after some prompting by friends at the Warsaw Hackerspace. Here’s the original in Polish if you’re interested.

Continue reading “Ditch That Boring Mouse For A Military-grade Trackball”