There’s a fine line between simple feature creep and going over the top when it comes to project design. It’s hard to say exactly where that line is, but we’re pretty sure that this filament dry box has at least stepped over it, and might even have erased it entirely.
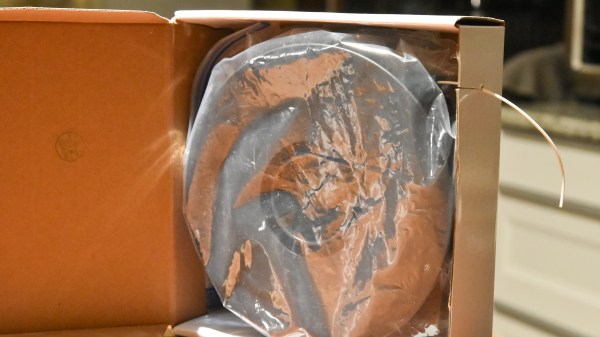
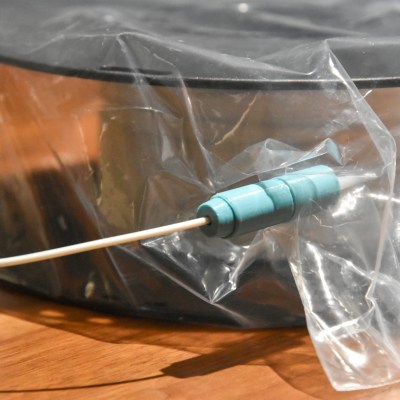
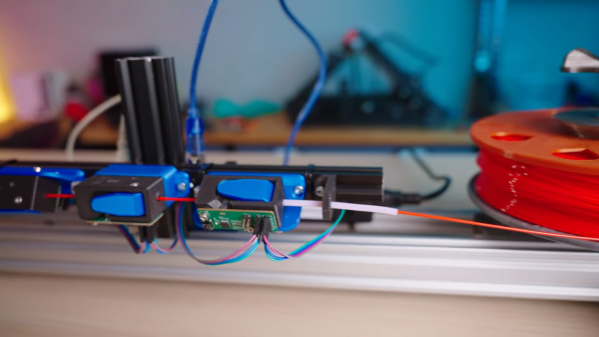
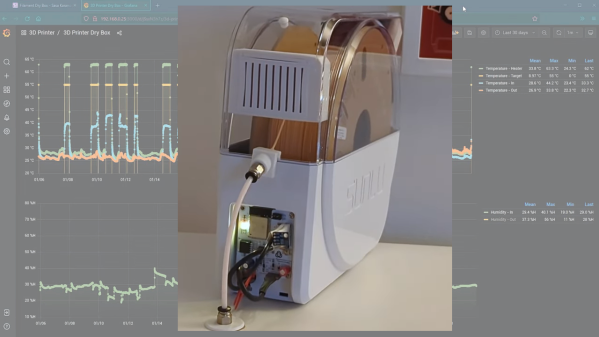
Sure, we all know the value of storing 3D printer filament under controlled conditions, to prevent the hygroscopic plastics from picking up atmospheric moisture. But [Sasa Karanovic] must really, REALLY hate the printing artifacts that result. Starting with a commercially available dry box that already had a built-in heating element, [Sasa] took it to the next level by replacing the controller and display with an ESP32. He added a fan to improve air circulation inside the enclosure and prevent stratification, as well as temperature and humidity sensors. Not satisfied with simply switching the heating element on and off at specific setpoints, he also implemented a PID loop to maintain a constant temperature. And of course, there’s a web UI and an API available for third-party control and monitoring.
The video below details [Sasa]’s design thoughts and goes into some detail on construction and performance. And while we may kid that this design is over-the-top, what really comes through is that this is a showcase for design ideas not only for one application, but for hardware projects in general. There are certainly simpler heated dry box designs, and zero-cost solutions as well, but sometimes going overboard has its own value too.
Continue reading “Filament Dry Box Design Goes Way Over The Top”