The Nintendo GameCube was the first console from Big N with disc-based media. Gone were the cartridges that were absurdly expensive to manufacture. In theory games could be cheaper (yeah, right), and would hold more textures, pictures, and video. Around the time the GameCube hit shelves, your basic home computer started getting DVD burners, and you could walk into Circuit City and buy those tiny little DVD-Rs. But you couldn’t do it. You couldn’t burn GameCube games, at least without advanced soldering skills.
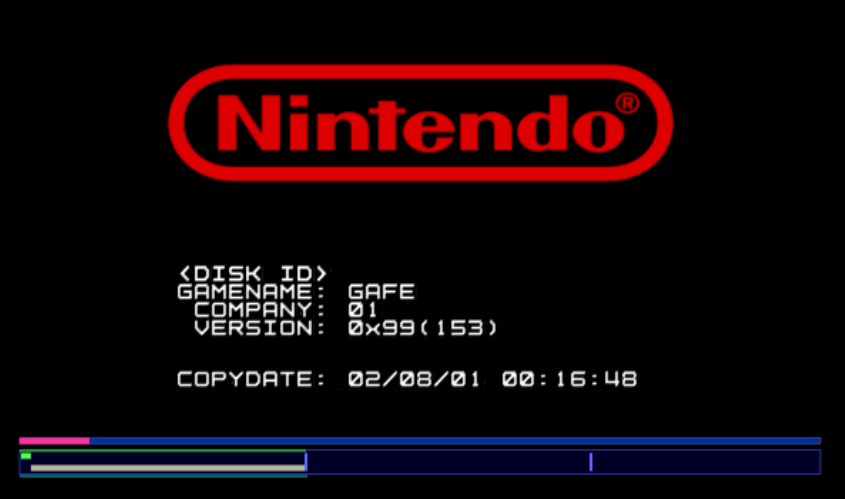
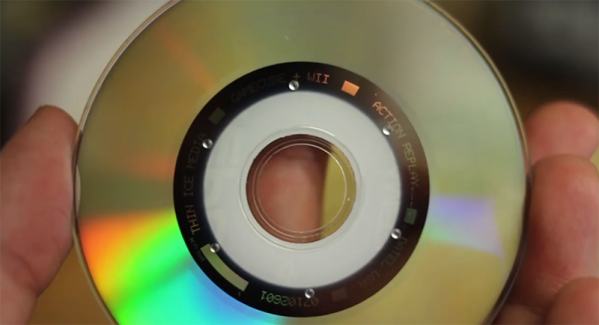
One company did. Datel, a British company that produced the Action Replay, the ‘Game Genie of the GameCube’ figured out how to get around the GameCube’s disc protection. Not only that, but in a decade and a half since the Action Replay came to market, no one has managed to copy their methods. In a fascinating video, [Nathan] takes us around the disc to see how this disc protection scheme actually worked, and how to exploit it to load homebrew games from an SD card.
The Nintendo GameCube disc format is almost, but not quite, the same as a DVD format. On (nearly) every DVD, and almost every GameCube disc, there’s a ‘barcode’ of sorts on the inside of the optical tracks. This burst cutting area (BCA) is unique to every copy that comes off a single master. Additionally, this BCA can only be cut with a YAG laser that’s significantly more powerful than the laser diode in a DVD writer.
But the Action Replay disc from Datel didn’t have this BCA. Why not? The BCA effectively writes over the pits and lands in the first blocks of data in a DVD. Since the BCA is written over data that is already there, you can just encode whatever data the BCA should hold into the raw data of the pits and lands. It’s a brilliant technique that allows consumer equipment to create the Action Replay disc. But surprisingly, this technique wasn’t popularized with the GameCube homebrew scene.
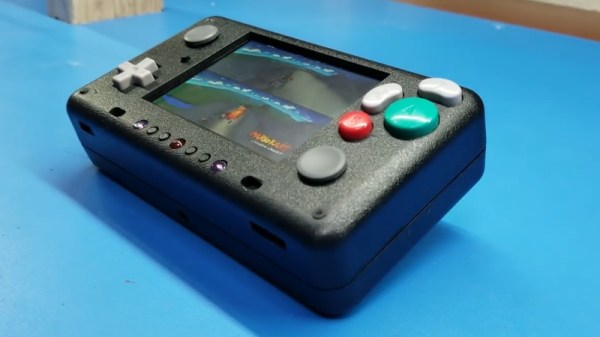
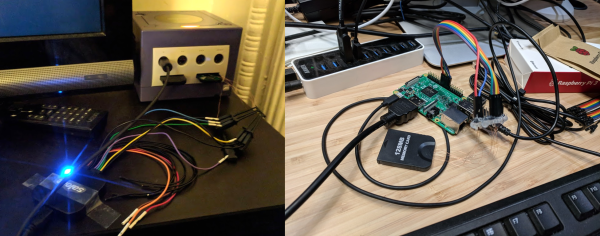
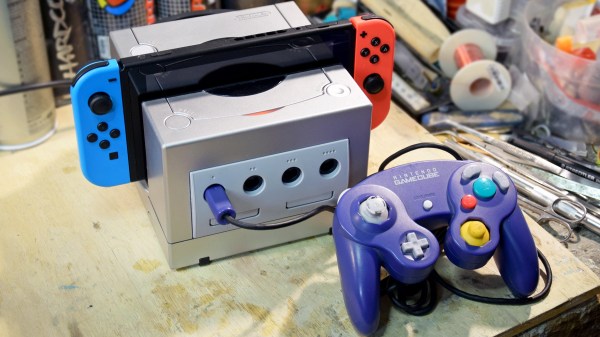
Not that it really mattered, anyway; modchips existed, and with the SD to Memory Card adapter you could run homebrew works without having to burn a disc. That’s exactly what [Nathan] did with his GameCube setup, you can check out the video below.
Continue reading “How One Company Cracked The GameCube Disc Protection”