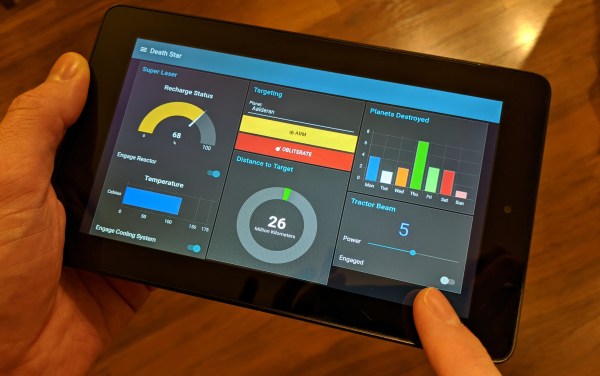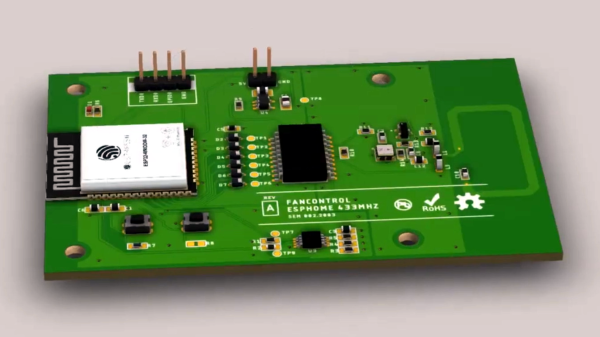
In the quest to automate everything in your home, you no doubt have things that aren’t made with home automation in mind. Perhaps your window AC unit, or the dimmer in your dining room. [Seb] has several ceiling fans that are controlled by remotes and wanted to connect them to his home automation system. In doing so, [Seb] gives a good overview of how to tackle this problem and how to design a PCB so he doesn’t have a breadboard lying around connected to the guts of his remote control.
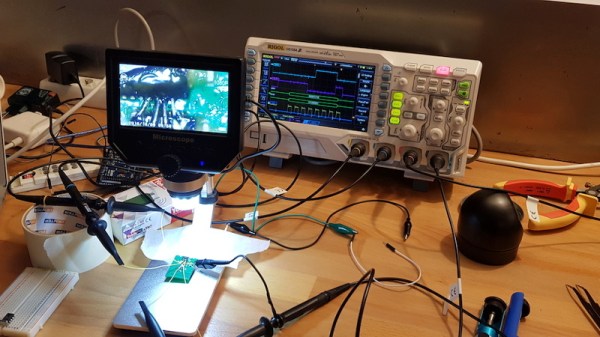
There are several things [Seb] needs to figure out in order to connect his fans to Home Assistant, the home automation system he uses: He needs to determine if the circuit in the remote can be powered by 5 or 3.3 V, he needs to connect the circuit to an ESP32 board, and he needs to figure out if he can create a custom PCB that combines the circuit and the ESP32 into one. The video goes through each of these steps and shows the development of each along the way.
There’s a lot of info in the video, so it might need to be slowed down a bit to see all the details. There are some other reverse engineering of home automation gear on the site, here, or, you might want to build your own remote to control your automated devices.