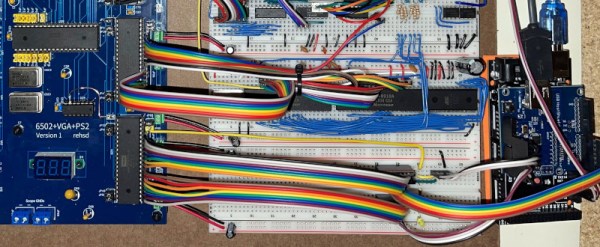
Building your own computer has many possible paths. One can fabricate their own Z80 or MOS 6502 computers and then run a period correct OS. Or a person could start from scratch as [James Stanley] did. [James] has invented a completely unique computer and CPU he calls SCAMP. SCAMP runs a custom OS called SCAMP/os which you can check out in the video below the break.
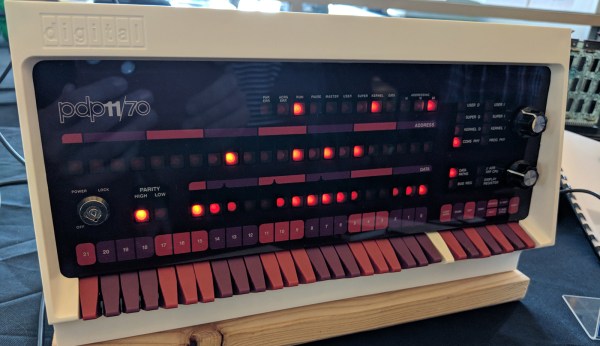
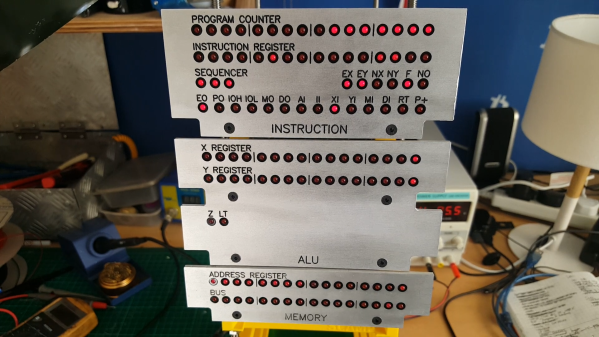
[James] describes the CPU and computer as purposefully primitive. Built out of discrete 74xx series logic chips, it runs at a fast-enough-for-homebrew 1 MHz. Plus, it has a lot of blinking lights that can’t help but remind us of the original Imsai 8080. But instead of a panel of switches for programming, the SCAMP/os boots to a shell, which is presented through a serial terminal. Programs are written in a bespoke language with its own compiler. The OS is described as a having a Unix-like feel with CP/M-like functionality. That’s quite a combination!
What we love most about the build, other than its clean looks and blinkenlights, is the amount of work that [James] has put into documenting the build both on his blog and on Github, where the source code and design is available. There’s also an open invitation for contributors to help advance the project. We’re sure he’ll get there, one bit at a time.
While [James] is using a Compact Flash card for storage currently we can’t help but wonder if a Cassette Tape storage system might be a worthwhile future upgrade.
Continue reading “Homebrew 16 Bit Computer Reinvents All The Wheels”