Audio Playback Toy For DSP Adventures

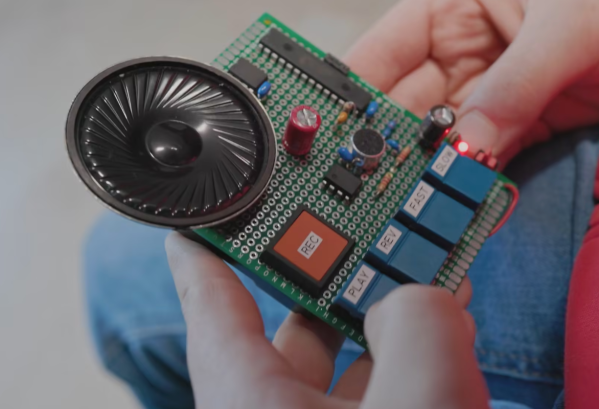
The declining costs of single-board computers has made serious computing power available for even the most trivial of tasks. It’s easy enough to slap a Raspberry Pi onto almost anything for nearly the same cost as a powerful 32-bit microcontroller platform, but this takes some of the fun out of projects for a few of us. Looking to get into the weeds can be a challenge as well, as [Michal Zalewski] demonstrates in this audio playback device he built from a simple 8-bit microcontroller.

The small toy takes audio input from a microphone through an op-amp and feeds this signal to an ADC within the AVR128DA28 microcontroller. The data is then stored on a separate memory chip ready to be played back through another op-amp paired with a speaker. This is where being familiar with the inner workings of the microcontroller comes in handy. By manipulating the interrupt routines in specific ways, the audio stored in memory can be played back at various speeds.

[Michal] intended this build to be a toy for one of his younger relatives, and for the price of a few ICs and buttons it does a pretty good job of turning a regular voice into a chipmunk voice like some commercial children’s toys some of us might remember. If the design aesthetics of this gadget look familiar, you may be thinking of his minimalist gaming device which we recently featured.

Arduino Brings USB Mouse To Homebrew Computer

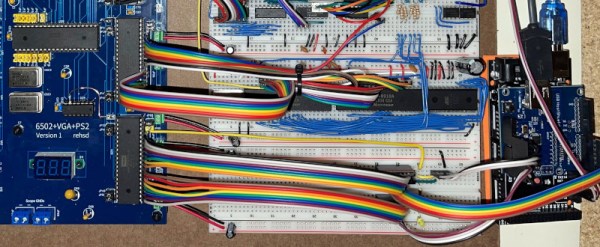
When building your own homebrew computer, everything is a challenge. Ultimately, that’s kind of the point. If you didn’t want to really get your hands dirty with the nuts and bolts of the thing, you wouldn’t have built it in the first place. For example, take the lengths to which [rehsd] was willing to go in order to support standard USB mice on their 6502 machine.

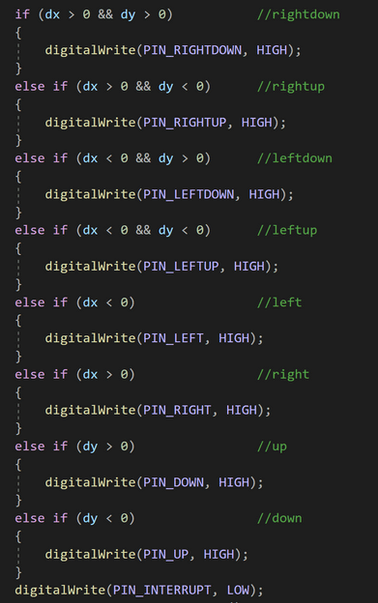
Code for mapping mouse movement to digital output.

The idea early on was to leverage existing Arduino libraries to connect with a standard USB mouse, specifically, the hardware would take the form of an Arduino Mega 2560 with a USB Host Shield. There was plenty of code and examples that showed how you could read the mouse position and clicks from the Arduino, but [rehsd] still had to figure out a way to get that information into the 6502.

In the end, [rehsd] connected one of the digital pins from the Arduino to an interrupt pin on the computer’s W65C22 versatile interface adapter (VIA). Then eleven more digital pins were connected to the computer, each one representing a state for the mouse and buttons, such as MOUSE_CLICK_RIGHT and MOUSE_LEFT_DOWN.

Admittedly, [rehsd] says the mouse action is far from perfect. But as you can see in the video after the break, it’s at least functional. While the code could likely be tightened up, there’s obviously some improvements to be made in terms of the electrical interface. The use of shift registers could reduce the number of wires between the Arduino and VIA, which would be a start. It’s also possible a chip like the CH375 could be used, taking the microcontroller out of the equation entirely.

From classic breadboard builds to some impressively practical portable machines, we’ve seen our fair share of 6502 computers over the years. Despite the incredible variation to be found in these homebrew systems, one thing is always the same: they’re built by some of the most passionate folks out there.

Continue reading “Arduino Brings USB Mouse To Homebrew Computer”

35C3: A Deep Dive Into DOS Viruses And Pranks

Oh, the hijinks that the early days of the PC revolution allowed. Back in the days when a 20MB hard drive was a big deal and MS-DOS 3.1 ruled over every plain beige PC-clone cobbled together by enthusiasts like myself, it was great fun to “set up” someone else’s machine to do something unexpected. This generally amounted to finding an unattended PC — the rooms of the residence hall where I lived in my undergrad days were a target-rich environment in this regard — and throwing something annoying in the AUTOEXEC.BAT file. Hilarity ensued when the mark next booted the machine and was greeted with something like an inverted display or a faked hard drive formatting. Control-G was good to me too.

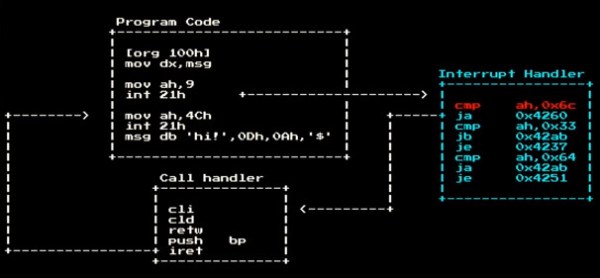
So it was with a sense of great nostalgia that I watched [Ben Cartwright-Cox]’s recent 35C3 talk on the anatomy and physiology of viruses from the DOS days. Fair warning to the seasoned reader that a sense of temporal distortion is inevitable while watching someone who was born almost a decade after the last meaningful release of MS-DOS discuss its inner workings with such ease. After a great overview of the DOS API elements that were key to getting anything done back then, malware or regular programs alike, he dives into his efforts to mine an archive of old DOS viruses, the payloads of most of which were harmless pranks. He built some tools to find viruses that triggered based on the system date, and used an x86 emulator he designed to test every day between 1980 and 2005. He found about 10,000 malware samples and explored their payloads, everything from well-wishes for the New Year to a bizarre foreshadowing of the Navy Seal Copypasta meme.

We found [Ben]’s talk a real treat, and it’s good to see someone from the current generation take such a deep dive into the ways many of us cut our teeth in the computing world.

Continue reading “35C3: A Deep Dive Into DOS Viruses And Pranks”

Beginner Concepts: We’re Gonna Let You Finish, But First This Tutorial On Arduino Interrupts

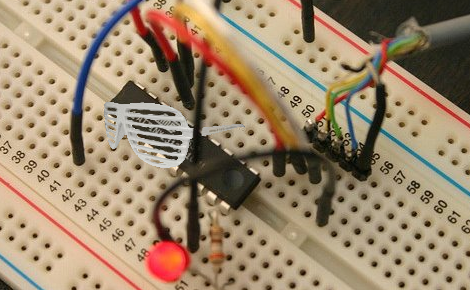
OK, year-old pop culture references aside [Kyle] dropped us a line to show us his tutorial on using interrupts with your Arduino. Given the single core nature of your average Arduino’s AVR you pretty much have two choices for monitoring occasional un-timed inputs: Either check an input at an interval (which risks missing the signal entirely) or set up an interrupt to pause the chip’s normal operation. Obviously working with interrupts saves you tons of clock cycles since you are not polling a pin over and over. [Kyle] plans on a follow up tutorial to cover timer based interrupts, which can come in handy when generating frequencies and stuff.

Looking for more Arduino Basics? How about Basic on an Arduino. Check out our other beginner concepts posts as well if you need to work on your fundamentals.

Tool Tip: Microcontroller Timer Calculator

uC_timer_calculator

In life and embedded systems timing is everything. Give [Frank’s] web-based timer calculator a try. Set your system clock resolution (in hertz making sure you account for any system clock divider), select your timer resolution and prescaler, then calculate based on desired ticks, overflows, or real time. He’s built this with the AVR chips in mind but it should be handy for any family of microcontrollers.

Of course none of this is rocket science, but if you’re trying to use one timer for two differently synchronized events this can save you a lot of trial and error time.