Joysticks are great for gaming, but sometimes it’s hard to find one that suits your personal playstyle. [Nixie] developed the TinkerJoy to suit their own needs, while giving it a modular design to make it easy to customize as well.
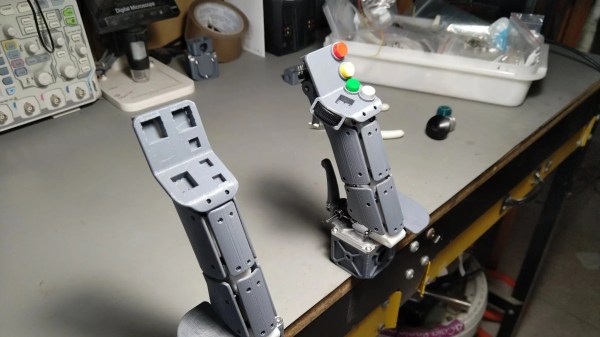
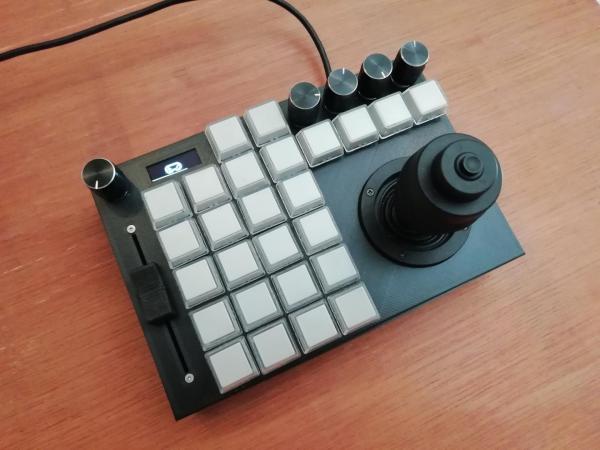
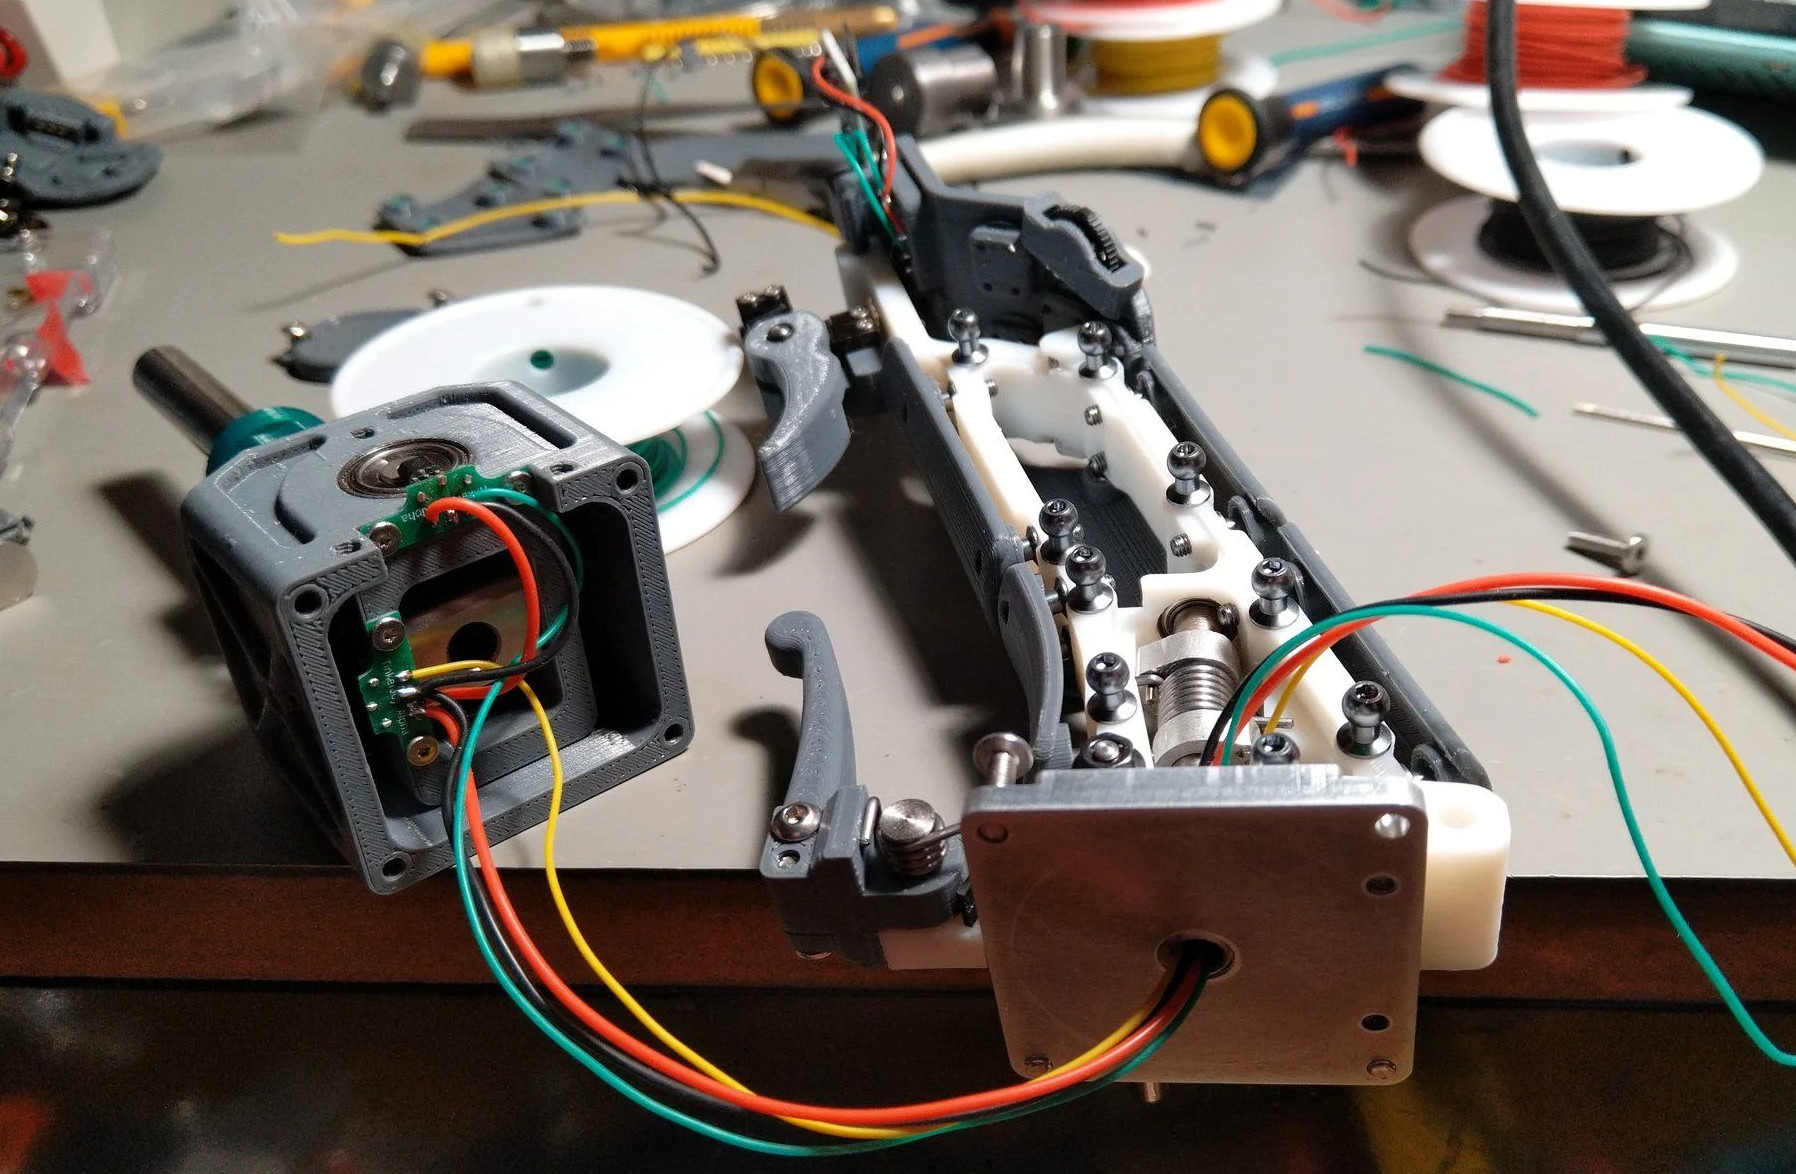 It’s built around a metal core, with 3D printed panels attached to the user’s liking. In addition to the body panels, parts like the trigger assembly and button panels can be moved around and adjusted to suit different games or different players.
A test unit has been built in a right-handed configuration, featuring four buttons and two switch sliders. In addition to the main X and Y axes, it also has a Z axis activated by twisting the joystick, as well as an analog brake. There’s a trigger, too, as every good joystick must have. For now, the electronics is not integrated. Instead, a STM32 BluePill board sits on top of the stick to read all the controls and talk to a PC. The test setup looks to work well, with [Nixie] putting the gear through its paces in Star Citizen.
The benefit of building your own hardware is that you can often do ergonomics better yourself. After all, companies often have to build for the 5th-95th percentile for reasons of economics and scale.
Continue reading “Building A Modular Joystick For Star Citizen“


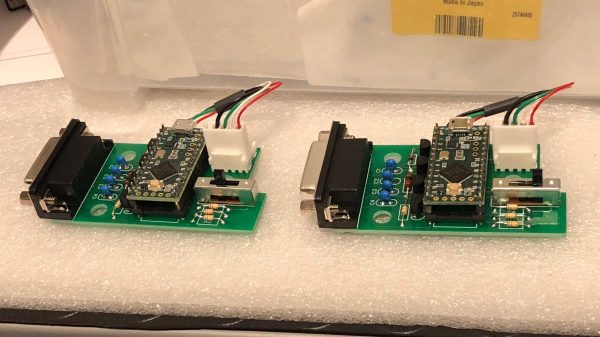
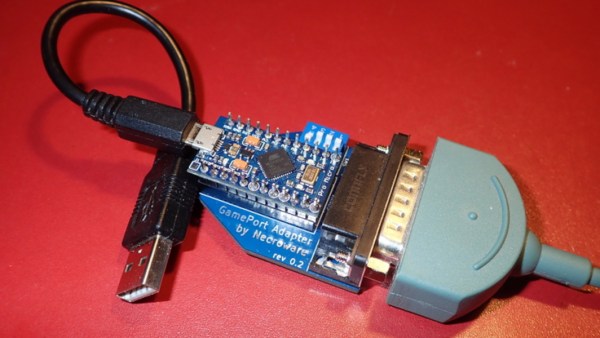
 The build is simple and straightforward, using a Teensy LC to interface with a simple gameport joystick. With a smattering of simple components, it’s easy to read the outputs of the joystick with only a little debounce code needed to ensure the joystick’s buttons are read accurately. Similarly, analog axes are read using the analog-to-digital converters onboard the microcontroller.