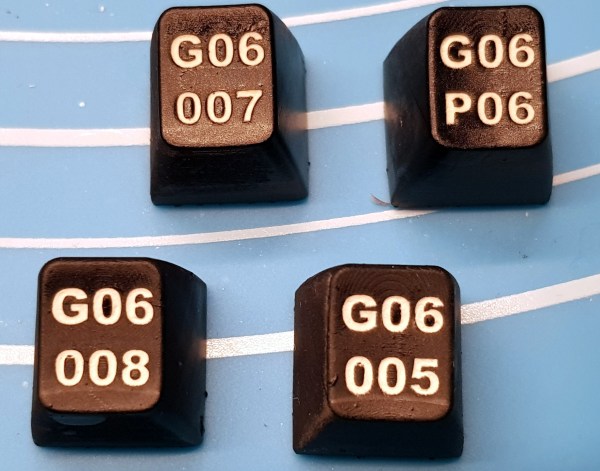
Well, I didn’t mean to take the whole summer off from Keebin’, it just kind of happened that way. You’d think it would have been #13 that tripped me up, but we ain’t even there yet — this is only the twelfth edition. I kept thinking I should write one and it just wasn’t happening, until I got a tip from [s.ol bekic] about their stunning hexagonal keycaps and the journey toward making an open-source 12-key macropad featuring same.
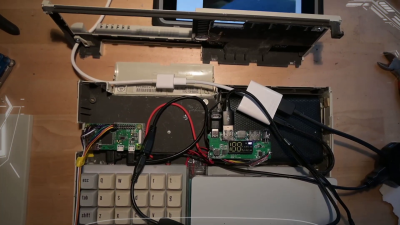
But let’s back up a bit. Originally, [s.ol] designed a totally sick hybrid MIDI-and-typing keyboard from scratch, which you can see in this short video. It glows, it splits in half, and it snaps back together again quite satisfyingly. And you probably noticed the hexagonal keycaps that look like they might be printed or milled, or perhaps even printed and then milled.
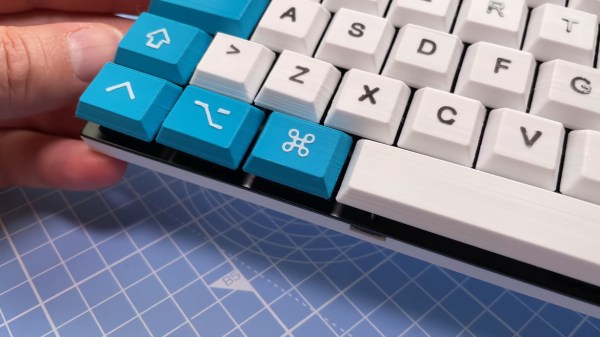
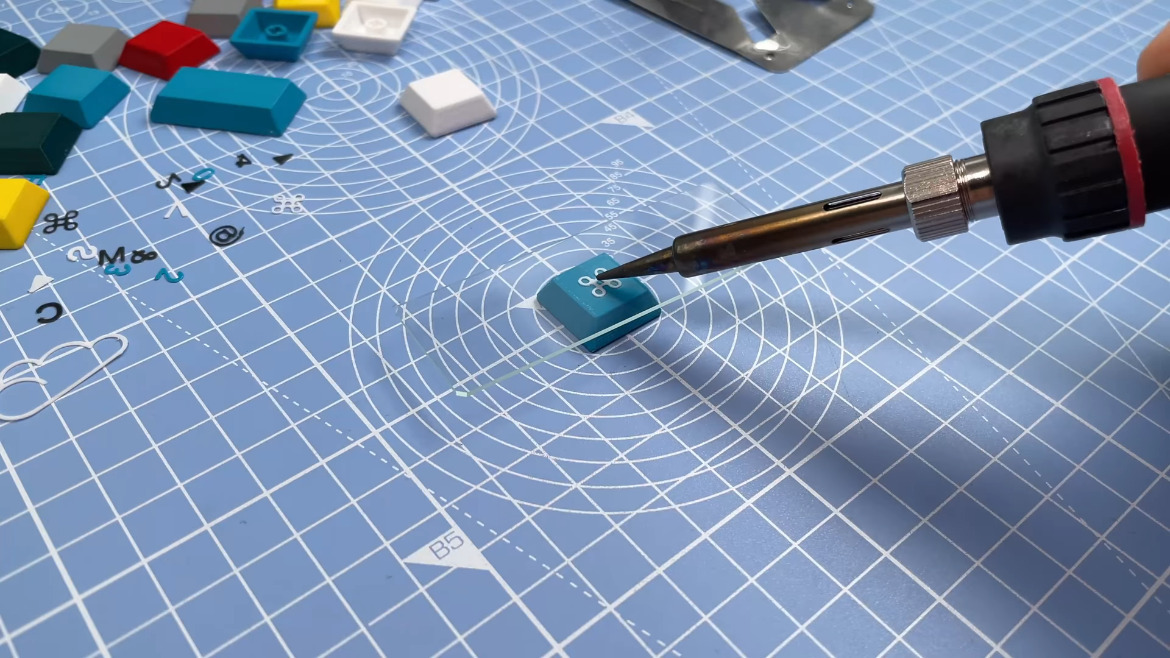
In actuality, [s.ol] threw all the processes at this keycap project — milling, molding and casting, and 3D printing. None of them worked well enough to get much past the prototype stage, but in the end, [s.ol] joined forces with fkcaps.com to create and offer an injection-molded version that I’d really, really like to rock my fingertips around in. Good thing I can pick some up for cheap.
 Of course, the real process was all the learning [s.ol] did along the way — both in the early days of making the hybrid keyboard, and after teaming up with fkcaps to make the keycaps and the accompanying macropad into real products. And that was after all the design work it took to get this newfangled honeycomb configuration right.
In case you’re wondering, these are meant for only Kailh chocs, but no matter the switch, the spacing is really important because of all the possible points of friction introduced by the design. Be sure to check out the keycap docs page, macropad docs page, and this gallery of keycaps and macropads.
Continue reading “Keebin’ With Kristina: The One With The Hexagonal Keyboard”