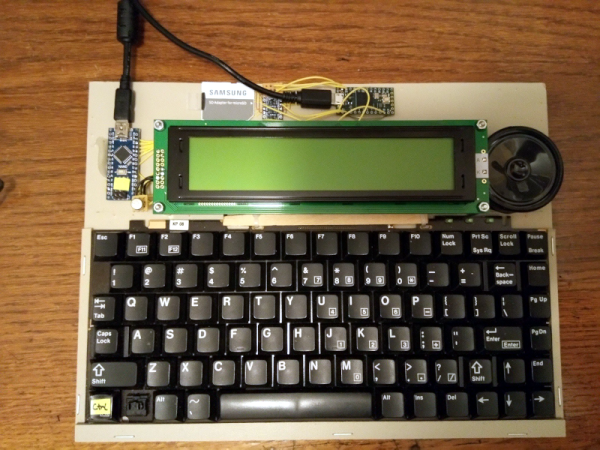
The TRS-80 Model 100 was a strange beast. When it debuted in 1983, it resembled nothing that was available at the time, and filled a gap between desktop computers and the mostly-not-invented-yet laptop segment of the market. Collectors covet these machines, but they’re getting harder to find four decades later. So, if you want one, you just might have to roll your own.
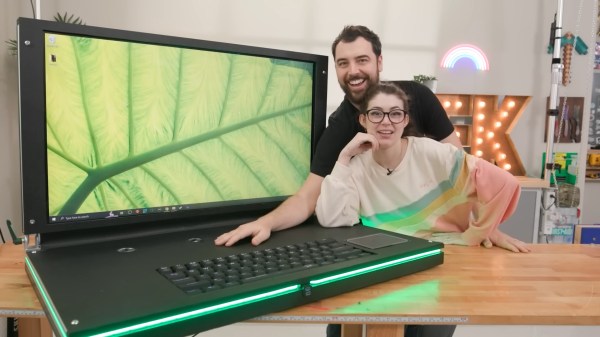
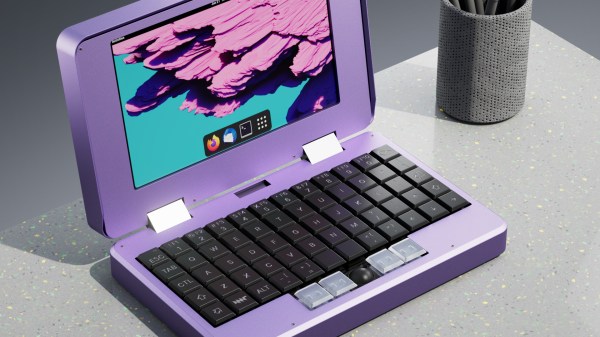
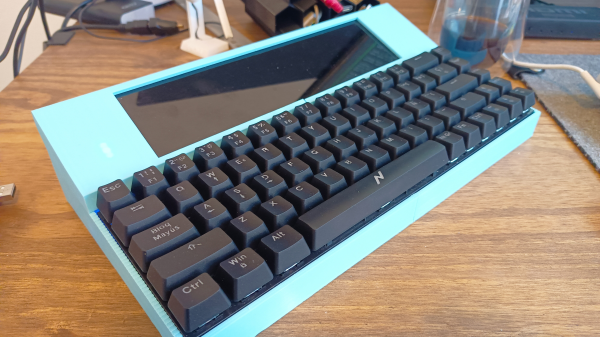
Honestly, it doesn’t appear [Roberto Alsina]’s purpose here we to recreate the Model 100 per se, but rather to take inspiration from its oddball form factor and experiment with the latest components. The design elements from the original that [Roberto]’s creation most strongly echo are the screen with the extreme landscape aspect ratio and the somewhat compressed keyboard. The latter is based on the cheapest mechanical 65% keyboard available, while the former is a 1920×480 LCD display intended for automotive applications. The display seems like it put up a fight, between its need for a custom HDMI cable to connect it to the Radxa Zero SBC under the hood as well as the custom kernel needed to support it.
Along with a USB hub for IO and some 18650s for power, everything went into a 3D printed case with considerably sleeker lines than the Model 100. It’s worth pointing out that [Roberto] didn’t have much experience with design or 3D printing when he kicked off this project. We love to see people stretching their skills like that, and we think the results are great in this case. We’ve seen a lot of Model 100 retrofits and brain transplants, but this may be the first time we’ve seen a build quite like this.