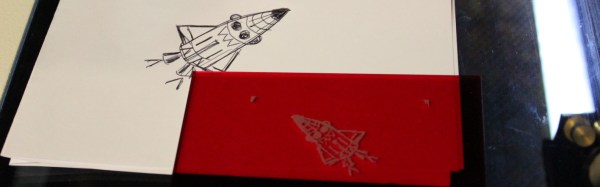
There’s an old saying, that in theory there’s no difference between theory and practice, but in practice there is. That sentiment could easily be applied to refitting a 3D printer to hold a laser. There shouldn’t be much to it, rig up a laser module to turn on under computer control, mount it to your hot end carriage and off you go. In practice, though there are other considerations to account for. If you have a Monoprice Mini Select, you can start with instructions from [drodrii] for adding a laser to your printer.
Although [drodrii] mentions that you need a second 3D printer to make a bracket for the laser, we think you should be able to print it on the Mini as long as you do it before the first step of removing the hot end. However, since your laser module might not exactly match the one used in this project, you’d have to get it right the first time if you don’t have another 3D printer. Of course, you could remove the laser gear, remount the hot end, print a new bracket and start over, but that’d be a drag.

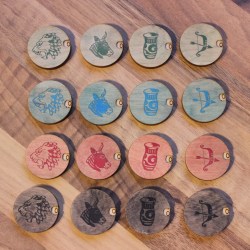 In the digital version of the game, the tokens conveniently display a number representing their total power value. [Martin] liked this feature, and set out to design a replacement token for the tabletop version that could display a number while still keeping the aesthetic of the originals. The tokens were designed as a dial with a small cutout window to show a number, but the surface of the token showing color and icon is still mostly unchanged.
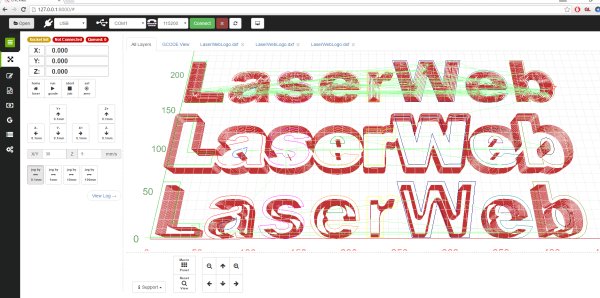
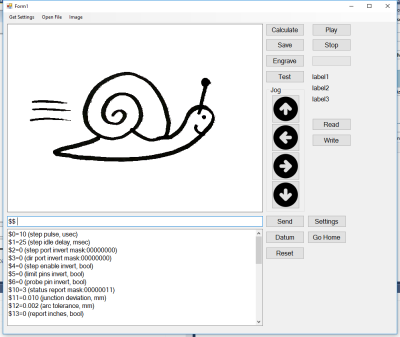
 LaserWeb3 supports different controllers and the machines they might be connected to – whether they are home-made systems, CNC frames equipped with laser diode emitters (such as retrofitted 3D printers), or one of those affordable blue-box 40W Chinese lasers with the proprietary controller replaced by something like a