Building A Mag Lev Optical Table

When you’re talking about optics, things are often happening on a nanometer scale. This means that even the slightest amount of vibration can spoil delicate work. [The Thought Emporium] is working on a long-scale project to produce chocolate holograms, and needed a stable surface to set up some optical components. Thus, he decided to build a magnetically levitated laser table.

The build starts with a series of eight machined delrin bushings, each mounting a strong neodymium ring magnet. Four are placed on the base, with a thin steel rod protruding upwards. The other four bushings are then placed such that the poles of the magnets are opposite one another, causing them to levitate. An acrylic plate is then lowered on top, being supported by the levitating magnets.

It’s a very simple way to create a magnetically levitated table, and in a basic interferometry test, appears to do a decent job of isolating the table from vibrations. We also wonder if there’s scope for further improvement through the use of some kind of eddy current damper. It should make an excellent platform for further experiments, and we look forward to seeing some chocolate holograms in the near future.

It turns out that [The Thought Emporium] was inspired by an earlier chocolate optics project. Video after the break.

Continue reading “Building A Mag Lev Optical Table”

Creating A Laser Cutter From A 3D Printer

The average FDM 3D printer is not so different from your garden variety laser cutter. They’re often both Cartesian-coordinate based machines, but with different numbers of axes and mounting different tools. As [Gosse Adema] shows, turning a 3D printer into a laser cutter can actually be a remarkably easy job.

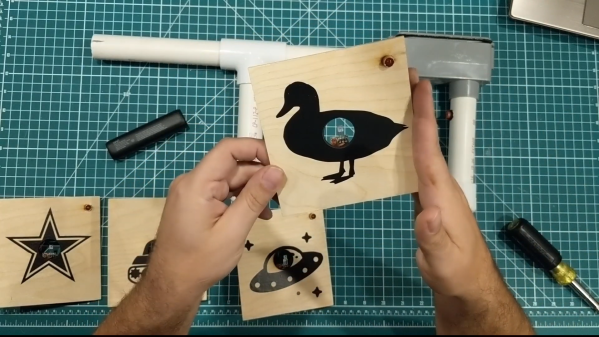
The build starts with an Anet A8 3D printer. It’s an affordable model at the lower end of the FDM printer market, making it accessible to a broad range of makers. With the help of some 3D printed brackets, it’s possible to replace the extruder assembly with a laser instead, allowing the device to cut and engrave various materials.

[Gosse] went with a 5500 mW diode laser, which allows for the cutting and engraving of wood, some plastics and even fabrics. Unlike a dedicated laser cutter there are no safety interlocks and no enclosure, so it’s important to wear goggles when the device is operating. Some tinkering with G-Code is required to get things up and running, but it’s a small price to pay to get a laser cutter on your workbench.

We’ve seen [Gosse]’s 3D printer experiments before, with the Anet A8 serving well as a PCB milling machine.

Vintage Fairchild IC Proves Tough To Decap

You’d think that something called “white fuming nitric acid” would be more than corrosive enough to dissolve just about anything. Heck, it’s rocket fuel – OK, rocket fuel oxidizer – and even so it still it wasn’t enough to pop the top on this vintage Fairchild μL914 integrated circuit, at least not without special measures.

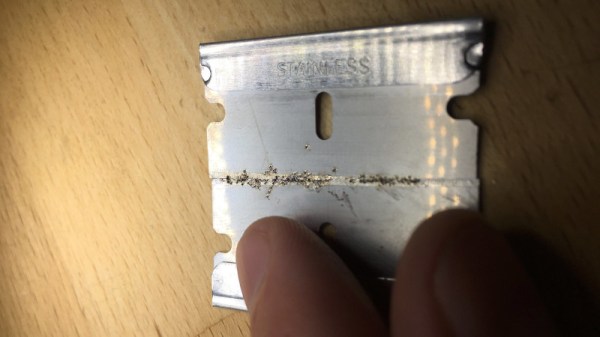
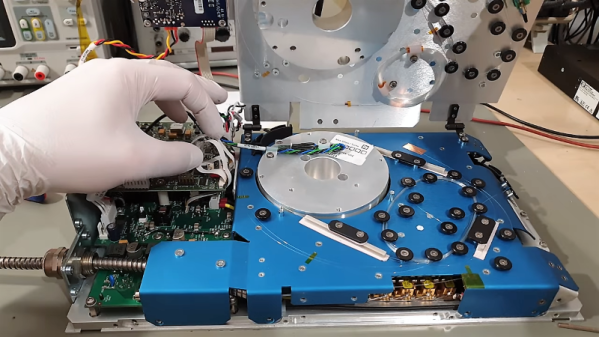
As [John McMaster], part of the team that analyzed the classic dual 2-input NOR gate RTL chip from the 1960s, explains it, decapping modern chips is a straightforward if noxious process. Generally a divot is milled into the epoxy, providing both a reservoir for the WFNA and a roughened surface for it to attack. But the Fairchild chip, chosen for dissection for the Maker Faire Bay Area last week specifically because the features on the die are enormous by modern standards, was housed in an eight-lead TO-99 case with epoxy that proved nigh invulnerable to WFNA. [John] tried every chemical and mechanical trick in the book, going so far as to ablate epoxy with a Nd:YAG laser. He eventually got the die exposed, only to discover that it was covered with silicone rather than the silicon dioxide passivation layer of modern chips. Silicone can be tough stuff to remove, and [John] resorted to using lighter fluid as a solvent and a brush with a single bristle to clean up the die.

We applaud the effort that this took, which only proves that decapping is more art than science sometimes. And the results were fabulous; as Hackaday editor-in-chief [Mike Szczys] notes, the decapping led to his first real “a-ha moment” about how chips really work.

Continue reading “Vintage Fairchild IC Proves Tough To Decap”

A Laser Aiming Module For First Person Hacking

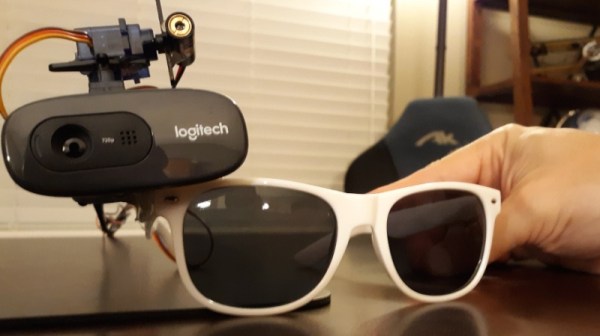
You’ve perhaps noticed that [Jeremy Cook] is rather prolific on YouTube, regularly putting out videos on his latest and greatest creations. He wanted to add a head-mounted GoPro to his video production bag of tricks, but found it was a little trickier than expected to get the camera to point where he was actually looking. The solution? A 3D printed laser “sight” for the GoPro that let’s him zero it in while creating videos.

The idea here is very simple: put a small laser module on the same mount as the GoPro itself so you’ll have a handy red dot showing more or less where the camera is looking. The position of the red dot relative to the center-point of the camera’s field of view is going to vary slightly with range, but with something like a GoPro that’s shooting a very wide area to begin with, it’s not really a problem in practice.

Sounds like a good idea, but won’t that leave a weird red dot in all the videos? [Jeremy] is already ahead of you there, and added a small push button switch to the front of the module so he can quickly and easily turn the laser on and off. The idea is that he turns the laser on, gets the dot roughly where he wants the camera pointed, and then turns it back off.

[Jeremy] has put the STL files for the single-piece 3D printed module up on his GitHub for anyone who might find them useful. Besides the printed part, you just need to provide a suitably sized 3.7 V LiPo battery and the laser diode itself. If you need to find a good supply of cheap lasers, you might want to check the clearance rack at the big box store.

Continue reading “A Laser Aiming Module For First Person Hacking”

Metal 3D Printing — A Dose Of Reality

We have no doubt that hundreds of times a day a hacker is watching a 3D printer spew hot plastic and fantasizes about being able to print directly using metal. While metal printers are more common than ever, they are still out of reach for most people printing as a hobby. But as Mr. Spock once observed: “…you may find that having is not so pleasing a thing after all as wanting. It is not logical, but it is often true.” However, metal 3D printing has its own unique set of challenges. Texas A&M recently produced a short video explaining some of the design issues that you’ll encounter trying to make practical metal prints on an SLS (Selective Laser Melting) printer. You can see the video below.

The description says “It is more challenging to ‘metal 3D print’ a part than most people think. We’ve noticed the same even with plastic printers as friends will expect us to print the most outlandish things for them. What we like about this video is it helps to set expectations of the current state of the art so we’re not expecting far more than today’s metal printers can produce.

Among the features covered in the video are overhangs, which require supports. After removal, the surface is about like 80 grit sandpaper unless you perform further finishing. Just like plastic parts, warping and curling of large areas is a problem with metal. If you’ve ever been frustrated removing plastic support material, try having to ceramic grind metal supports off. They also use an EDM machine to cut especially tough supports, but it causes a lot of effort since it is likely to run through EDM wires and clog the filters.

We looked at recent advances in metal printing last year. We’ve seen homebrew machines that were little more than welders under computer control and we’ve seen plans by big players like HP to create metal prints, but at a steep price. Still, you can’t stop the march of 3D printing progress.

Continue reading “Metal 3D Printing — A Dose Of Reality”

We Were Really Overdue For Laser Jackets

Depending on who you talk to, everything is either fine, or we’re living in an oppressive cyberpunk dystopia in which we forgot to drench everything in colored neon lighting. There’s little to be done about the digital surveillance panopticon that stalks our every move, but as far as the aesthetic goes, [abetusk] is bringing the goods. The latest is a laser jacket, to give you that 2087 look in 2019.

The build starts with a leather jacket, which is festooned with 128 individual red laser diodes. These are ganged up in groups of 4, and controlled with 32 individual PWM channels using two PCA9685 controllers. An Arduino Nano acts as the brains of the operation, receiving input from a joystick and a microphone. This allows the user to control lighting effects and set the jacket to respond to sounds and music.

[abetusk] does a great job of conveying the tricks needed to successfully pull this off. The instructions should allow any curious maker to replicate the build at home, and code is available on Github to help run the show. There’s lots of detail on proper enclosures, connectors, and cabling techniques to avoid the wearer inadvertently pulling everything to bits when wearing the garment to the club. Remember, there’s nothing more punk than educating your friends.

It’s an eye-catching build that would be an excellent addition to any Neo-Chicago street gang wardrobe. It’s not the first time [abetusk] has graced these pages, either – there are electroluminescent looks, too. Video after the break.

Continue reading “We Were Really Overdue For Laser Jackets”

Building An Optically Pumped Laser Pointer

As a society, we’ve largely come together to agree that laser pointers are mostly useless. They’re now the preserve of university lecturers and those destined to wind up in a jail cell for harassing helicopter pilots. Most pointers are of the diode-pumped solid state variety. However, [Zenodilodon] treads a different path.

The laser cavity glows in operation, though it’s probably inadvisable to look directly at it.

Instead of the usual DPSS build, this pointer packs an optically pumped semiconductor laser, or OPSL. These lasers have the benefit of a wider selection of output wavelengths, and can be built to offer less variance in beam parameters such as divergence.

The build is an attractive one, with the pointer chassis being manufactured out of brass, with several components plated in yellow and rose gold. There’s even a sliding window to observe the laser cavity, which glows brightly in operation. [Zenodilodon] goes into great detail during the machining process, showing all the steps required to produce a visually appealing device.

It’s certainly one of the prettiest laser builds we’ve seen, and it’s always nice to see makers exploring different technologies. Similarly to our recently featured 1.4 W laser pointer, it’s largely a packaging operation, but if you’re building your own laser diodes at home – you know where to send ’em. Video after the break.

Continue reading “Building An Optically Pumped Laser Pointer”