This 3D Printed LED Softbox Really Shines

Generally speaking, objects made on desktop 3D printers are pretty small. This is of course no surprise, as filament based printers are fairly slow and most don’t have very large beds to begin with. Most people don’t want to wait days for their project to complete, so they use 3D printed parts where it makes sense and supplement them with more traditional components such as aluminum extrusion wherever possible. But not always…

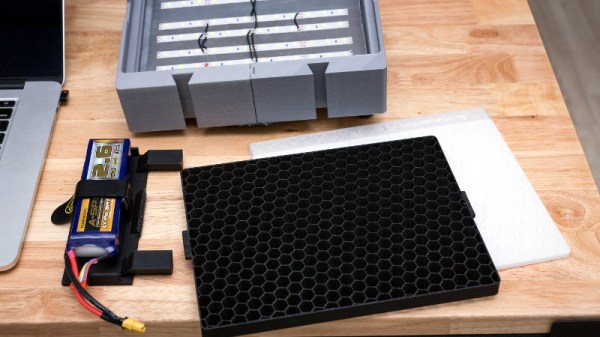
This 3D printed photography softbox created by [Nicholas Sherlock] doesn’t take the easy way out for anything. With the exception of the LEDs and the electronics to drive them, everything in the design has been printed on his Prusa i3. It wasn’t the easiest or fastest way to do it, but it’s hard to argue with the end result. Perhaps even more impressive than the final product is what it took to get there: he actually had to develop a completely new style of part infill he’s calling “Scattered Rectilinear” to pull it off.
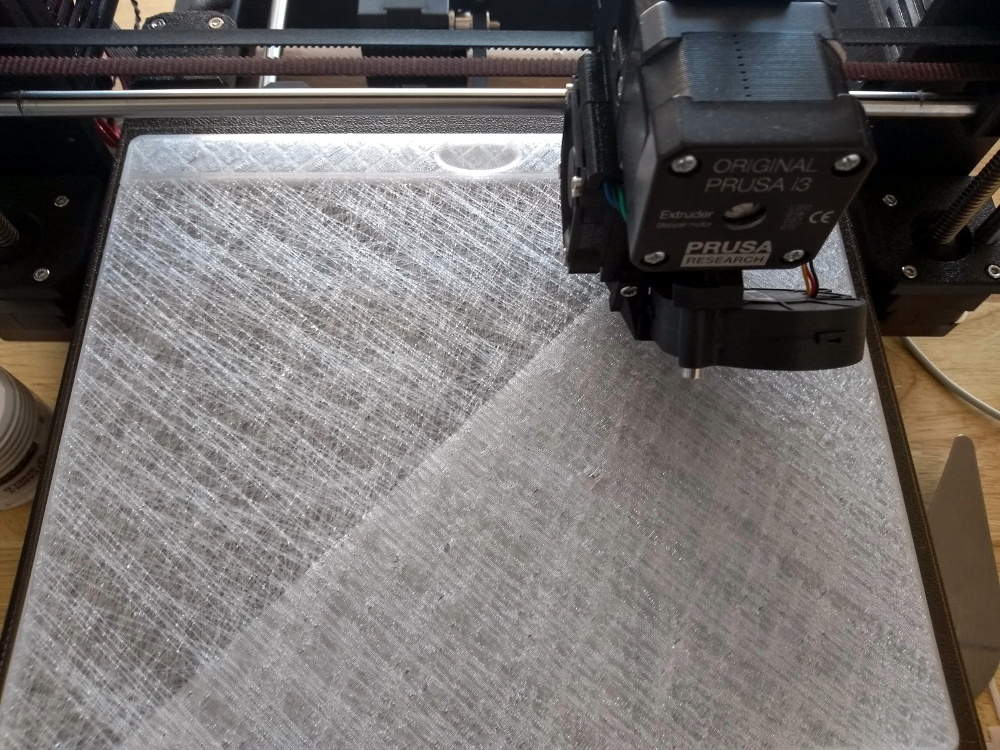
Overall the design of the light itself isn’t that complex, ultimately it’s just a box with some LEDs mounted at the back and a pretty simple circuit to control their intensity. The critics will say he could have just used a cardboard box, or maybe wood if he wanted something a little bit stronger. But the point of this project was never the box itself, or the LEDs inside it. It’s all about the diffuser.

[Nicholas] forked Prusa’s version of Slic3r to add in his “Scattered Rectilinear” infill pattern, which is specifically designed to avoid the standard “ribs” inside of a 3D printed object. This is accomplished with randomized straight infill passes, rather than the traditionally overlapped ones. The inside of the print looks very reminiscent of fiberglass mat, which is perhaps the best way to conceptualize its construction. In terms of the final part strength, this infill is abysmal. But on the plus side, the light from the LEDs passing through it emerges with a soft pleasing look that completely obscures the individual points of light.

Anyone with a big enough 3D printer can run off their own copy of his light, as [Nicholas] has released not only his forked version of Slic3r but all of the STL files for the individual components. He’s also put together an exceptionally well documented Thingiverse page that has instructions and detailed build photos, something that’s unfortunately very rare for that platform.

If you’re in the market for a DIY softbox and don’t have a 3D printer handy, fear not. We’ve covered a few that you can build with more traditional methods, as well as several tips and tricks which you can use to get the most out of your photos and videos.

Hidden LED Video Wall At The Oregon Museum Of Science

Glowing and blinking things are some of our favourite projects around these parts, and the bigger, the better. [Thomas] wrote to us recently to share the design and construction of a large LED wall at the Oregon Museum of Science, and the results are nothing short of impressive.

The concept involved a large LED wall that would be completely hidden when switched off. The team decided to approach this by hiding high-brightness LED panels using APA102 strings behind milky-white plexiglass panels covered with a woodgrain print. The screen has a total of 90,000 pixels, arranged in a 408×220 resolution display.

A lot of bespoke LED displays have some pre-coded patterns, or perhaps some basic reactive features. In this case, FPGA grunt was brought to bear on the problem and the display accepts standard HDMI input. Four Spartan 6 Mojo FPGA boards split up the task of addressing the panels, each receiving the same HDMI signal, but only crunching the pixels relevant to their area of the display. To make sure clean SPI signals get to each panel, special RS485 driver chips are used to send the signal over a differential pair from the FPGA, before breaking the signal back out to standard SPI at the destination.

Building such a large display takes special techniques, and [Thomas] notes that the help of a local construction company was imperative to making the construction of the final video wall look easy. It’s always interesting to see what goes into these large installations. Sometimes, a major build can even clear out world stocks of important components.

3D Printed Diffusers Make More Natural Light

A strip of LEDs may be a simple and flexible way to add light to a project, but they don’t always look natural.  There is an easy way to make them look better, though: add a diffuser. That’s what [Nate Damen] did using a 3D printer. He created a diffuser using PETG giving a standard string of LEDs a softer and more natural look that makes them look more like older light sources such as fluorescent strips or EL wire, but with the flexible colors of LEDs. The PETG material he used has a naturally somewhat cloudy look, so it acts as a diffuser without needing any extra treatment.

Continue reading “3D Printed Diffusers Make More Natural Light”

Modernizing A Soviet-era LED Matrix

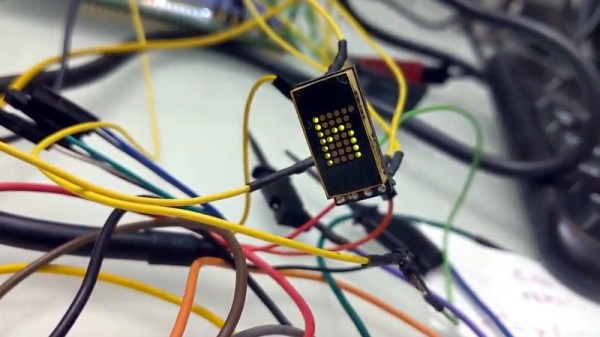
Used in everything from calculators to military hardware, the 3LS363A is an interesting piece of vintage hardware. With a resolution of 5 x 7 (plus a decimal point), the Soviet-made displays contain no electronics and are simply an array of 36 green LEDs. It’s not hard to drive one of them in a pinch, but [Dmitry Grinberg] thought this classic device deserved a bit better than the minimum.

He’s developed a small board that sits behind the 3LS363A and allows you to control it over I2C for a much more modern experience when working with these vintage displays. Powered by the ATtiny406, his adapter board makes it easy to chain the modules together and even handles niceties like flipping the displayed image to account for different mounting positions. While most of us probably won’t have the chance to play around with these relatively rare displays, there’s still plenty of useful information here if you’re thinking of creating your own I2C gadgets.

In his write-up, [Dmitry] explains his rationale behind the design and some of the quirks of working with the display. For example he explains how he gave each column of the display its own FET, but to save space on the board ended up running the single decimal point (technically its own column) directly off of a spare GPIO pin. Relying on the low duty cycle, he even left current limiting resistors off the design. The end result is a tiny board that keeps the same footprint of the 3LS363A itself.

[Dmitry] went all out with developing the firmware for his new “smart” 3LS363A displays, and has written up documentation for the different commands he has implemented. From re-configuring the I2C address to updating the firmware, he’s made sure no stone was left unturned for this project. We’re not ones to shy away from a quick and dirty code, but it’s always nice to see when somebody has really put some thought into the software side of a project.

We’ve seen our fair share of oddball Soviet displays here at Hackaday, utilizing everything from heavy duty incandescent bulbs to remarkably tiny “intelligent” LEDs. While it’s unlikely any of them will dethrone the nixie as king of the retro display devices, it’s always interesting to see unusual hardware being used in the wild.

What Happened To The 100,000-Hour LED Bulbs?

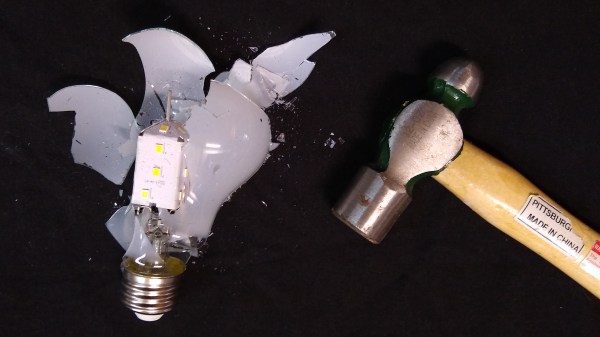
Early adopters of LED lighting will remember 50,000 hour or even 100,000 hour lifetime ratings printed on the box. But during a recent trip to the hardware store the longest advertised lifetime I found was 25,000 hours. Others claimed only 7,500 or 15,000 hours. And yes, these are brand-name bulbs from Cree and GE.

So, what happened to those 100,000 hour residential LED bulbs? Were the initial estimates just over-optimistic? Was it all marketing hype? Or, did we not know enough about LED aging to predict the true useful life of a bulb?

I put these questions to the test. Join me after the break for some background on the light bulb cartel from the days of incandescent bulbs (not a joke, a cartel controlled the life of your bulbs), and for the destruction of some modern LED bulbs to see why the lifetimes are clocking in a lot lower than the original wave of LED replacements.

Continue reading “What Happened To The 100,000-Hour LED Bulbs?”

This Blinken Grid Is All Analog

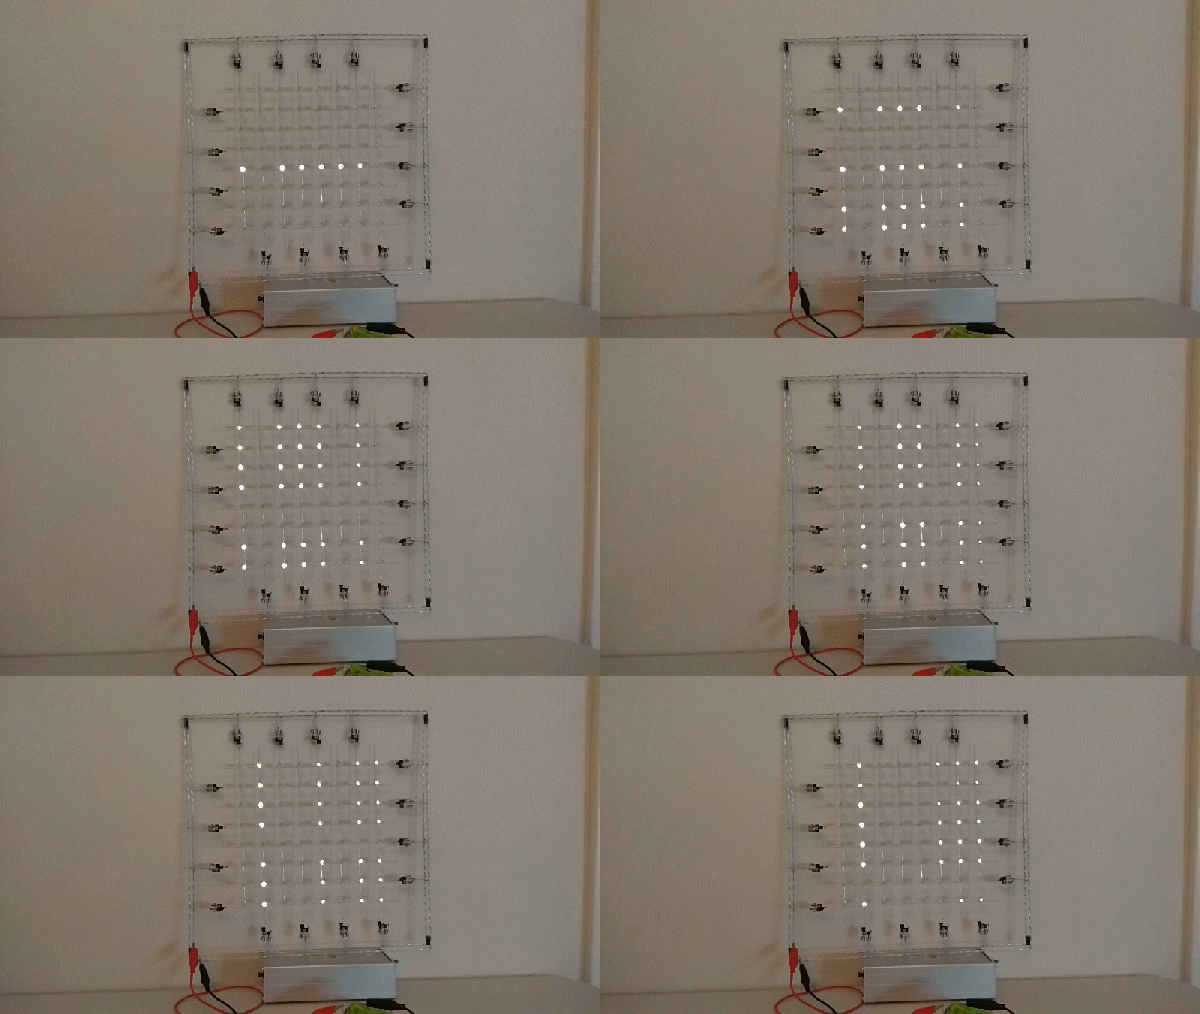
The personal computers of today are economical with their employ of the humble LED. A modern laptop might have a power LED, and a hard drive indicator if you’re lucky. It was the mainframes of the ’60s and ’70s that adhered to the holy Doctrine of Blinken, flickering lamps with abandon to indicate machine activity to the skilled operators of yore. [Matseng] wanted to recreate this aesthetic, and went about it in an entirely analog fashion.

The project is built around an 8×8 LED grid, that was soldered up using a 3D printed jig for dimensional accuracy. Fitted to each column is a PNP flip flop that pulls the column to VCC, while each row has an NPN flip flop which pulls it to ground. Due to variances in component values and tolerances, the oscillators are all out of sync, leading to a remarkably pleasing blinkenlights effect.

We’re a big fan of the raw aesthetic, but [Matseng] has also fitted the grid with a diffuser which more clearly represents that vintage computer aesthetic. We’re a big fan of the blinken here, such as this loving recreation of the PDP-8/I. Video after the break. Continue reading “This Blinken Grid Is All Analog”

Samy Kamkar’s LED Balloon Network

Writing this in the frigid darkness of a Northern Hemisphere January evening, I have to admit to more than a little envy of Samy Kamkar and his friends. One of their summer events is a private party at a secluded campground somewhere that looks quite warm, which from here seems mighty attractive.

Samy wanted to provide a spectacle for his friends. What he came up with is glowing orbs; LED balloons that would float above the campsite and wow his friends with their pretty synchronised illumination. Thus an adventure in wireless communications, lighter-than-air flammable gasses versus electronics weight calculations, and code optimization began, the details of which were shared in Samy Kamkar’s 2018 Hackaday Superconference talk embedded below.

Continue reading “Samy Kamkar’s LED Balloon Network”