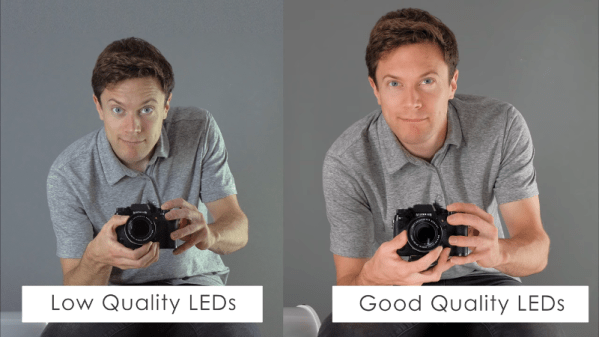
It’s 2018, a full thirteen years since YouTube was founded. With an online sharing service up and running, and high-resolution cameras in just about every mobile phone, the production of video has been democratized. Sadly, for those citizens with eyes, the production of good video is not so widespread. What’s one thing you need for good video? Good lighting – and you can build it yourself.
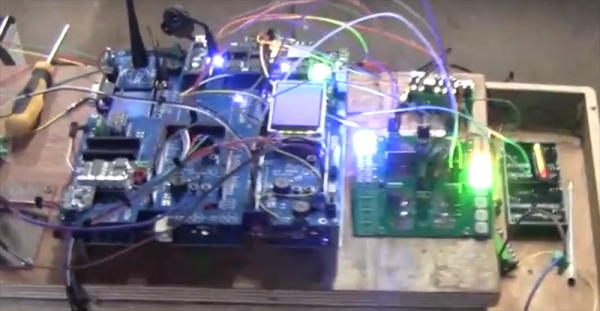
This build from [DIY Perks] relies upon readily available components and uses simple build techniques accessible to the average maker. Using cheap LED strips (albeit photography-grade ones), along with off-the-shelf plastics and dimmer modules, it’s possible to build a light that preserves colour integrity while being lightweight, compact, and easy to use. The final product is remarkably elegant – at a glance it could be a commercial product. Nifty tricks like daisy chaining the power supplies and combining different spectrum LEDs for better control add to the functionality.
Overall, it’s a build that does take some time, but it could easily be completed in a weekend and the results are top notch. It’s not the first lightbox build we’ve seen here, either. Video after the break.
[Thanks to Keith O for the tip!]