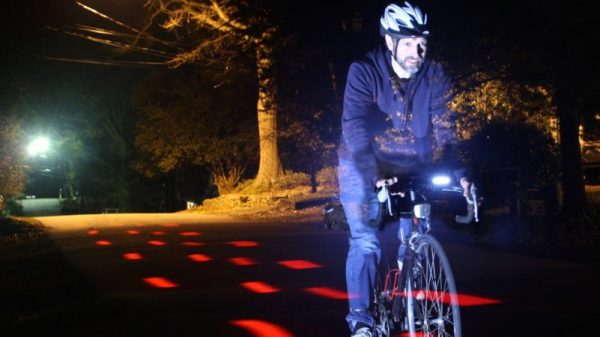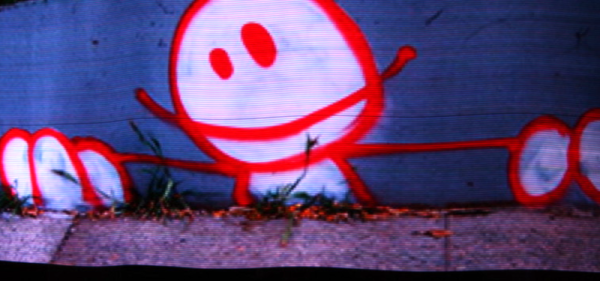
Light painting is a technique which allows you to “draw” on a photograph by moving a light past the camera during a long exposure shot. While it can be difficult to master, light painting allows for some incredible effects such as text and images that appear to be hovering in mid-air. Think of it like a very slow but much cooler version of an augmented reality app.
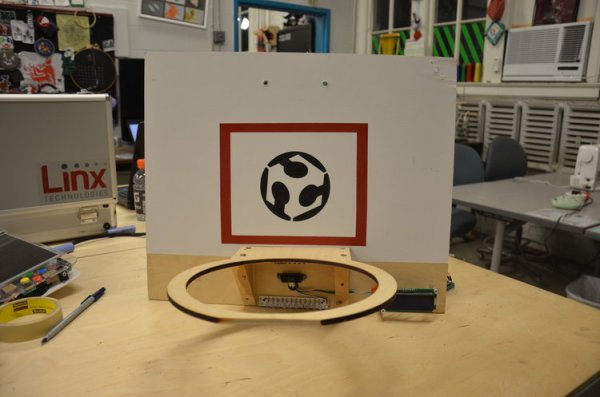
 [Reven] recently wrote in to tell us about the Arduino light painter he put together, and while DIY (and even commercial) light painting gear isn’t exactly new at this point, we think he’s raised the bar a bit with his design. With the addition of a slick 3D printed enclosure and on-board display and menu system, his light painter looks exceptionally professional for being built out of hardware he had on hand.
On his blog, [Reven] has done a phenomenal job of documenting the build from start to finish. Not only does he include a detailed Bill of Materials and the STL files so you can build your own version of his light painter, he walks the reader though his design process and explains why he did the things he did. Even if you aren’t interested in building a light painter, there’s almost certainly something of interest for anyone who’s ever looked at a pile of parts on their workbench and wondered how they were going to turn it into a functioning device.
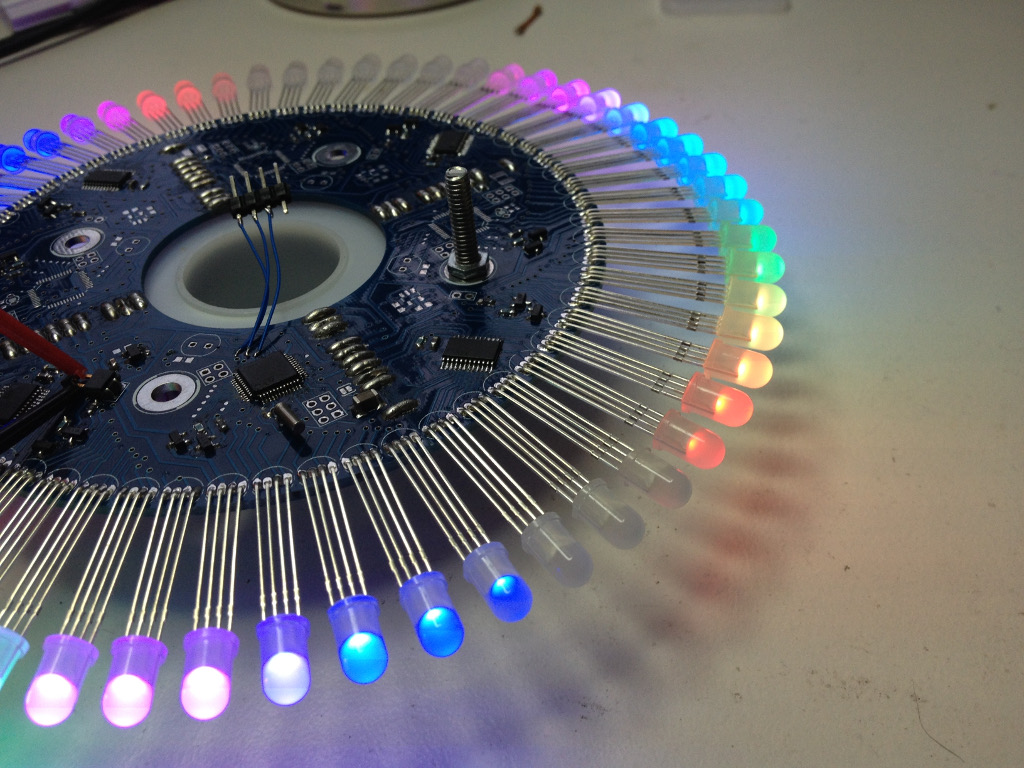
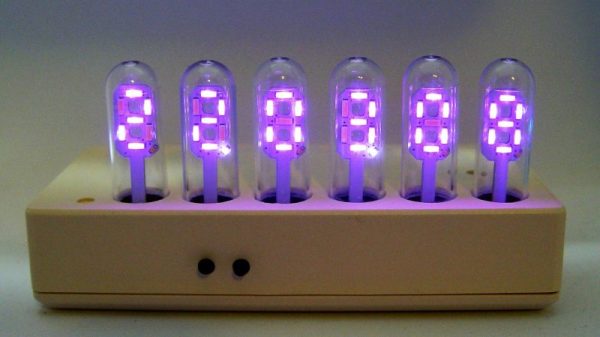
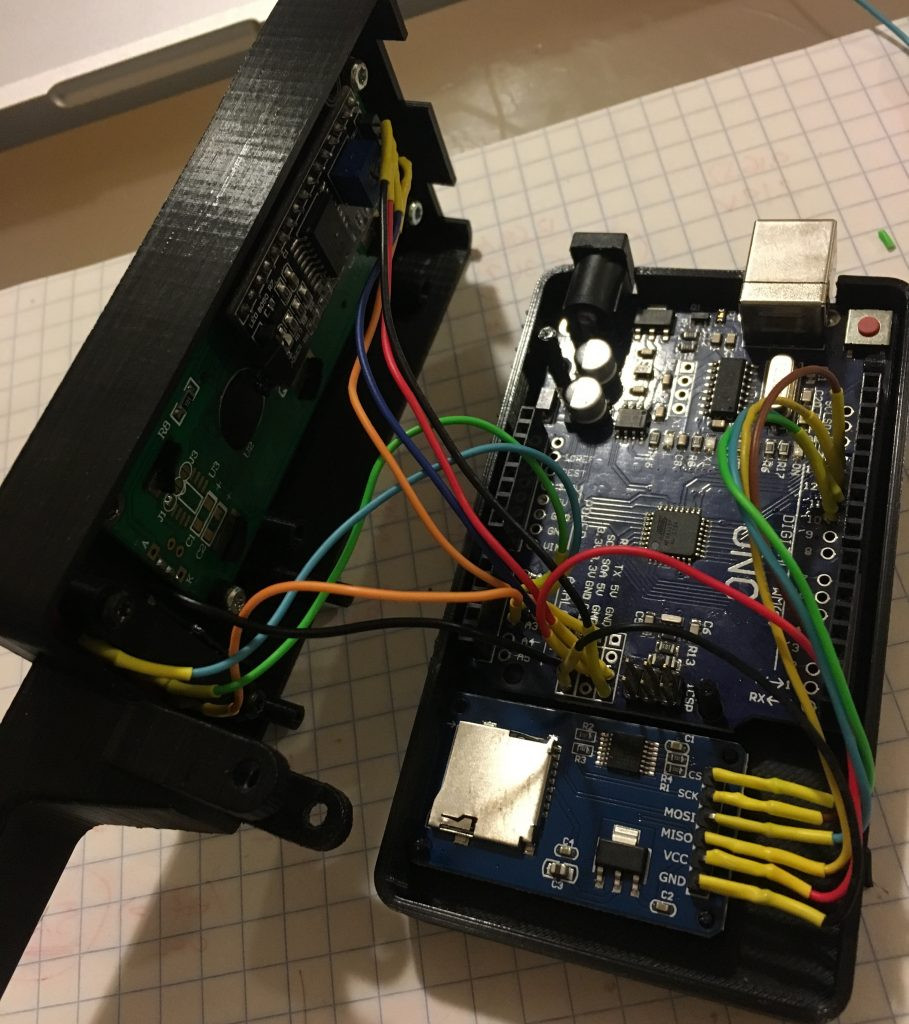
Powered by an Arduino Uno, the light painter provides a user interface on a 16×2 LCD which allows control over not only the brightness of the WS2812 LED strips but selecting and loading different images from the micro SD card. The case was designed in FreeCAD, and while [Reven] mentions there are a number of issues which could be improved, satisfies all his design goals.
We covered the original Adafruit project that [Reven] based his code all the way back in 2013, though there’s certainly been more modern interpretations of the idea since then.