Harp Uses Frikin’ Lasers

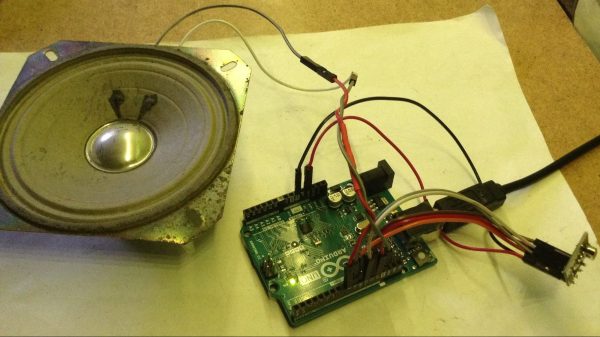
We aren’t sure if you really need lasers to build [HoPE’s] laser harp. It is little more than some photocells and has an Arduino generate tones based on the signals. Still, you need to excite the photocells somehow, and lasers are cheap enough these days.

Mechanically, the device is a pretty large wooden structure. There are six lasers aligned to six light sensors. Each sensor is read by an analog input pin on an Arduino armed with a music-generation shield. We’ve seen plenty of these in the past, but the simplicity of this one is engaging.

Continue reading “Harp Uses Frikin’ Lasers”

A musical cyberdeck

Musical Cyberdeck Is Part Synth, Part MIDI Controller, And All Cool

When a new project type starts to get a lot of exposure, it’s typically not long before we see people forking the basic concept and striking out in a new direction. It happened with POV displays, it happened with Nixie clocks, and now, it seems to be happening with cyberdecks. And that’s something we can get behind, especially with cyberdecks built to suit a specialized task, like this musical cyberdeck/synth.

Like many musicians, [Benjamin Caccia] felt like he needed a tool to help while performing with his band “Big Time Kill.” He mainly needed to trigger track playbacks on the fly, but also wanted something to act as a mega-effects pedal and standalone synth. And while most of that could be done with an iPad, it wouldn’t look as cool as a cyberdeck. The build centers around a Raspberry Pi 4 and a 7″ LCD display. Those sit on top of a 25-key USB MIDI keyboard and a small mixer. Alongside the keyboard is a USB keypad, which has custom mappings to allow fast access to buried menu functions in the cyberdeck’s Patchbox OS. Everythign was tied together on a 3D-printed frame; the video below shows it in action, and that it sounds as good as it looks.

We think [Benjamin]’s cyberdeck came out great. Need to see some other specialized cyberdecks? Why not take a look at this battle-ready cyberdeck, one that aims to be distraction-free, or a cyberdeck for patrolling the radioactive wastelands.

Continue reading “Musical Cyberdeck Is Part Synth, Part MIDI Controller, And All Cool”

Touchscreen Makes For A Neat Wavetable Synth

A popular tool in chiptune software like LSDJ allows the user to draw a waveform and use it as the basis for a wavetable synth. It’s fun and it can produce some great bleeps and bloops. [Kevin] has created a similar tool using an Arduino and a touchscreen.

You can draw the waveform! That’s neat.

The build is based on the Arduino Uno, the humble mainstay of the Arduino line. It’s hooked up to an ILI9488 color touchscreen display, which acts as the primary user interface. Using a stylus, or presumably a finger, the user can draw directly on the screen to specify the desired waveform for the synth to produce. The Arduino reads the step-by-step amplitude values of the drawn waveform and uses them to synthesize audio according to MIDI messages received over its serial port. Audio output is via PWM, as is common in low-cost microcontroller projects.

It’s a fun build and we’re sure [Kevin] learned plenty about wavetable synthesis along the way. We’ve seen his work on other Arduino synthesis projects before, too! Video after the break.

Continue reading “Touchscreen Makes For A Neat Wavetable Synth”

MIDI Mouse Makes Marvelous Music

It’s an old misconception that digital musicians just use a mouse and keyboard for their art. This is often far from the truth, as many computer music artists have a wide variety of keyboards/synths, MIDI controllers, and “analog” instruments that all get used in their creative process. But what if one of those instruments was just a mouse?

Well, that must have been what was going through [kzra]’s mind when he turned an old ps/2 roller ball mouse into an electronic instrument. Born out of a love for music and a hate for waste, the mouse is a fully functional MIDI controller. Note pitch is mapped to the x-coordinate of the pointer, and volume (known as velocity, in MIDI-speak) is mapped to the y-coordinate. The scroll wheel can be used as a mod wheel, user-configurable but most often used to vary the note’s pitch. The mouse buttons are used to play notes, and can behave slightly differently depending on the mode the instrument is set to.

Not satisfied with simply outputting MIDI notes, [kzra] also designed an intuitive user interface to go along with the mouse. A nice little OLED displays the mode, volume, note, and mouse coordinates, and an 8×8 LED matrix also indicates the note and volume. It’s a fantastic and versatile little instrument, and you’ve gotta check out the video after the break to see it for yourself. We’ve seen some awesome retro-tech MIDI controllers before, and this fits right in.

Continue reading “MIDI Mouse Makes Marvelous Music”

Turning GameCube & N64 Pads Into MIDI Controllers

It’s fair to say that the Nintendo 64 and GameCube both had the most unique controllers of their respective console generations. The latter’s gamepads are still in high demand today as the Smash Bros. community continues to favor its traditional control scheme. However, both controllers can easily be repurposed for musical means, thanks to work by [po8aster].

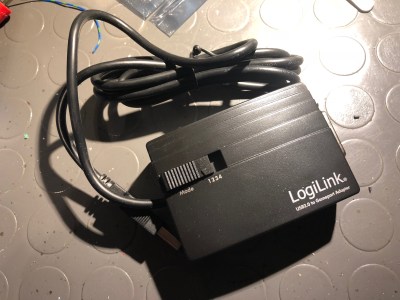
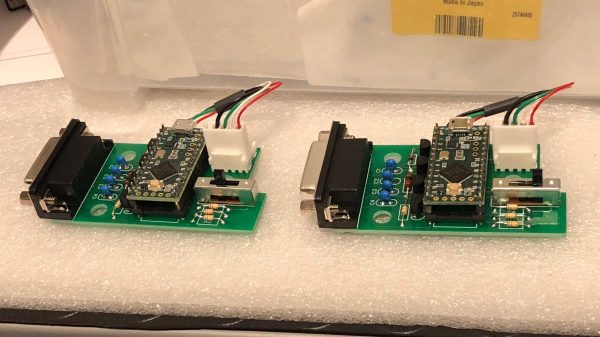
The project comes in two forms – the GC MIDI Controller and the N64 MIDI Controller, respectively. Each uses an Arduino Pro Micro to run the show, a logic level converter, and [NicoHood’s] Nintendo library to communicate with the controllers. From there, controller inputs are mapped to MIDI signals, and pumped out over traditional or USB MIDI.

Both versions come complete with a synth mode and drum mode, in order to allow the user to effectively play melodies or percussion. There’s also a special mapping for playing drums using the Donkey Konga Bongo controller with the GameCube version. For those eager to buy a working unit rather than building their own, they’re available for purchase on [po8aster’s] website.

It’s a fun repurposing of video game hardware to musical ends, and we’re sure there’s a few chiptune bands out there that would love to perform with such a setup. We’ve seen other great MIDI hacks on Nintendo hardware before, from the circuit-bent SNES visualizer to the MIDI synthesizer Game Boy Advance. Video after the break.

Continue reading “Turning GameCube & N64 Pads Into MIDI Controllers”

12-Arduino Orchestra Plays Star Wars Fanfare

Back in the early days of the musical synthesizer, some designers who wished for polyphony in their instruments would simply build multiple tone-generators for as many notes as they wished to play. [Kevin] took that same approach with his Arduino orchestra, and set about having it play the closing number from Star Wars: A New Hope.

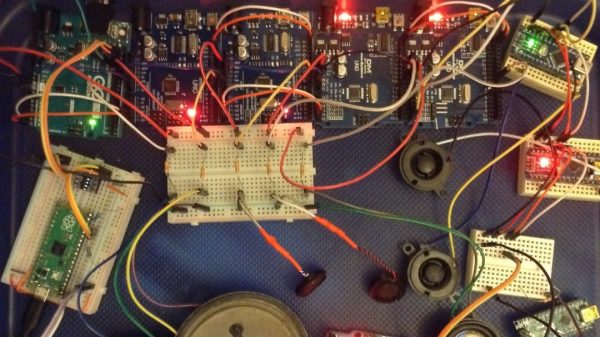
The build consists of twelve Arduino Nanos, each wired up to power, a speaker, and the same MIDI cable. The MIDI cable carries note data for each Arduino on a separate MIDI channel, allowing each to play its own role in the orchestra. [Kevin] then set about arranging the Star Wars music into a MIDI file suitable for the Arduinos, roughly setting six voices to high parts and six voices low. The Arduinos play the notes received using the simple tone() function. The result is a very chiptune rendition of the end of the fourth episode of the world’s most famous space opera.

It may not be neat, tidy, or efficient, but it certainly is fun. Twelve Arduinos bleeping away with their flashing LEDs and cute little speakers makes quite the conversation piece. It’s a similar approach to the Floppotron, which plays more notes by adding more floppy drives. We’ve also seen the same thing done with SEGA sound chips. Video after the break.
Continue reading “12-Arduino Orchestra Plays Star Wars Fanfare”

Old Phone Becomes MIDI Controller

MIDI controllers come in all shapes and sizes. Commercial products based on keyboards or matrixes of buttons are popular, but there’s nothing stopping you from whipping up your own creations out of whatever strikes your fancy. [Kevin] has done just that, turning an old telephone into a working MIDI device.

The phone in question is a Doro X20 wired landline phone. Being surplus to [Kevin’s] requirements left it ripe for the hacking. A Raspberry Pi Pico was wired in to the phone’s keypad, slimmed down with a hacksaw in order to allow it to neatly fit inside the original enclosure. Then it was a simple matter of whipping up some code to read the buttons and output MIDI data via the Pico’s serial output.

Later, [Kevin] brought the design into the modern world, setting it up to talk USB MIDI using the Pico’s onboard USB hardware. This makes using it with a computer a cinch, and lets [Kevin] control a DAW using the handset controller.

It’s a fun build, and one that shows how you can easily build your own MIDI hardware using nothing but a soldering iron, some buttons, and a modern microcontroller. From there, the sky really is the limit. Whether you like big knobs, easy playing, or have your own personal tastes, you can build what you like to suit your own style. When you do, drop us a line! Video after the break.

Continue reading “Old Phone Becomes MIDI Controller”