A lot of technological milestones were reached in 2007. The first iPhone, for example, was released that January, and New Horizons passed Jupiter later on that year. But even with all of these amazing achievements, Volvo still wasn’t putting auxiliary inputs on the stereo systems in their cars. They did have antiquated ports in their head units though, and [Kalle] went about engineering this connector to accommodate an auxiliary input.
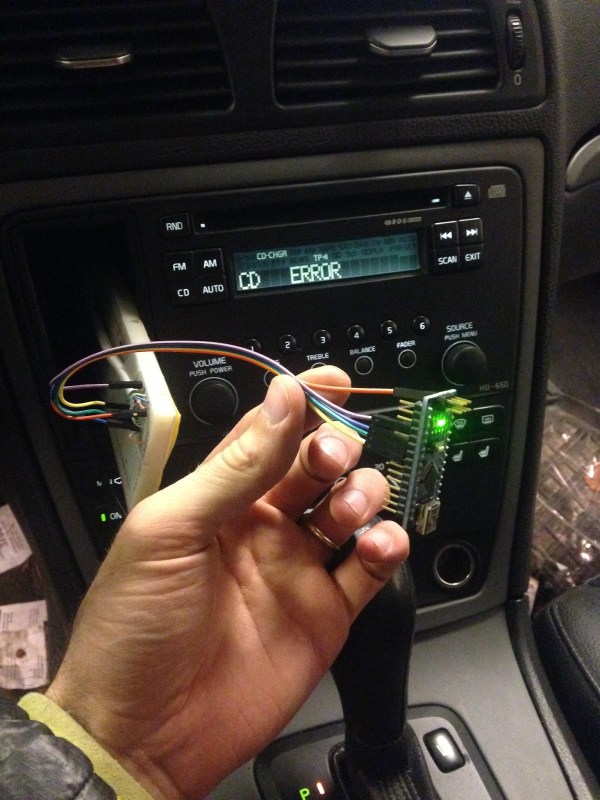
The connector in question is an 8-pin DIN in the back, which in the days of yore (almost eight years ago) would have been used for a CD changer. Since CDs are old news now, [Kalle] made use of this feature for the hack. The first hurdle was that the CD changer isn’t selectable from the menu unless the head unit confirms that there’s something there. [Kalle] used an Arduino Nano to fool the head unit by simulating the protocol that the CD changer would have used. From there, the left and right audio pins on the same connector were used to connect the auxiliary cable.
If you have a nearly-antique Volvo like [Kalle] that doesn’t have an aux input and you want to try something like this, the source code for the Arduino is available on the project page. Of course, if you don’t have a Volvo, there are many other ways to go about hacking an auxiliary input into various other devices, like an 80s boombox or the ribbon cable on a regular CD player. Things don’t always go smoothly, though, so there are a few nonstandard options as well.