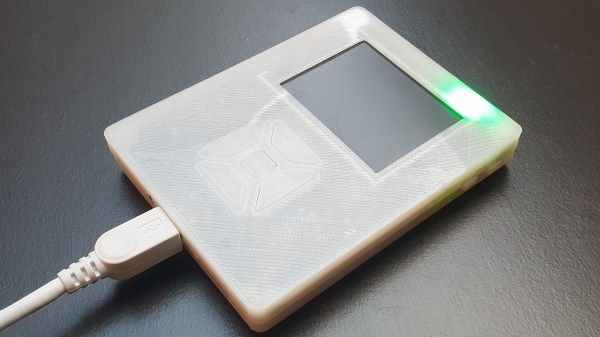
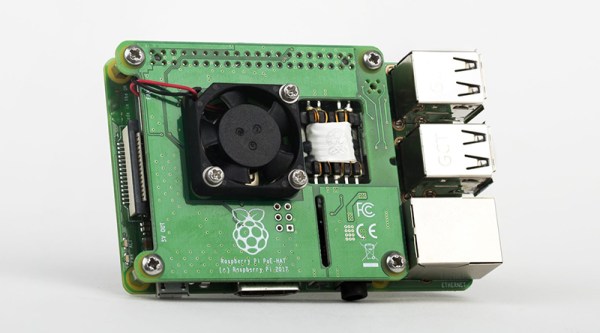
[Bram] wasn’t satisfied with the portable music playback devices that were currently available. He craved an offline music player that had a large storage capacity but found that this was only available in high-end, off-the-shelf options, which were far too expensive. [Bram] decided to make his own, powered by a Raspberry Pi zero. After building an initial prototype, the design was iterated a few times, with the latest version featuring a BOM cost of roughly €80.
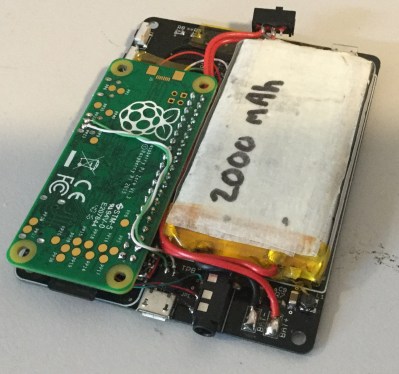
The whole project is open source, with hardware and software files available on the project GitHub. A 2.2″ TFT displays the UI, which is of course completely customisable. Everything is squashed into a 3D printed case, which has the smallest form factor possible whilst retaining a decent amount of battery life. The electronics are what you’d expect: a boost converter to produce 5 V for the Pi from the 3.7V battery, a charge controller and a battery protection circuit. As a bonus, the battery voltage is monitored with a 12-bit ADC which reports to the Pi, enabling it to do a safe shutdown at low voltage, and display battery level on the UI.
Since the whole purpose of the device is to play audio, onboard filtered PWM wasn’t going to cut it, so instead a 24-bit DAC talks to the Pi via I2S. The audio player backend is VLC, so there’s support for plenty of different file types. A disc image of the whole system is available with everything pre-configured, and you can even buy the assembled PCB from Tindie.
Want to keep the look and feel of your old iPod? We covered an impressive restoration of a 6th gen model, upgrading the storage and battery significantly.


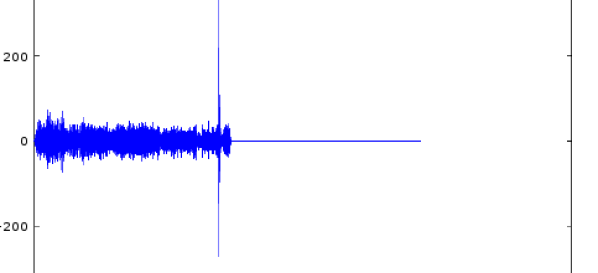
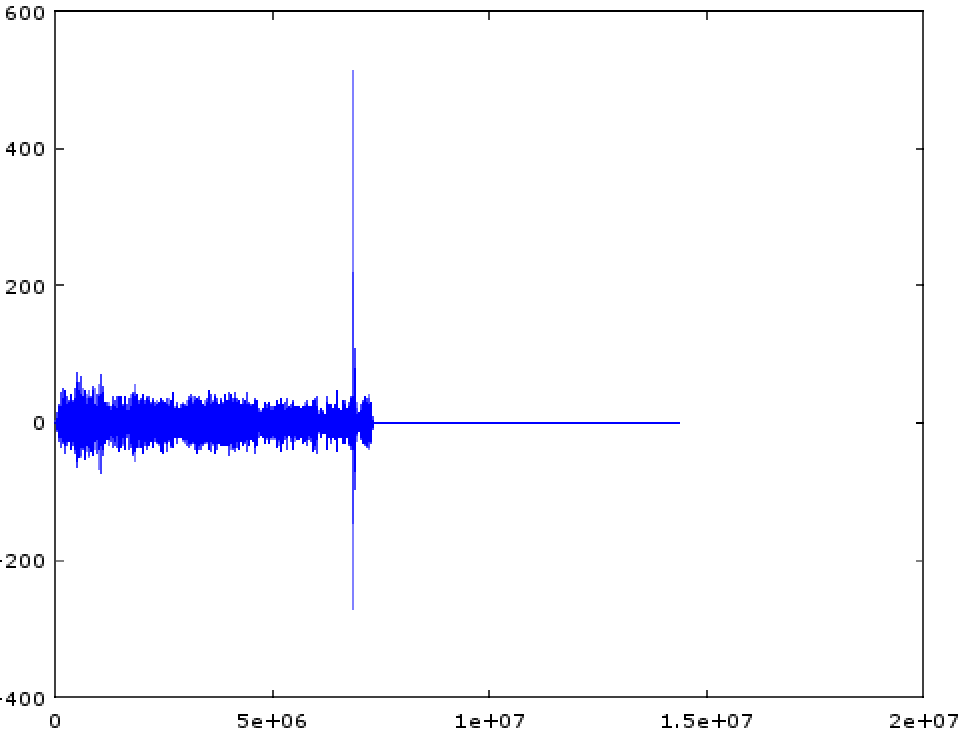 [tomek] was aware of this hip knowledge domain called Digital Signal Processing but hadn’t done any of it themselves. Like many algorithmic problems the first step was to figure out the fastest way to bolt together a prototype to prove a given technique worked. We were as surprised as [tomek] by how simple this turned out to be. Fundamentally it required a single function – cross-correlation – to measure the similarity of two data samples (audio files in this case). And it turns out that
 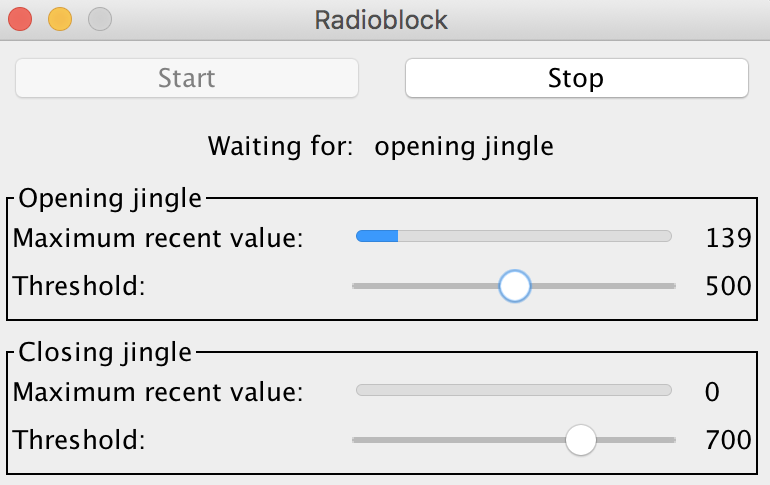 At this point all that was left was packaging it all into a one click tool to listen to the radio without loading an entire analysis package. Conveniently Octave is open source software, so [tomek] was able to dig through its sources until they found the bones of the critical xcorr() function. [tomek] adapted their code to pour the audio into a circular buffer in order to use an existing Java FFT library, and the magic was done. Piping the stream out of ffmpeg and into the ad detector yielded events when the given ad jingle samples were detected.