It’s safe to say that most of us have at least one Raspberry Pi hanging from a USB cable someplace, silently hammering away at some unglamorous task that you’d rather not do on a “real” computer. With as cheap as they are, it’s not like there’s a big concern about where it sets up shop. But if you’re like [Jeremy S. Cook] and want your $35 Linux computer to be a permanent member of the family, then his tips on turning an old PC into a gloriously overkill Pi NAS may be of interest.
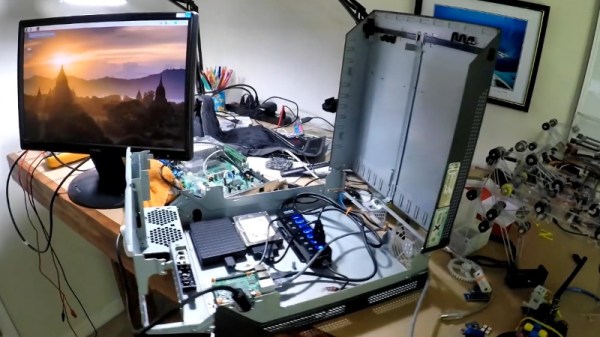
 The main component [Jeremy] salvages from the old Lenovo desktop PC is, obviously, the case itself. Stripped of its original components, the case gives him plenty of room to mount the Pi as well as a couple of hard drives and a powered USB hub. To prevent the bottom of the Raspberry Pi from shorting out against the metal computer case, he designed and 3D printed a mount for it. Everything else is held down with hook and loop fastener, making it quick and easy to move things around and make adjustments.
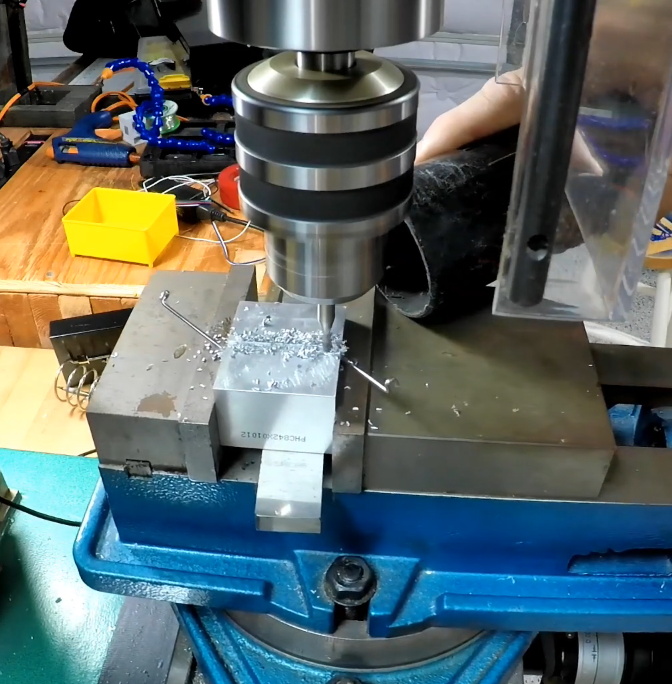
While it might not be strictly necessary, [Jeremy] also took the time to salvage the computer’s old heatsink. Being far too large to fit on the Pi as-is, he ran a line down the back of it with his mill and snapped it in half. He uses a bit of thermal tape to hold the bisected heatsink onto the Pi’s SoC, with a couple pieces of electrical tape to make sure it doesn’t short out on anything.
Raspberry Pi NAS builds are exceptionally popular, and we’ve seen more than we can count over the years. You can build one out of parts from IKEA, and if you don’t mind plastic, you can always 3D print the whole thing. If you really want to go minimal, you can even hang some files on the network with little more than a Pi Zero stuck into a USB port.
Continue reading “Raspberry Pi NAS Makes Itself At Home In Donor PC”