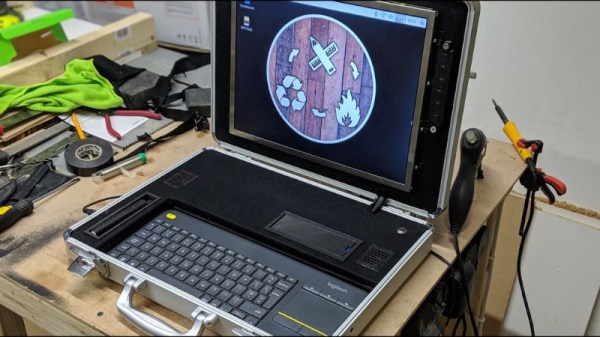
From building your own analog effects pedal to processing audio through micro controllers, a lot of musicians love building their own boxes of sound modification. In his entry for the 2019 Hackaday Prize, [Craig Hissett] has a project to build an all-in-one multi-effects stomp box.
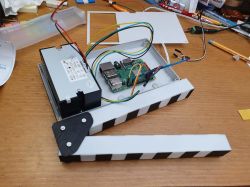
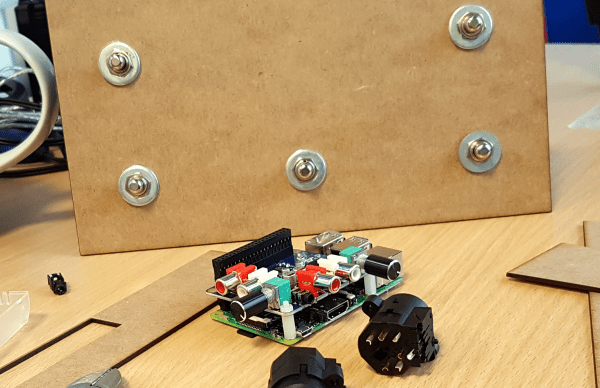
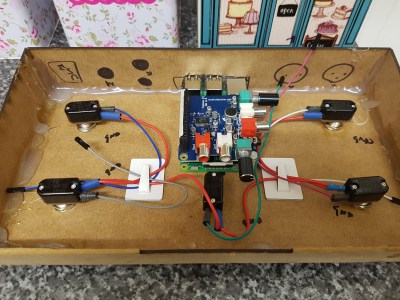 At the center of the box is a Raspberry Pi with an AudioInjector stereo sound card. The card takes care of stereo in and out, and passing the signal to the Pi. The software is Modep, an open source audio processor that allows the setup of a chain of digital effects plugins to be run on the Pi. After finding some foot switches, [Craig] connected them to an Arduino Pro Micro which he set up as a MIDI device that sends MIDI messages to the Modep software running on the Pi.
There are still a few steps to go, but [Craig] has the basic layout covered. Next up is wiring it up and building a proper case for it, as well as working on latency. A few years ago, another multi-effects stomp box was featured in the Hackaday Prize, and last year, this multi-effects controller was featured.