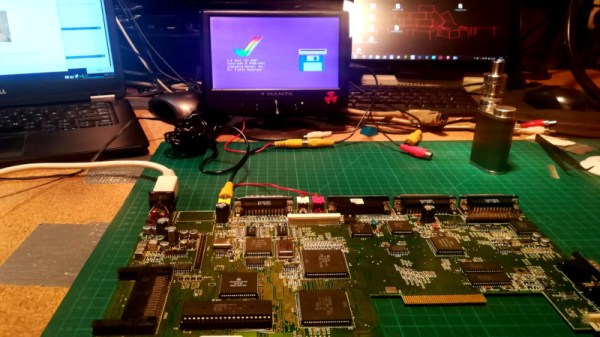
The Amiga will be forever loved for bringing serious multimedia capabilities to the home computer market. However, these machines are now showing their age, and keeping them running can take a bit of work. [Drygol] isn’t one to shy away from the task, however, and set about repairing a few Amiga 600s that came his way.
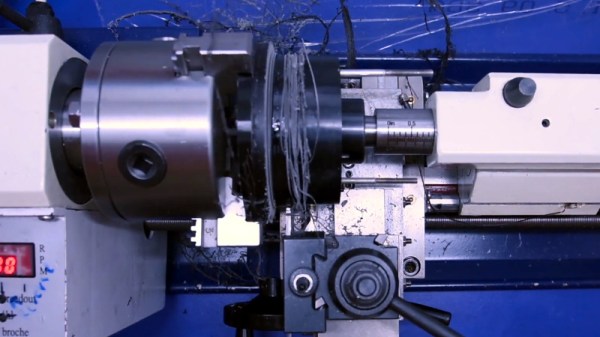
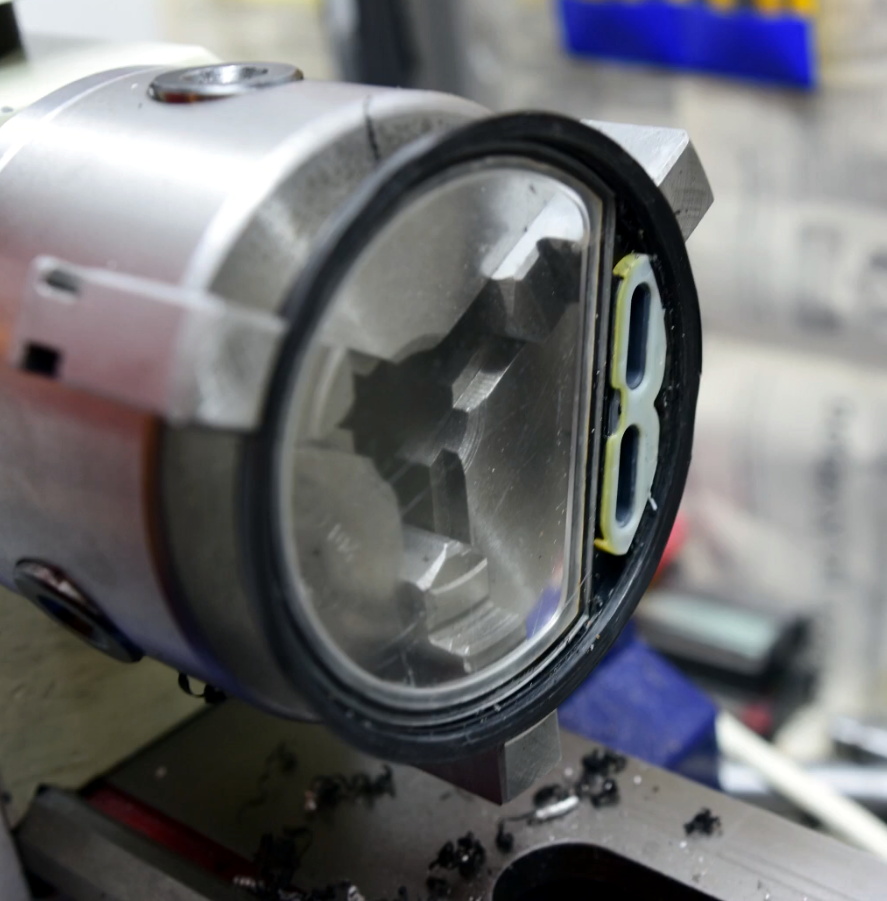
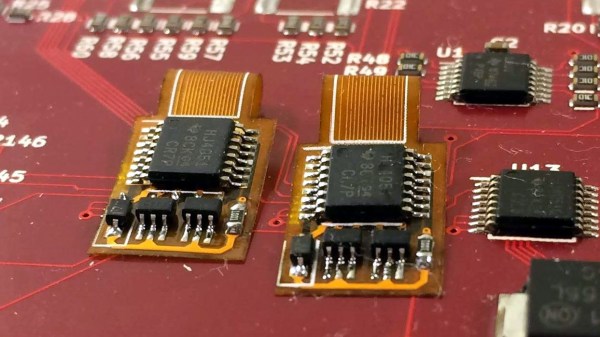
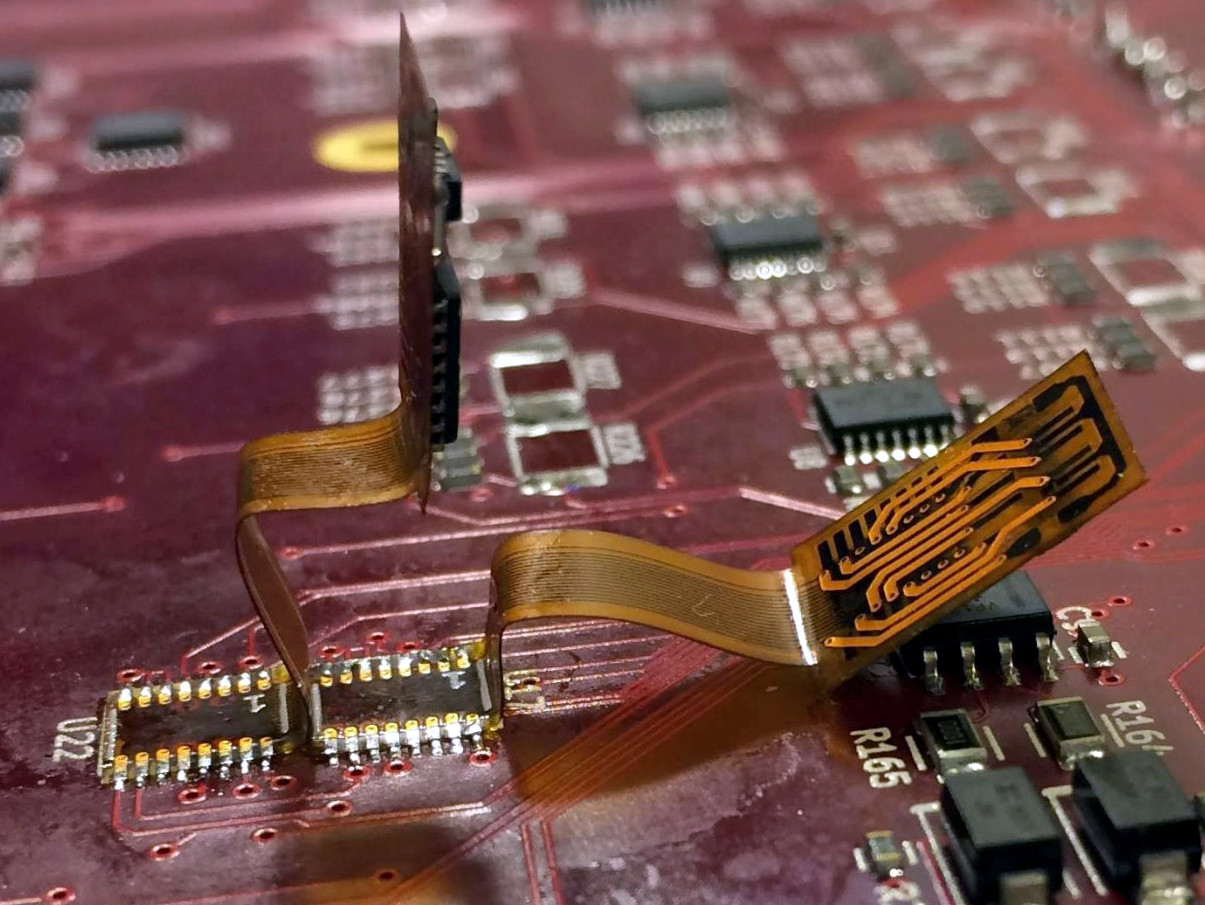
First up on the docket is replacing the many electrolytic capacitors that tend to leak over the years. They can cause corrosion, destroying traces and other components, as well as failing themselves. [Drygol] is an old hand at this now, whipping out the hot air station and some copper shielding to protect delicate connectors from melting. A simple recap was enough to get one machine up and running, but the other was more recalcitrant. When swapping a dud CPU out, a pad was destroyed on the PCB. This necessitated some careful tracing, followed by a drill hole through the PCB to allow a bodge wire to run the signal from the other side of the board.
There’s also plenty of upgrades to be done; S-Video outputs instead of the crummy old RF modulator, and special interrupt switches that help when cracking games and doing assembly programming. Thanks to a rich aftermarket and vivid community, researching and performing mods is easy thanks to writeups and parts available online.
It’s a great example of the basic techniques one must master to keep old hardware on the boil. Learn to recap, refit, and hunt for problems, and you’ll be well on your way to maintaining your retro fleet for years to come. We’ve seen [Drygol]’s work before too – this vampiric A500 is a particular treat!