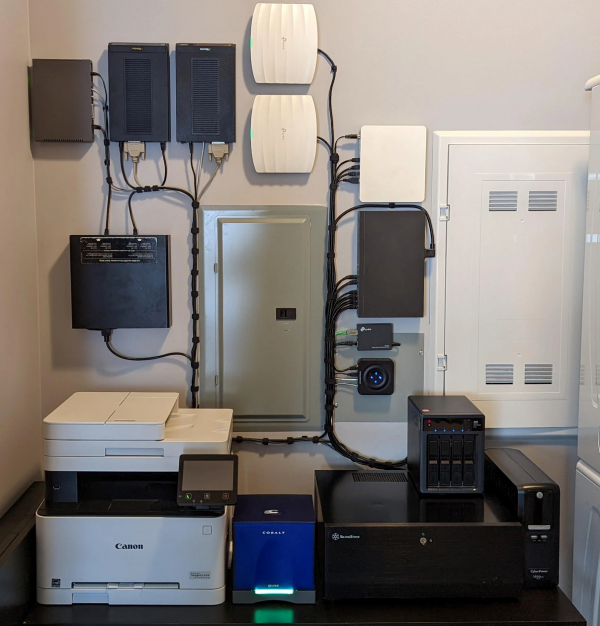
Restoring classic hardware of any sort is a great hobby to have, whether it’s restoring vintage cars, tools, or even antique Apple or Commodore computers. Understanding older equipment can help improve one’s understanding of the typically more complicated modern equivalents, plus it’s just plain fun to get something old up and running again. Certainly we see more retro computing restorations around here, but one thing that we don’t typically see much of is the networking equipment that would have gotten those older computers onto the early Internet. [Retrocet] has a strong interest in that area, and his latest dial-up server really makes us feel like we’re back in the 90s.
This home networking lab is built around a Cobalt Qube 2 that was restored after it was gifted to him as a wedding present. The Qube had a cutting edge 250 MHz 64-bit processor with up to 256 MB of RAM, and shipped with a customized Linux distribution as an operating system. The latest upgrade to this build sped up the modems to work at their full 56k rates which involved the addition of a DIVA T/A ISDN terminal and some additional hardware which ensures that incoming calls to the modems are digital. Keeping the connections digital instead of analog keeps the modems from lowering their speed to 33k to handle the conversions.
Until recently, [Retrocet] was running some of the software needed for this setup in a custom virtual machine, but thanks to the full restoration of the Qube and some tweaking of the Red Hat Linux install to improve the Point-to-Point Protocol capabilities of the older system, everything is now running on the antique hardware. If you are like [Retrocet] and have a bunch of this older hardware sitting around, there are still some ISPs available that can provide you with some service.
Among the many facets of modern technology, few have evolved faster or more radically than the computer. In less than a century its very nature has changed significantly: today’s smartphones easily outperform desktop computers of the past, machines which themselves were thousands of times more powerful than the room-sized behemoths that ushered in the age of digital computing. The technology has developed so rapidly that an individual who’s now making their living developing iPhone applications could very well have started their career working with stacks of punch cards.
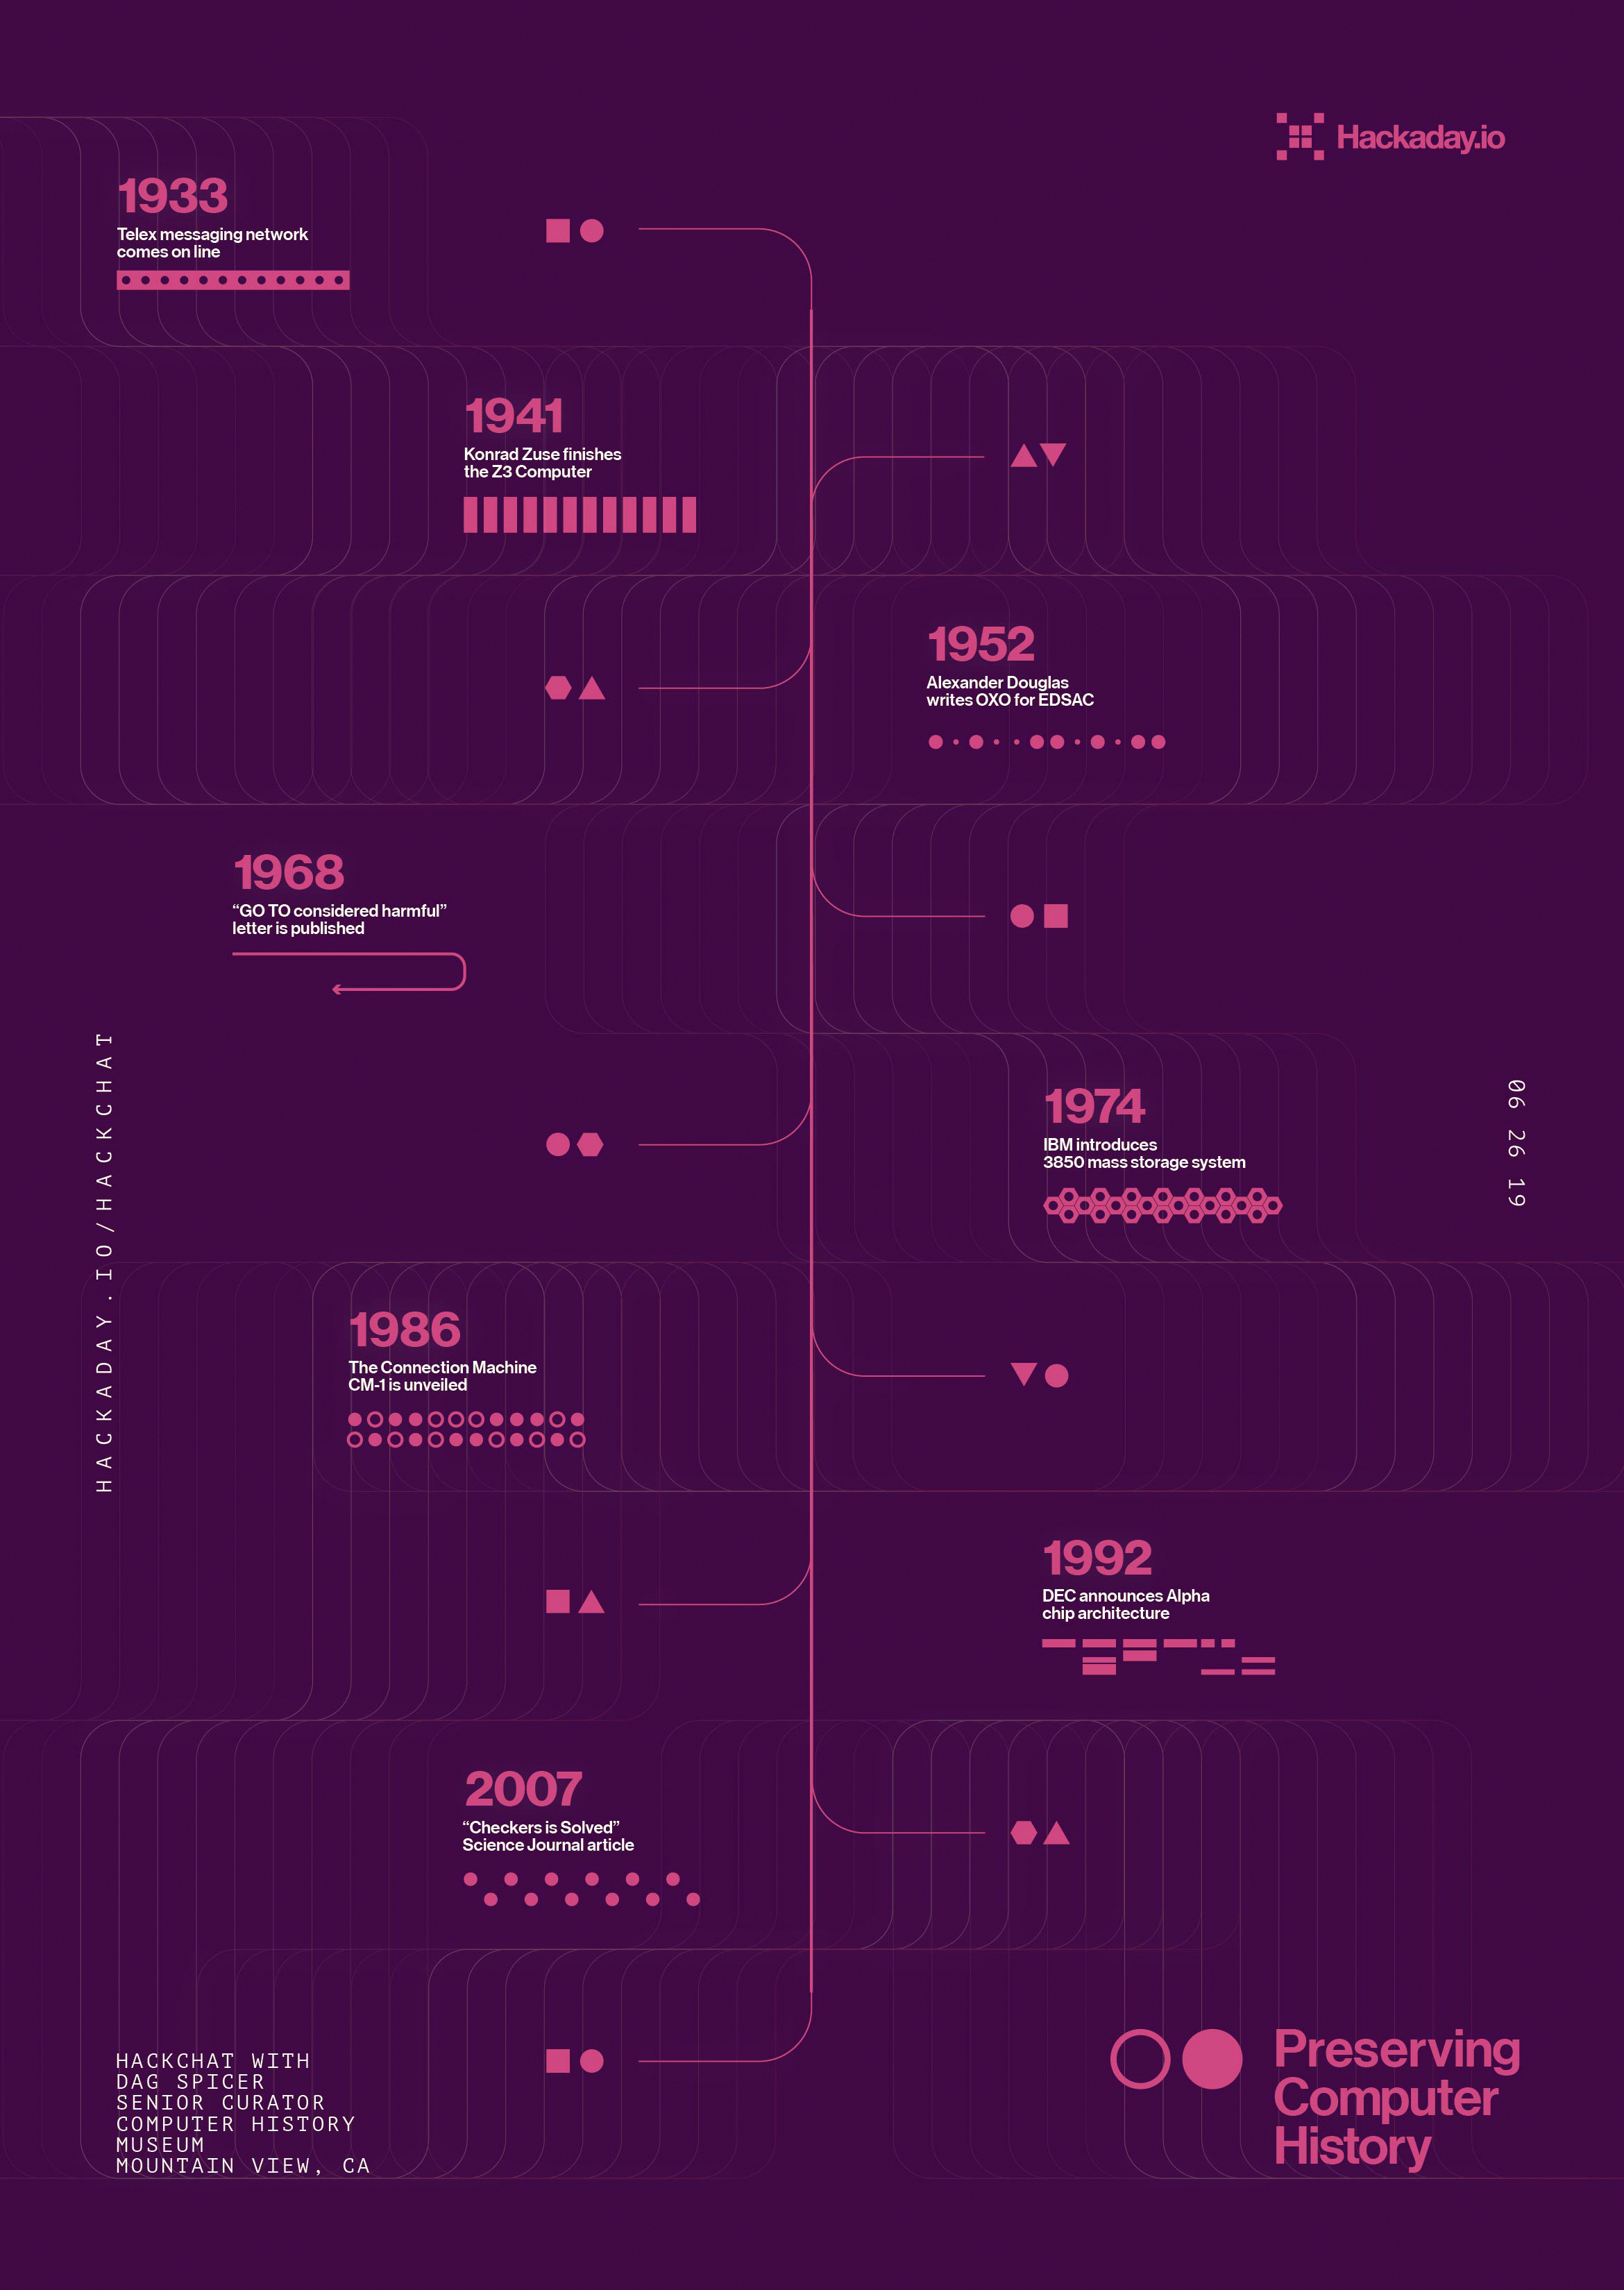
With things moving so quickly, it can be difficult to determine what’s worth holding onto from a historical perspective. Will last year’s Chromebook one day be a museum piece? What about those old Lotus 1-2-3 floppies you’ve got in the garage? Deciding what artifacts are worth preserving in such a fast moving field is just one of the challenges faced by Dag Spicer, the Senior Curator at the Computer History Museum (CHM) in Mountain View, California. Dag stopped by the Hack Chat back in June of 2019 to talk about the role of the CHM and other institutions like it in storing and protecting computing history for future generations.
To answer that most pressing question, what’s worth saving from the landfill, Dag says the CHM often follows what they call the “Ten Year Rule” before making a decision. That is to say, at least a decade should have gone by before a decision can be made about a particular artifact. They reason that’s long enough for hindsight to determine if the piece in question made a lasting impression on the computing world or not. Note that such impression doesn’t always have to be positive; pieces that the CHM deem “Interesting Failures” also find their way into the collection, as well as hardware which became important due to patent litigation.
Of course, there are times when this rule is sidestepped. Dag points to the release of the iPod and iPhone as a prime example. It was clear that one way or another Apple’s bold gambit was going to get recorded in the annals of computing history, so these gadgets were fast-tracked into the collection. Looking back on this decision in 2022, it’s clear they made the right call. When asked in the Chat if Dag had any thoughts on contemporary hardware that could have similar impact on the computing world, he pointed to Artificial Intelligence accelerators like Google’s Tensor Processing Unit.
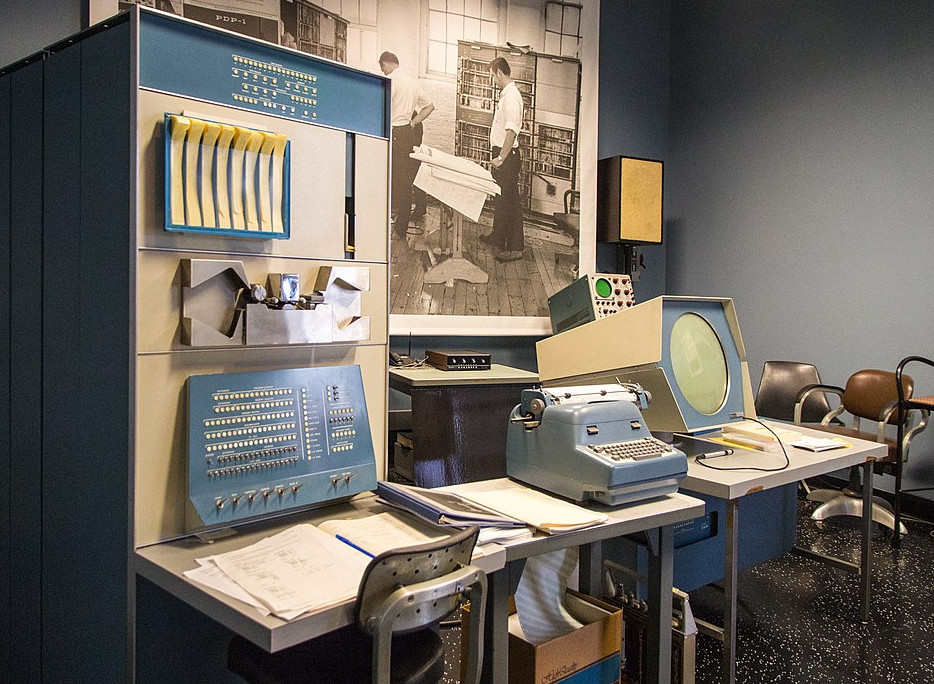
In addition to the hardware itself, the CHM also maintains a collection of ephemera that serves to capture some of the institutional memory of the era. Notebooks from the R&D labs of Fairchild Semiconductor, or handwritten documents from Intel luminary Andrew Grove bring a human touch to a collection of big iron and beige boxes. These primary sources are especially valuable for those looking to research early semiconductor or computer development, a task that several in the Chat said staff from the Computer History Museum had personally assisted them with.
Towards the end of the Chat, a user asks why organizations like the CHM go through the considerable expense of keeping all these relics in climate controlled storage when we have the ability to photograph them in high definition, produce schematics of their internals, and emulate their functionality on far more capable systems. While Dag admits that emulation is probably the way to go if you’re only worried about the software side of things, he believes that images and diagrams simply aren’t enough to capture the true essence of these machines.
Quoting the the words of early Digital Equipment Corporation engineer Gordon Bell, Dag says these computers are “beautiful sculptures” that “reflect the times of their creation” in a way that can’t easily be replicated. They represent not just the technological state-of-the-art but also the cultural milieu in which they were developed, with each and every design decision taking into account a wide array of variables ranging from contemporary aesthetics to material availability.
While 3D scans of a computer’s case and digital facsimiles of its internal components can serve to preserve some element of the engineering that went into these computers, they will never be able to capture the experience of seeing the real thing sitting in front of you. Any school child can tell you what the Mona Lisa looks like, but that doesn’t stop millions of people from waiting in line each year to see it at the Louvre.
The Hack Chat is a weekly online chat session hosted by leading experts from all corners of the hardware hacking universe. It’s a great way for hackers connect in a fun and informal way, but if you can’t make it live, these overview posts as well as the transcripts posted to Hackaday.io make sure you don’t miss out.
We feel bad when we see a retrocomputer project and think, “Hey! That’s not that old.” But, usually, when we think about it, it really is. Take the Penkesu. It looks like one of the little organizer computers that were popular — ok — a long time ago.
Inside is a Raspberry Pi Zero 2W, a 7.9 inch 400×1280 screen and a 48-key mechanical keyboard. Unsurprisingly, the case is mostly 3D printed, but it does use Gameboy Advance SP hinges.
In an interesting post on Inverse, [Sarah Wells] does a deep dive into something you probably don’t think about very often: the blinking cursor. You’d assume there wasn’t much to the story. Maybe a terminal manufacturer put a toggle flip flop on the cursor output and it caught on. But the true story is much deeper than that.
We were surprised that the father of the blinking cursor was one guy, [Charles Kiesling]. In a 1967 patent, he described the blinking cursor. An ex-Navy man, [Kiesling’s] patent names his employer at the time, Sperry Rand, where he’d worked since 1955.
That sound you may have heard in the wee hours of Christmas morning had nothing to do with Santa; rather, it was the sound of a million astronomers collectively letting out their breath around the world as the James Webb Space Telescope survived its fiery ride to space. And not only did it survive, but the ESA launch team did such a good job putting the Ariane rocket on course that NASA predicts the observatory now has enough fuel to more than double its planned ten-year mission. Everything about the deployment process seems to be going well, too, with all the operations — including the critical unfurling of the massive and delicate sunshield — coming off without a hitch. Next up: tensioning of the multiple layers of the sunshield. If you want to play along at home, NASA has a nice site set up to track where JWST is and what its current status is, including temperatures at various points on the telescope.
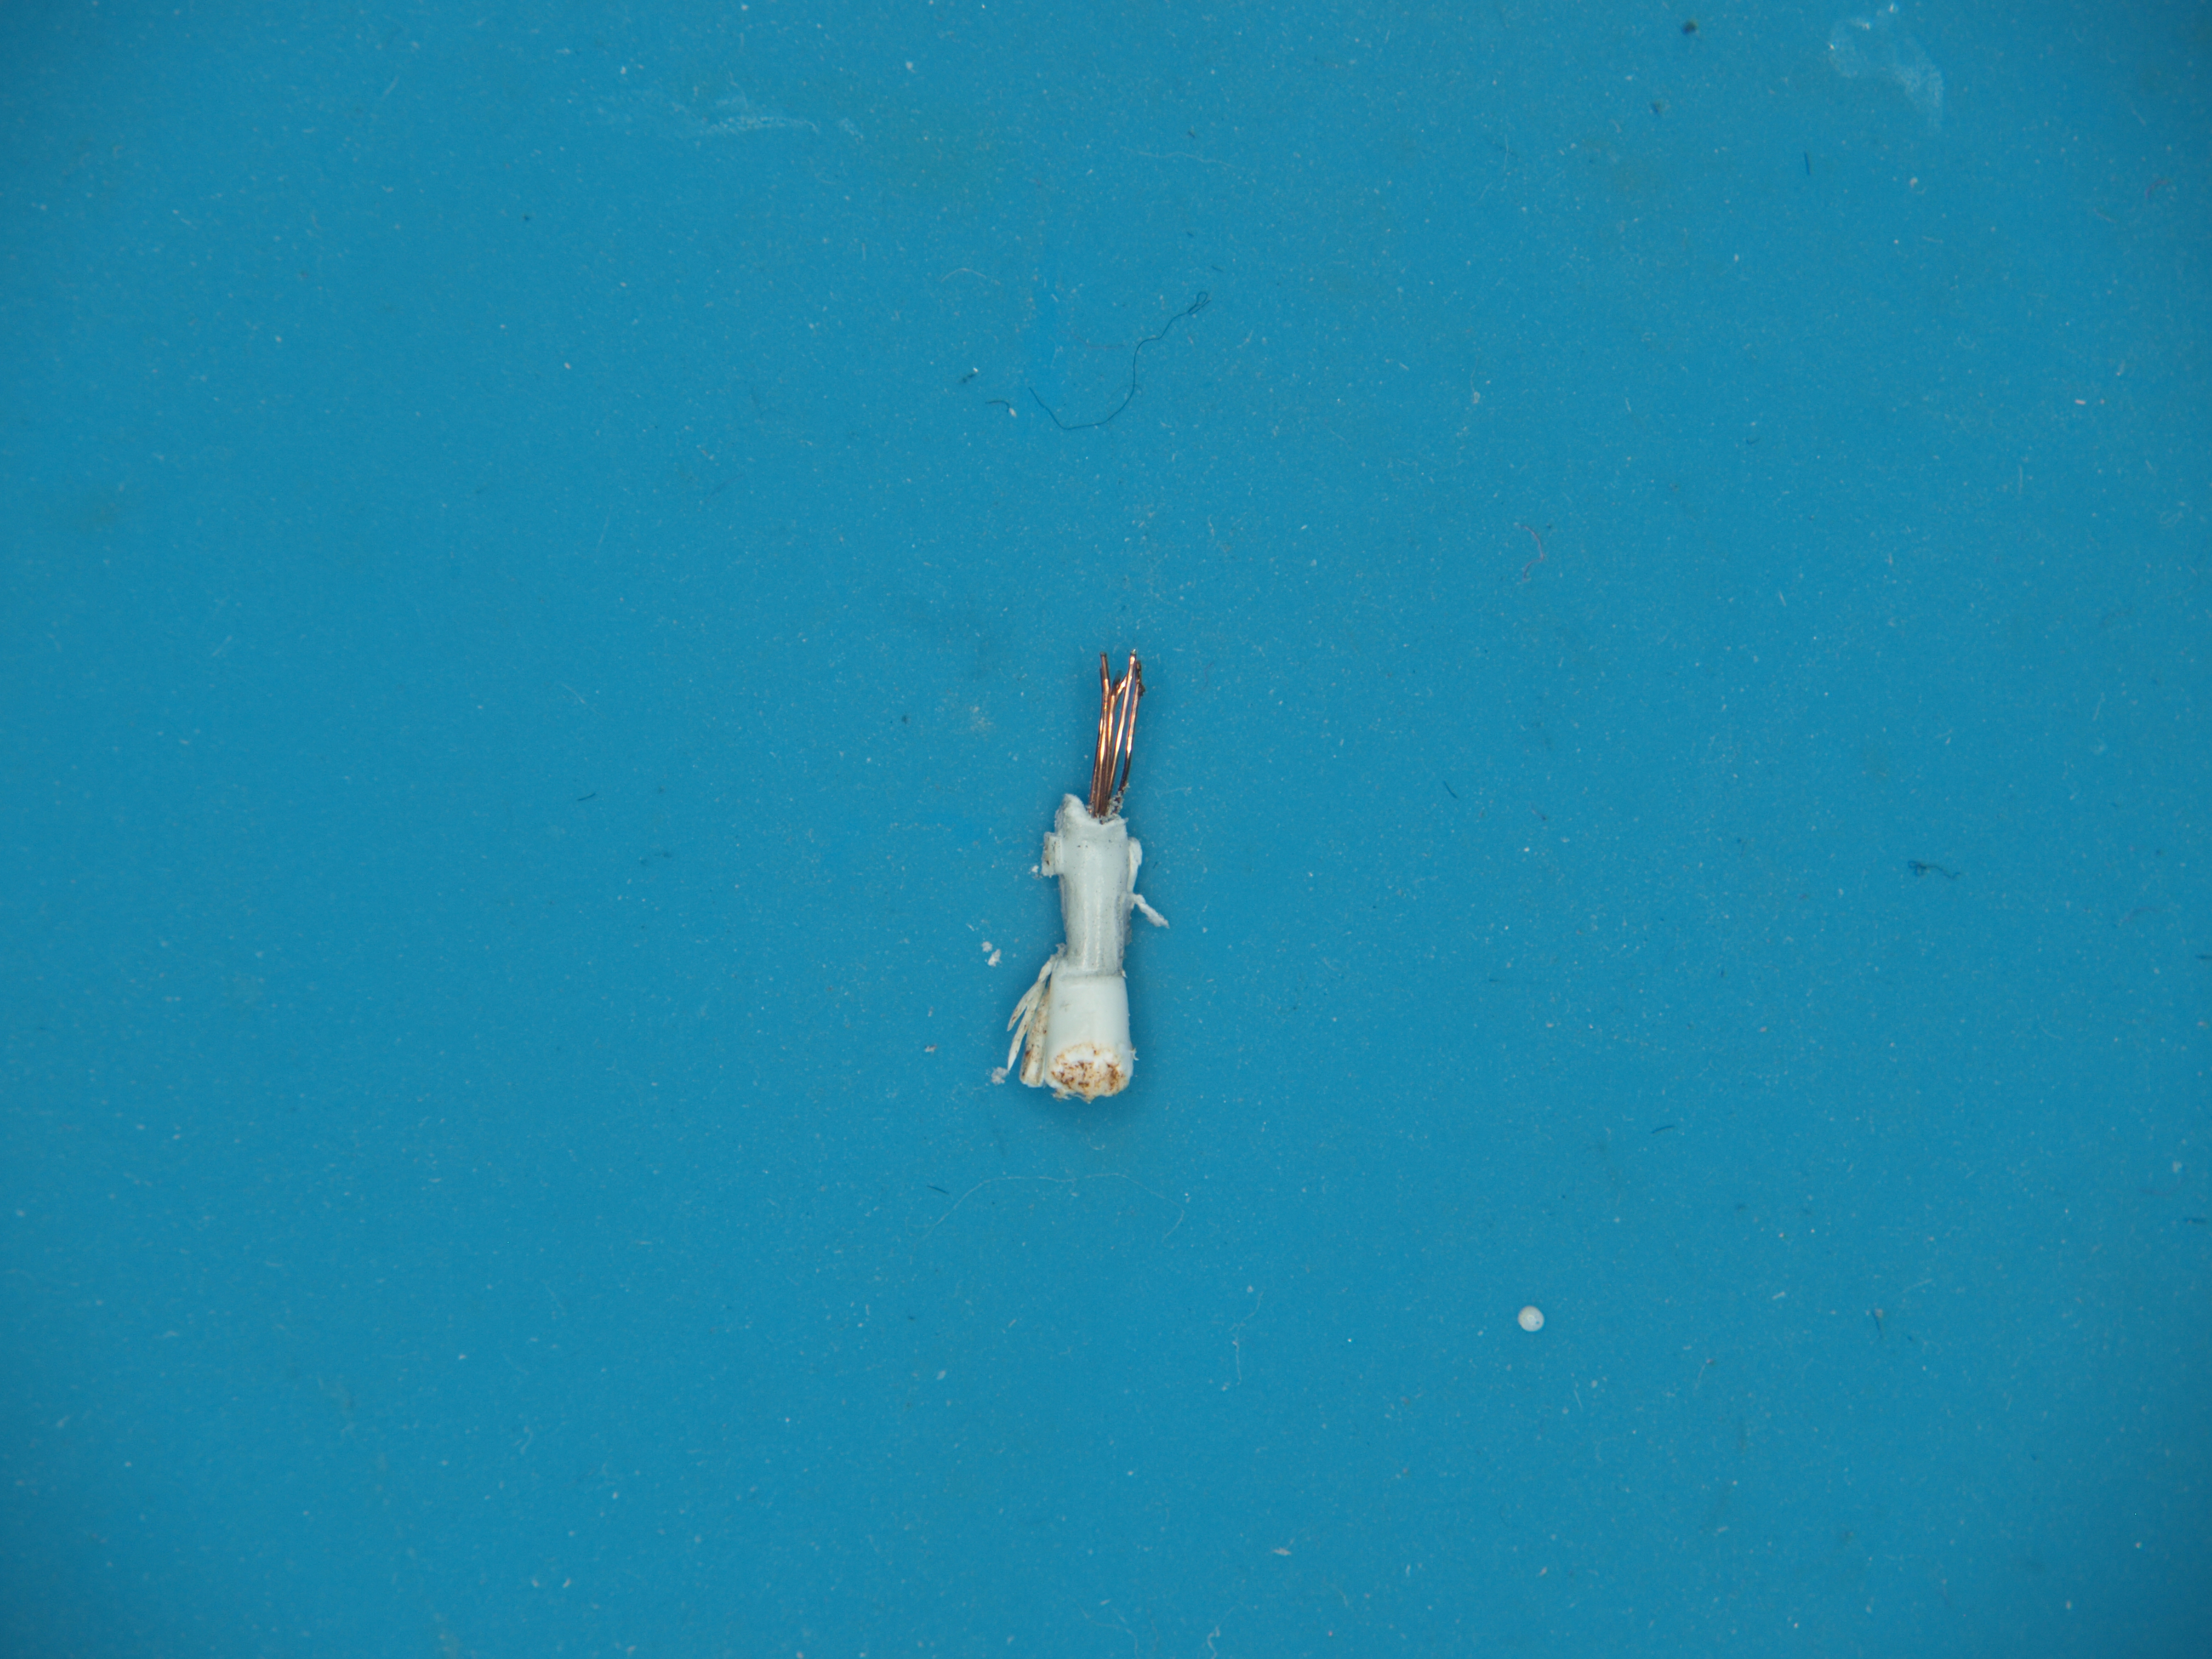
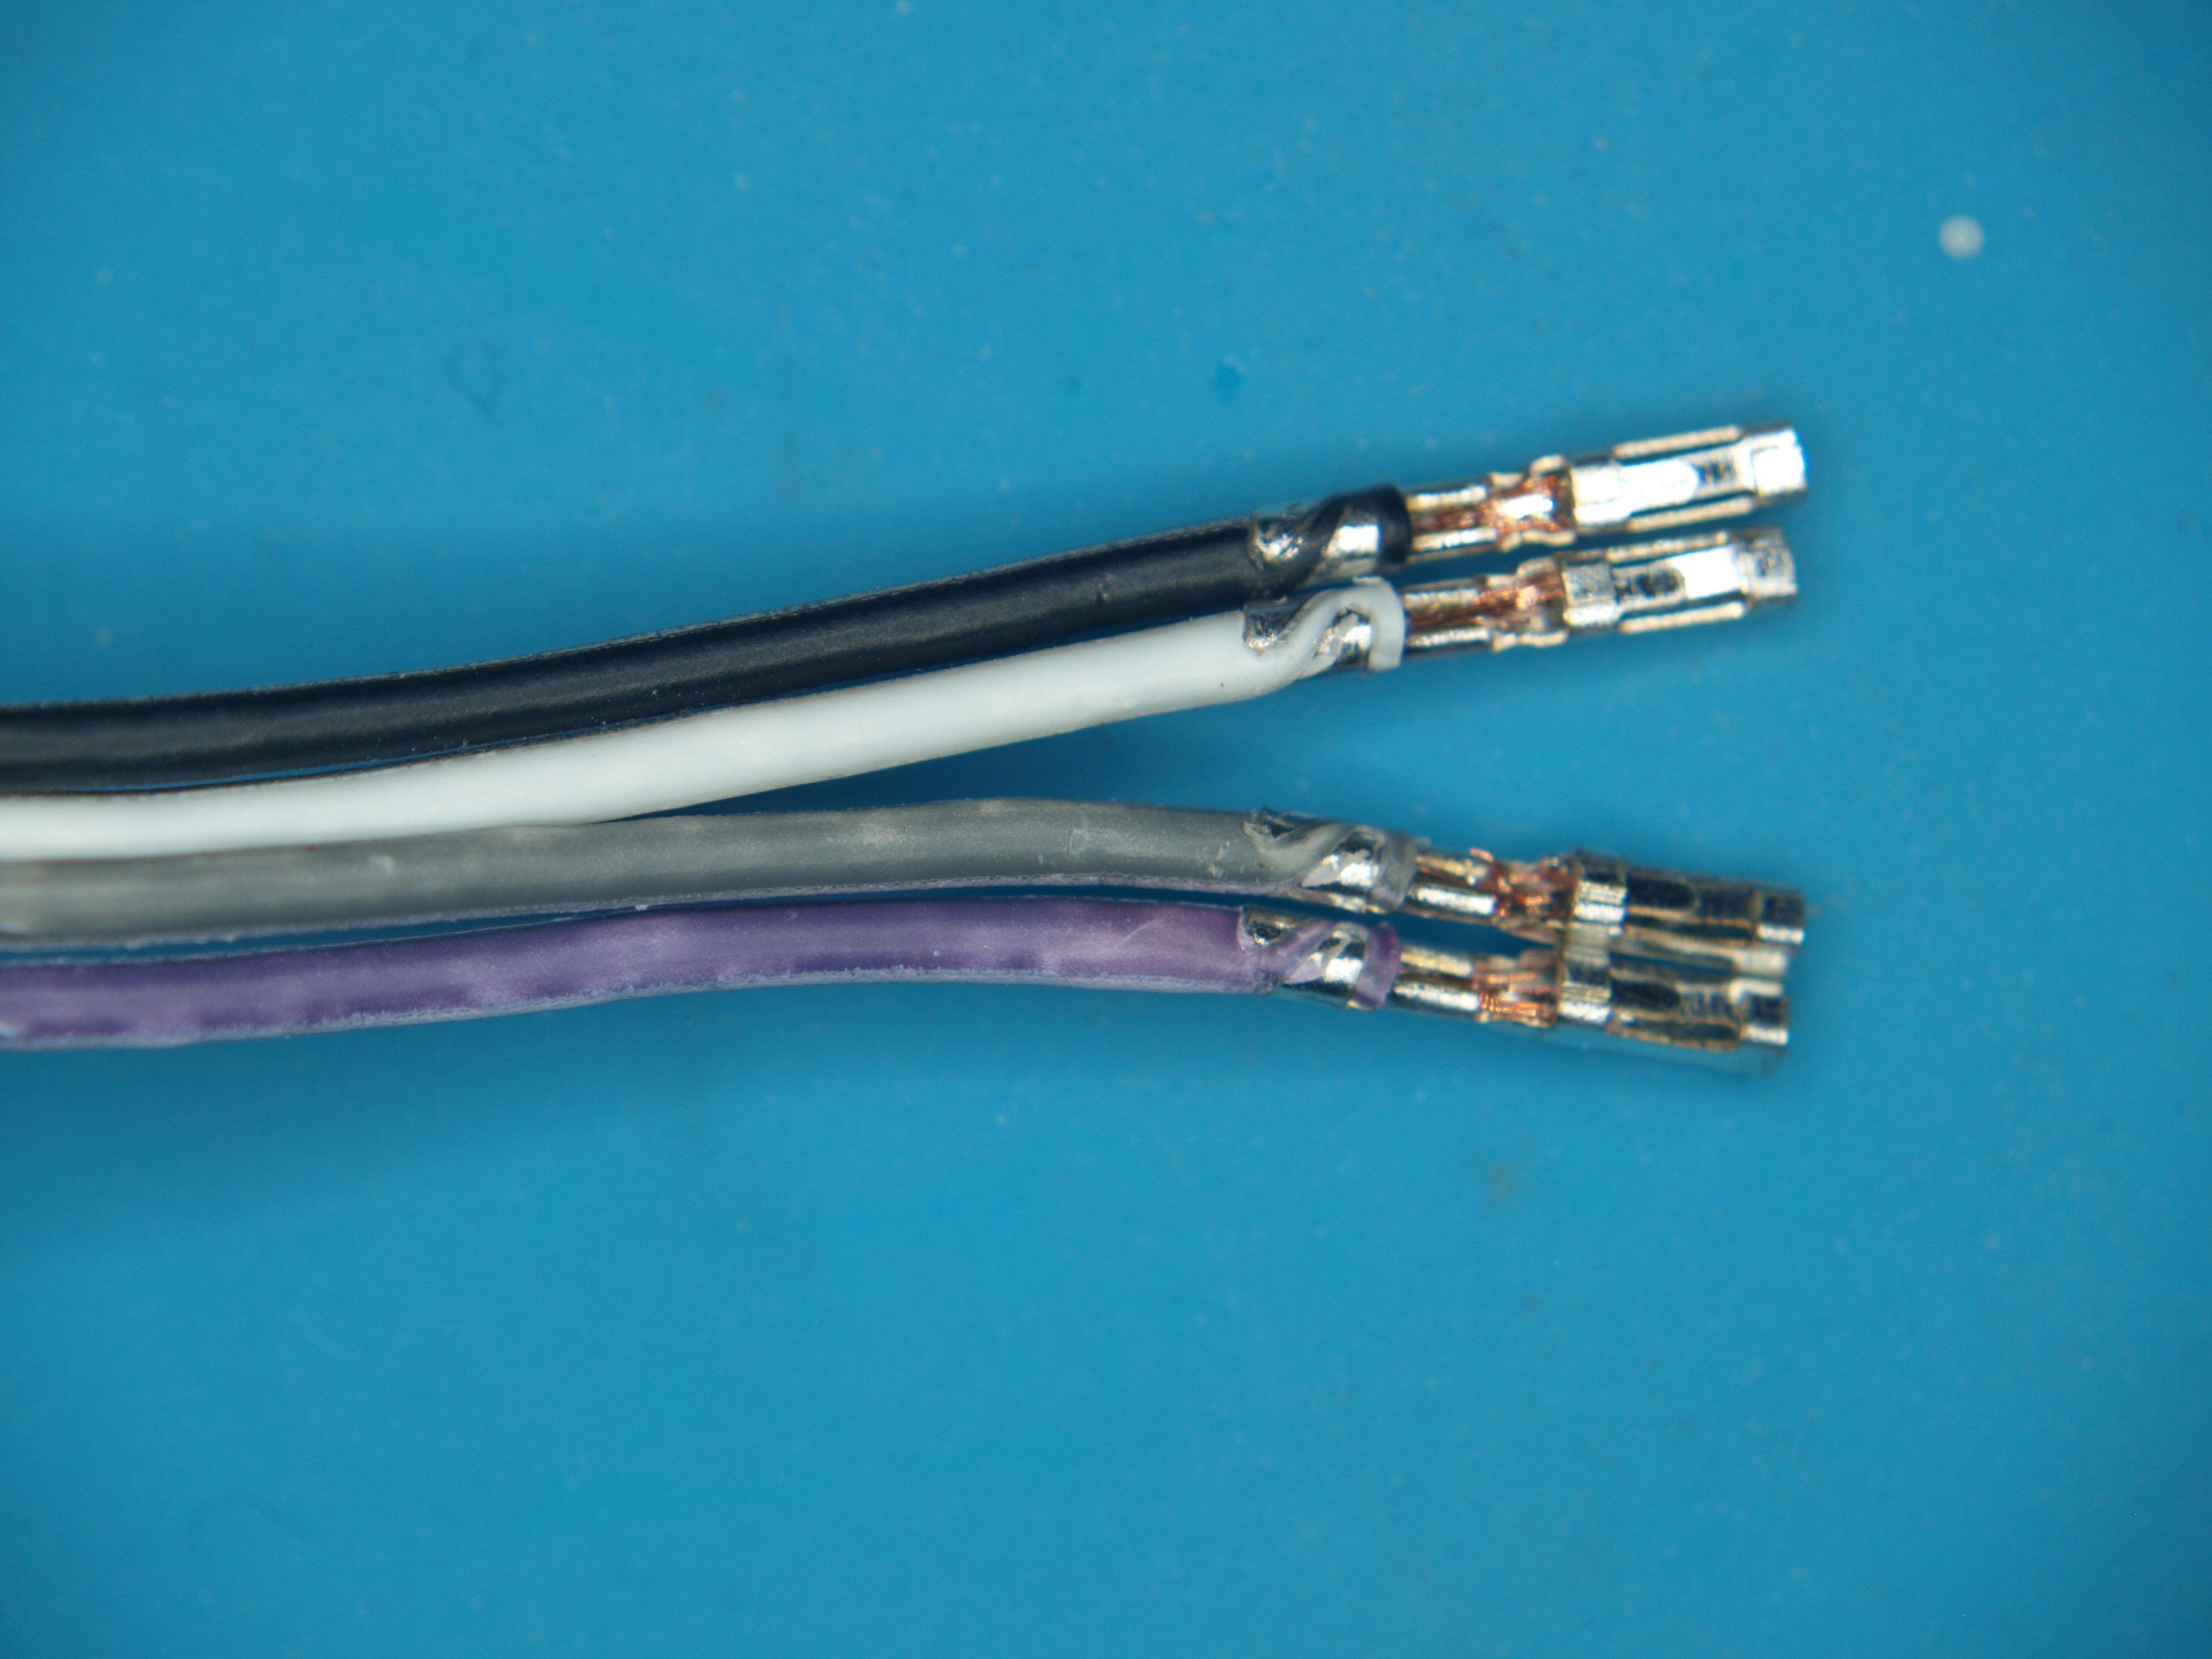
We got a tip from Mark about some dodgy jumper wires that we thought we should share. Low-quality jumpers aren’t really a new problem, but they can really put a damper on the fun of prototyping. The ones that Mark found could be downright dangerous. He got them with a recent dev board purchase; outwardly, they appear fine, at least at first. Upon closer inspection, though, the conductors have turned to powder inside the insulation. Even the insulation is awful, since it discolors when even slightly flexed. He suspects conductors are actually copper-plated aluminum; check out his pictures below and maybe look through your collection for similarly afflicted jumpers.
Speaking of dodgy hardware, if you love the smell of melting MOSFETs in the morning, then have we got a deal for you. It seems that a non-zero number of Asus Z690 Hero PC motherboards have suffered a fiery demise lately, stirring complaints and discontent. This led some curious types to look for the root cause, which led to the theory that an electrolytic cap had been installed with the wrong polarity on the dead boards. Asus confirmed the diagnosis, and is doing the right thing as they are “working with the relevant government agencies on a replacement program.” So if you’ve got one of these motherboards, you might want to watch the video below and see how the caps were installed.
If you’re in the mood for some engineering eye-candy, check out the latest video from Asianometry. They’ve got a finger on the pulse of the semiconductor industry, with particular attention paid to the engineering involved in making the chips we all have come to depend on. The video below goes into detail on the extreme ultraviolet (EUV) light source that fabrication machine maker ASML is developing for the next generation of chip making. The goal is to produce light with a mind-bending wavelength of only 13.5 nanometers. We won’t spoil the details, but suffice it to say that hitting microscopic droplets of tin with not one but two lasers is a bit of a challenge.
And finally, bad luck for 38 people in Tokyo who were part of a data breach by the city’s Metropolitan Police Department. Or rather, good luck since the data breach was caused by the loss of two floppy disks containing their information. The police say that there haven’t been any reports of misuse of the data yet, which is really not surprising since PCs with floppy drives are a little thin on the ground these days. You’d think that this would mean the floppies were left over from the 90s or early 2000s, but no — the police say they received the disks in December of 2019 and February of 2021. We’d love to know why they’re still using floppies for something like this, although it probably boils down to yet another case of “if it ain’t broke, don’t fix it.”
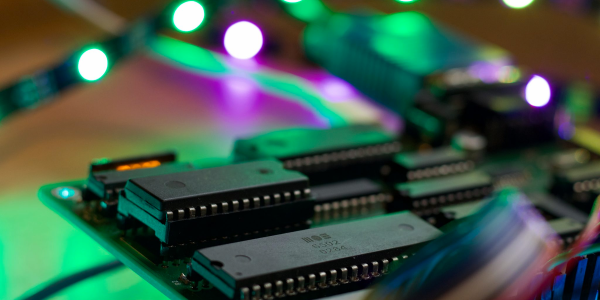
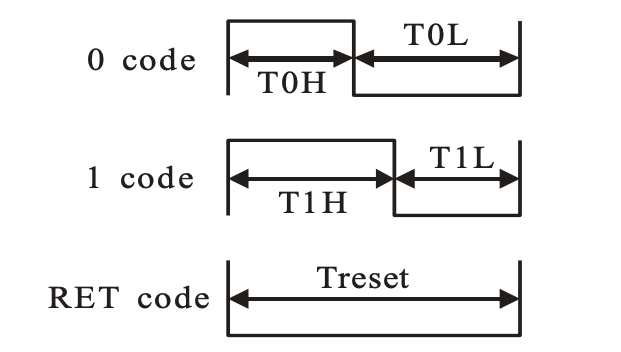
We can still remember when the WS2812 LED first came into our consciousness, way back in the mists of time. The timing diagrams in the datasheet-of-questionable-veracity made it sound quite tricky, with tight timing tolerances and essentially a high-speed two-bit PWM data protocol at 500 kHz. It was a challenge to bit-bang with an ATtiny85 back then, but there’s no way something as old and crusty as an Apple II would be up to snuff, right?
Specifically, [Anders] abuses the 74LS165 parallel-in, serial-out shift register for his dirty work. Instead of bit-banging the WS2812’s “long high is a 1, short high is a 0” signal directly, the first few bits of the shift register are hard-wired to VCC and the last few to GND.
The bits in the middle determine if the pulse shifted out is long or short, and they’re set by the 6502, through a 6522 VIA chip, just like the Apple II would have. Clocking the data out of the shift register handles the timing-critical stuff. Very clever!
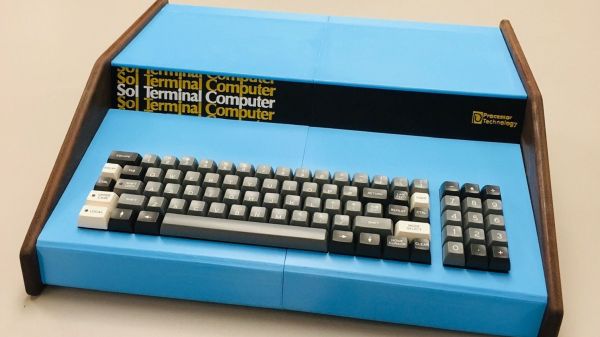
In the early years of the computer revolution, a machine like the Sol-20 really stood out. Where most hobbyist machines had front panels that bristled with toggle switches and LEDs, the Sol-20 was a sleek, all-in-one that looked like an electric typewriter in a walnut-trimmed box. Unfortunately, it was also quite expensive, so not that many were sold. This makes them hard enough to find 40 years later that building his own reproduction Sol-20 is about the only way for [Michael Gardi] to have one of his own.
In a lot of ways, the Sol-20 anticipated many of the design elements that would come into play later. Like the Apple and Commodore machines that were coming down the pike, the Sol-20 was intended to be plug and play. [Mike] celebrates that design with a full-size reproduction of the original, concentrating on its unique aesthetic aspects. The reproduction mimics the striking blue case, with its acrylic front panel and walnut sides. The keyboard is also an exact match for the original, in looks if not in function — the capacitive mechanism proved too difficult to replicate, so he opted for a kit using Cherry switches and custom keycaps. [Mike] also used his proven technique for 3D-printing the memorable Sol-20 logo for the front panel, in the correct font and color.
Under the hood, a Raspberry Pi runs an 8080 emulator, which supports a range of virtual devices, including a cassette tape drive and the video output. For fun, [Mike] also imagined what a CRT display for the Sol-20 would have looked like, and added that to his build. It’s a great-looking machine that never was, and we appreciate the attention to detail. We’ve seen that before — his 2/3-scale VT-100 terminal comes to mind, as does his reproduction of a 1960s computer trainer.