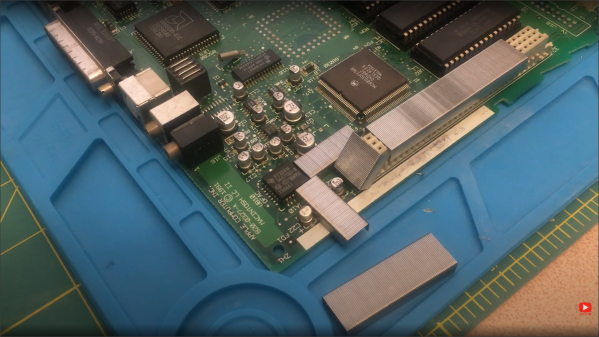
If you read about the history of personal computing, you hear a few familiar names like Microsoft, Apple, and even Commodore. But there were a host of companies that were well known and well regarded back then that are all but forgotten today. Godbout computing, Ohio Scientific, and Southwest Technical Products (SWTP). SWTP is probably best remembered for having a relatively cheap printer and “TV typewriter”, but they also made a 6800-based computer and [Adrian] takes us inside of one.
The 6800 was Motorola’s entry into the microprocessor fray, competing with the Intel 8080. The computer came out scant months after the introduction of the famous Altair 8800. Although the Altair is often credited as being the first hobbyist-grade computer, there were a few earlier ones based on the 8008, but the Altair was the first to be successful.
The SWTP was notable for its day for its blank appearance. Most computers in those days had lots of switches and lights. The SWTP has a blank front with only a power switch and a reset button. A ROM monitor let you use the machine with a terminal. For about the same price as a bare-bones Altair that had no interfaces or memory, you could pick one of these up with most of the extras you would need. The memory was only 2K, but that was 2K more than you got with an Altair at that price point.
The $450 sounds fairly cheap, but in the early 70s, that was a lot of lawns to mow. Of course, while you’d need to add memory to the Altair, you’d have to add some kind of terminal to the SWTP. However, you’d wind up with something more usable but the total bill was probably going to approach $1,000 to get a working system.
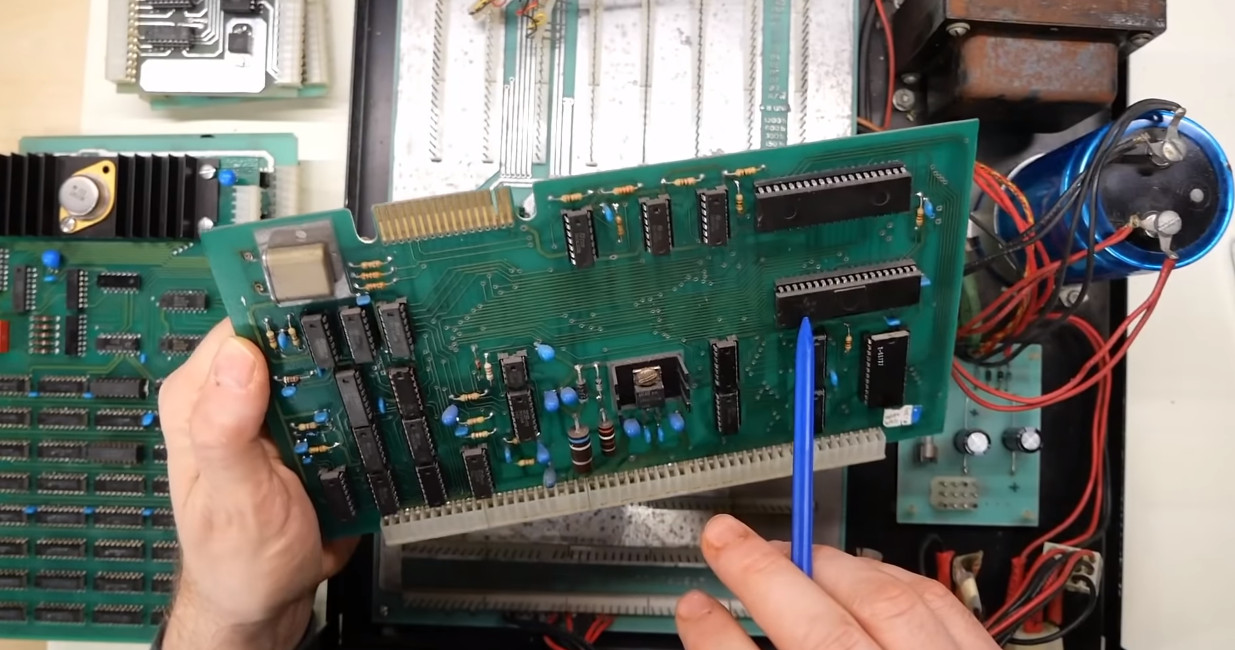
Inside the box were some old-fashioned-looking PC boards and connectors that will look familiar to anyone who has been inside 1970s gear. Will it work? We don’t know yet, but we hope it does. [Adrian] promises that will be in the next video.
It is amazing how far we’ve come in less than 50 years. A postage-stamp sized $10 computer now has enough speed and memory to emulate a bunch of these old machines all at once. The SWTP has been on our pages before. A lot of these old machines and companies are all but forgotten, but not by us!
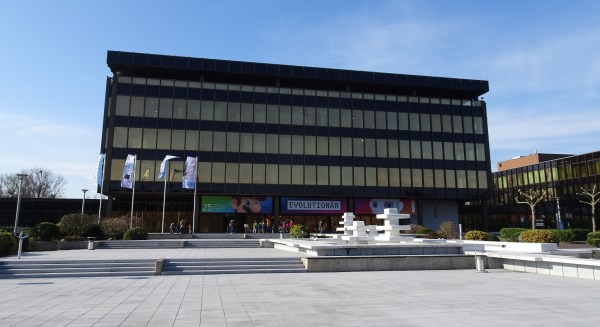
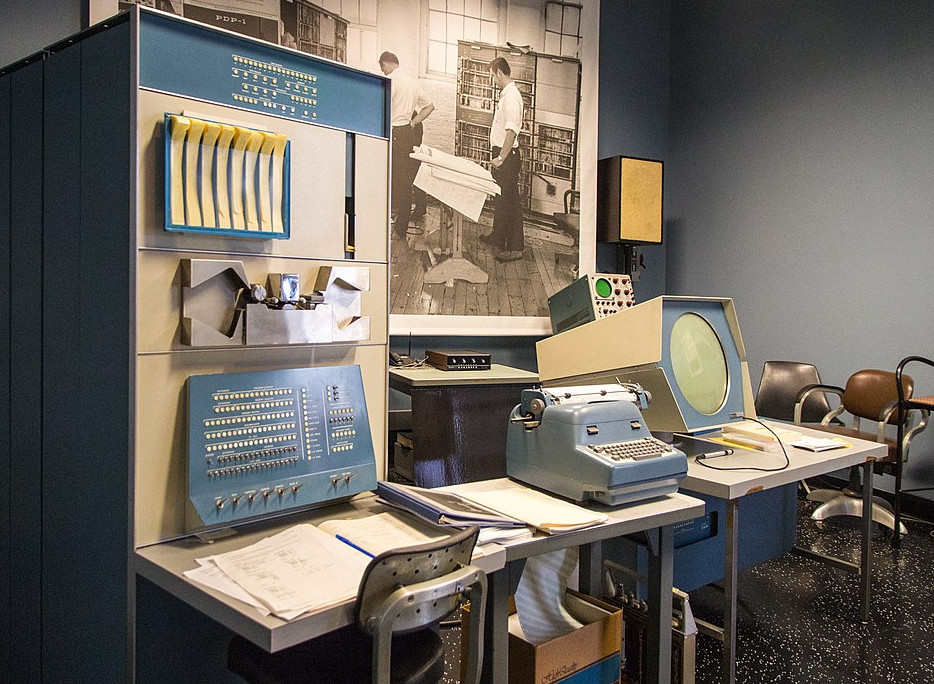
Most stories in the history of computing took place in one of a small number of places. The wartime code-breaking effort in Bletchley Park led to Colossus, the first programmable electronic computer. Various university campuses in Britain and the US were home to first-generation computers like ENIAC, EDVAC and the Manchester Baby in the late 1940s. Silicon Valley then stole the limelight with the home computer revolution in the 1970s. Naturally, all of these places have their museums celebrating their local achievements, but the world’s largest computer museum is not found in Silicon Valley or on the campus of a famous university. Instead, you have to travel to a small German town called Paderborn, which houses the Heinz Nixdorf Museumsforum, or HNF.
Heinz Nixdorf might not be a household name in America like Jack Tramiel or Steve Jobs, but he was one of Europe’s great computer pioneers. Starting with vacuum tube based machines in 1952, Nixdorf gradually expanded his company into one of the largest computer manufacturers of the 1970s. His products were especially popular among large businesses in the financial sector, such as banks and insurance companies. By the late 1980s however, sales went downhill and the company was eventually acquired by Siemens. Today, the Nixdorf name lives on as part of Diebold-Nixdorf, a major producer of ATMs and checkout machines, reflecting the original company’s focus on the financial industry.
The museum’s roots lie in Heinz Nixdorf’s personal collection of typewriters and other office equipment. Although he already envisioned starting a museum dedicated to computing, his sudden death in 1986 put a stop to that. A few of his employees kept the plan alive however, and in 1996 the HNF was opened in Paderborn. Today the museum is run by a non-profit foundation that aims to provide education in information and communication technology to a wide audience.
The collection is housed in the former worldwide headquarters of Nixdorf Computer AG, a rather imposing 1970s office building covered in gold-tinted windows. Inside,]] you’re reminded of its former life as an office building through its compact layout and low ceilings. It does give the museum a bit of a cosy feel, unlike, say, the cavernous halls of London’s Science Museum, but don’t let this fool you: at 6,000 m2, the main exhibition area is about twice as large as that of Silicon Valley’s Computer History Museum. Continue reading “Visit The World’s Largest Computer Museum: The Heinz Nixdorf”→
[Marcio Teixeira] needed to recap an old Apple Macintosh motherboard, and came across a simple hack to use common paper staples as a temporary heat shield (video, embedded below) during hot air rework. The problem with hot air rework is minimizing collateral damage; you’re wielding air at a temperature hot enough to melt solder, and it can be take quite a lot of experience to figure out how best to protect the more delicate parts from being damaged. Larger items take longer to heat due to their thermal mass but smaller parts can be very quickly damaged from excess heat, whilst trying to remove a nearby target.
The sharp edges of plastic connectors are particularly prone, and good protection is paramount. Sticky tapes made from polyimide (Kapton), PET, as well as metallic options (aluminium tape is useful) are often used to temporarily mask off areas in danger of getting such collateral overheat. But they can cause other problems. Kapton tape, whilst great at withstanding the heat, tends to distort and buckle up a little when under the blast of the rework pencil. Not to mention that some brands of tape leave a nasty sticky transfer residue all over the board when exposed to heat, which needs additional cleanup.
Maybe a box or two of staples might be worth adding to one’s bag of tricks, after all more options is always good. If you’re less interesting in hacking with a hot air work station and much more in hacking a hot air rework station, here you go, and whilst we’re on reworking duff computers, here’s what happens when a Hackaday writer tries his hand at fixing his son’s Xbox.
The hobbyists of the early days of the home computer era worked wonders with the comparatively primitive chips of the day, and what couldn’t be accomplished with a Z80 or a 6502 was often relegated to complex designs based on logic chips and discrete components. One wonders what these hackers could have accomplished with the modern components we take for granted.
Perhaps it would be something like this minimal serial terminal for the current crop of homebrew retrocomputers. The board is by [Augusto Baffa] and is used in his Baffa-2 homebrew microcomputer, an RC2014-esque Z80 machine that runs CP/M. This terminal board is one of many peripheral boards that plug into the Baffa-2’s backplane, but it’s one of the few that seems to have taken the shortcut of using modern microcontrollers to get its job done. The board sports a pair of ATmega328s; one handles serial communication with the Baffa-2 backplane, while the other takes care of running the VGA interface. The card also has a PS/2 keyboard interface, and supports VT-100 ANSI escapes. The video below shows it in action with a 17″ LCD monitor in the old 4:3 aspect ratio.
We like the way this terminal card gets the job done simply and easily, and we really like the look of the Baffa-2 itself. We also spied an IMSAI 8080 and an Altair 8800 in the background of the video. We’d love to know more about those.
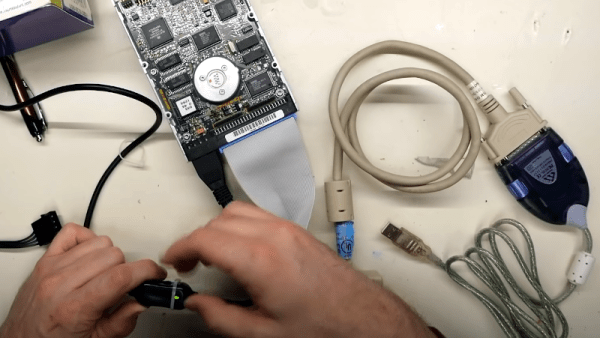
There was a time when high-performance disk drives used SCSI — the Small Computer System Interface — and everything else was kid stuff. Now, advanced forms of SCSI are still around but there are other high-performing disk interfaces, too. But some old gear really loves their classic SCSI ports, and [Adrian] decided to try hooking some of them up to some modern computers. You can see how he did in the video below.
The key to the attempt is a USB to SCSI adapter which was unusual but not unheard of, and [Adrian] came across one from 1999. Of course, you have to wonder if a modern computer will support the device or will be able to load the drivers from the old CD.
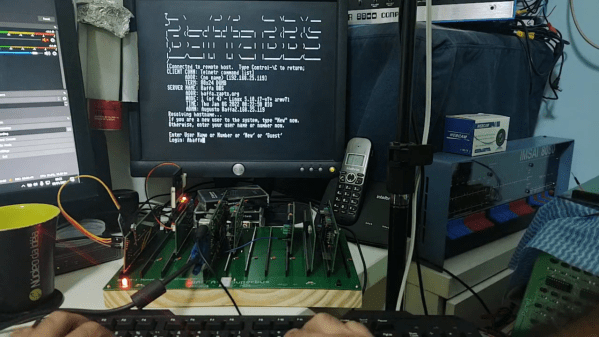
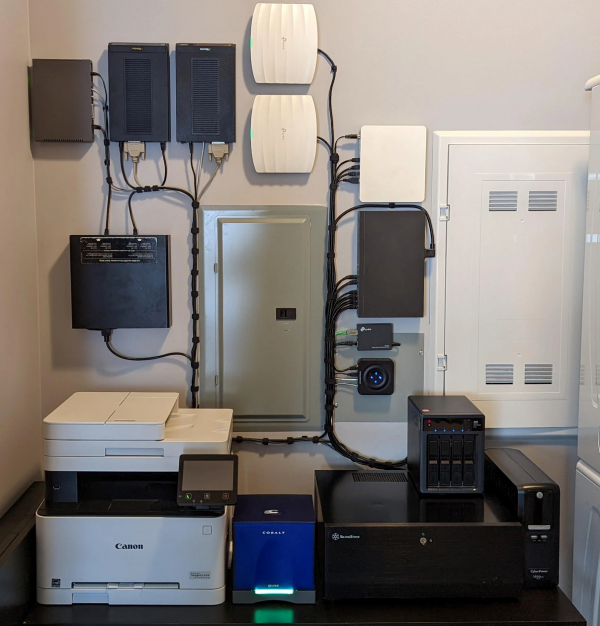
Restoring classic hardware of any sort is a great hobby to have, whether it’s restoring vintage cars, tools, or even antique Apple or Commodore computers. Understanding older equipment can help improve one’s understanding of the typically more complicated modern equivalents, plus it’s just plain fun to get something old up and running again. Certainly we see more retro computing restorations around here, but one thing that we don’t typically see much of is the networking equipment that would have gotten those older computers onto the early Internet. [Retrocet] has a strong interest in that area, and his latest dial-up server really makes us feel like we’re back in the 90s.
This home networking lab is built around a Cobalt Qube 2 that was restored after it was gifted to him as a wedding present. The Qube had a cutting edge 250 MHz 64-bit processor with up to 256 MB of RAM, and shipped with a customized Linux distribution as an operating system. The latest upgrade to this build sped up the modems to work at their full 56k rates which involved the addition of a DIVA T/A ISDN terminal and some additional hardware which ensures that incoming calls to the modems are digital. Keeping the connections digital instead of analog keeps the modems from lowering their speed to 33k to handle the conversions.
Until recently, [Retrocet] was running some of the software needed for this setup in a custom virtual machine, but thanks to the full restoration of the Qube and some tweaking of the Red Hat Linux install to improve the Point-to-Point Protocol capabilities of the older system, everything is now running on the antique hardware. If you are like [Retrocet] and have a bunch of this older hardware sitting around, there are still some ISPs available that can provide you with some service.
Among the many facets of modern technology, few have evolved faster or more radically than the computer. In less than a century its very nature has changed significantly: today’s smartphones easily outperform desktop computers of the past, machines which themselves were thousands of times more powerful than the room-sized behemoths that ushered in the age of digital computing. The technology has developed so rapidly that an individual who’s now making their living developing iPhone applications could very well have started their career working with stacks of punch cards.
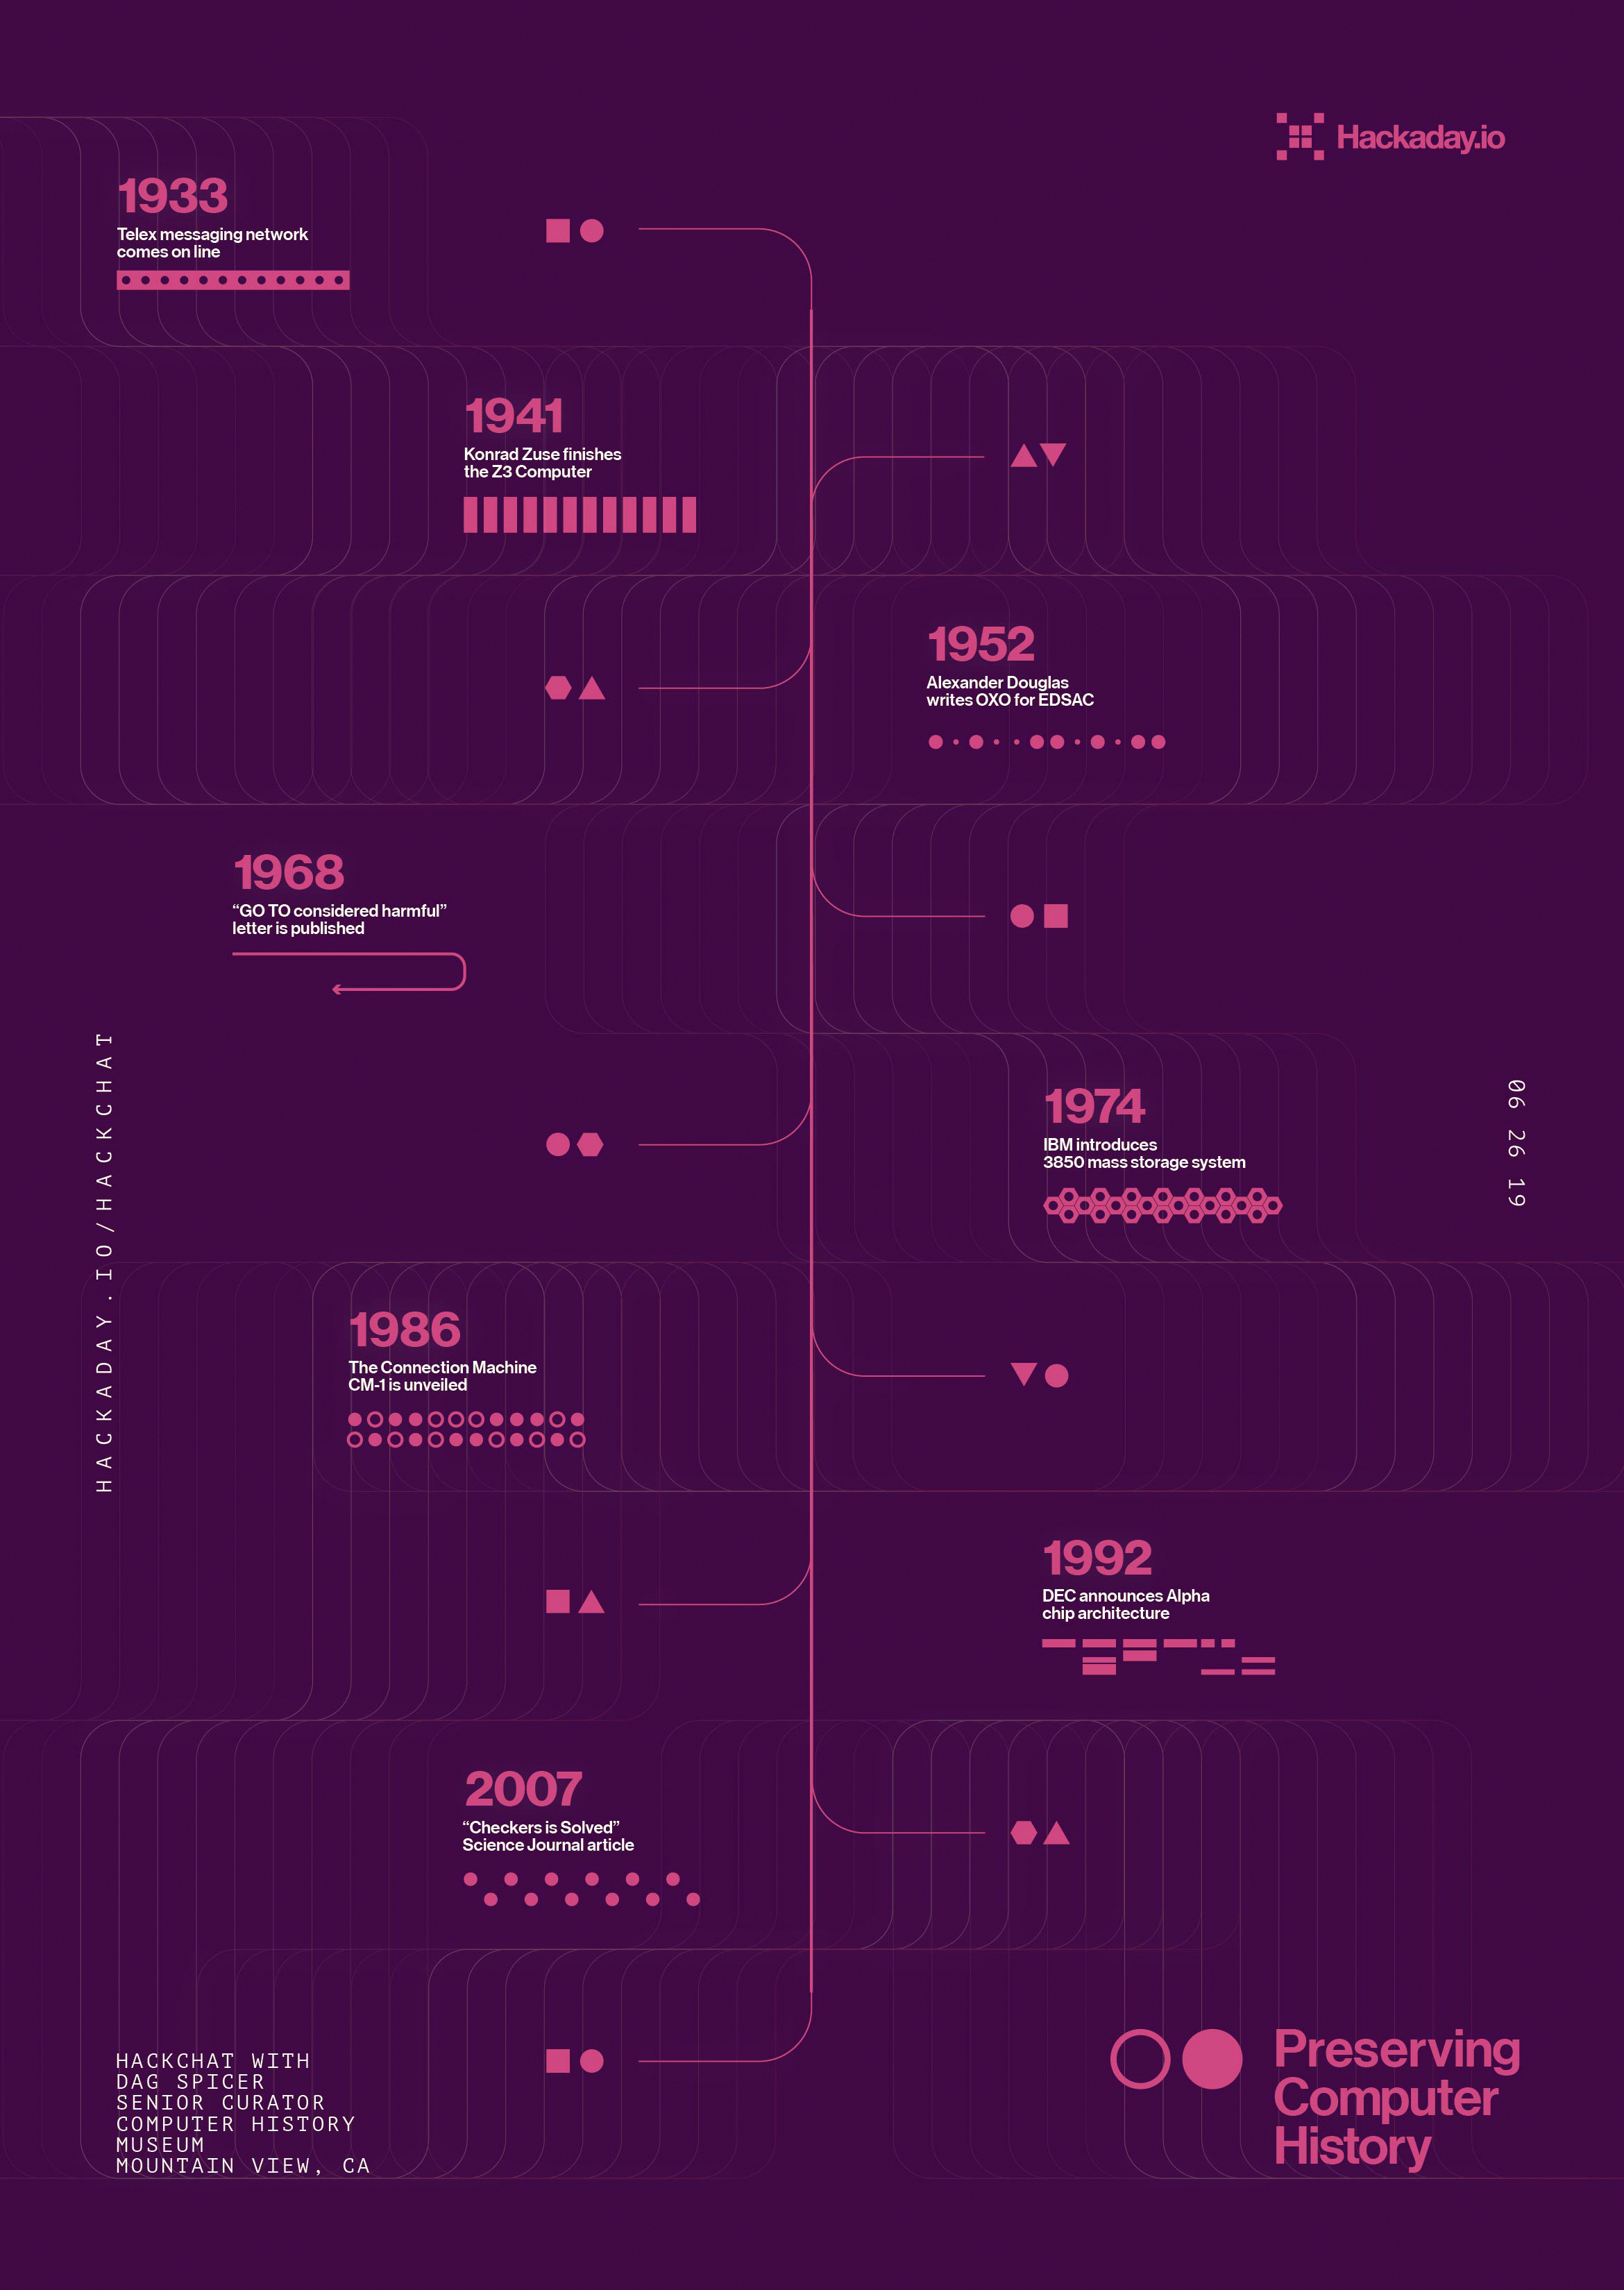
With things moving so quickly, it can be difficult to determine what’s worth holding onto from a historical perspective. Will last year’s Chromebook one day be a museum piece? What about those old Lotus 1-2-3 floppies you’ve got in the garage? Deciding what artifacts are worth preserving in such a fast moving field is just one of the challenges faced by Dag Spicer, the Senior Curator at the Computer History Museum (CHM) in Mountain View, California. Dag stopped by the Hack Chat back in June of 2019 to talk about the role of the CHM and other institutions like it in storing and protecting computing history for future generations.
To answer that most pressing question, what’s worth saving from the landfill, Dag says the CHM often follows what they call the “Ten Year Rule” before making a decision. That is to say, at least a decade should have gone by before a decision can be made about a particular artifact. They reason that’s long enough for hindsight to determine if the piece in question made a lasting impression on the computing world or not. Note that such impression doesn’t always have to be positive; pieces that the CHM deem “Interesting Failures” also find their way into the collection, as well as hardware which became important due to patent litigation.
Of course, there are times when this rule is sidestepped. Dag points to the release of the iPod and iPhone as a prime example. It was clear that one way or another Apple’s bold gambit was going to get recorded in the annals of computing history, so these gadgets were fast-tracked into the collection. Looking back on this decision in 2022, it’s clear they made the right call. When asked in the Chat if Dag had any thoughts on contemporary hardware that could have similar impact on the computing world, he pointed to Artificial Intelligence accelerators like Google’s Tensor Processing Unit.
In addition to the hardware itself, the CHM also maintains a collection of ephemera that serves to capture some of the institutional memory of the era. Notebooks from the R&D labs of Fairchild Semiconductor, or handwritten documents from Intel luminary Andrew Grove bring a human touch to a collection of big iron and beige boxes. These primary sources are especially valuable for those looking to research early semiconductor or computer development, a task that several in the Chat said staff from the Computer History Museum had personally assisted them with.
Towards the end of the Chat, a user asks why organizations like the CHM go through the considerable expense of keeping all these relics in climate controlled storage when we have the ability to photograph them in high definition, produce schematics of their internals, and emulate their functionality on far more capable systems. While Dag admits that emulation is probably the way to go if you’re only worried about the software side of things, he believes that images and diagrams simply aren’t enough to capture the true essence of these machines.
Quoting the the words of early Digital Equipment Corporation engineer Gordon Bell, Dag says these computers are “beautiful sculptures” that “reflect the times of their creation” in a way that can’t easily be replicated. They represent not just the technological state-of-the-art but also the cultural milieu in which they were developed, with each and every design decision taking into account a wide array of variables ranging from contemporary aesthetics to material availability.
While 3D scans of a computer’s case and digital facsimiles of its internal components can serve to preserve some element of the engineering that went into these computers, they will never be able to capture the experience of seeing the real thing sitting in front of you. Any school child can tell you what the Mona Lisa looks like, but that doesn’t stop millions of people from waiting in line each year to see it at the Louvre.
The Hack Chat is a weekly online chat session hosted by leading experts from all corners of the hardware hacking universe. It’s a great way for hackers connect in a fun and informal way, but if you can’t make it live, these overview posts as well as the transcripts posted to Hackaday.io make sure you don’t miss out.
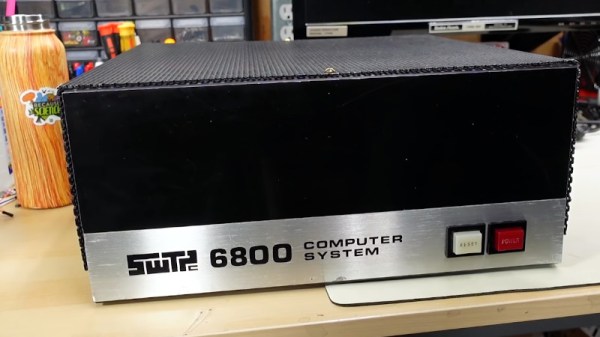
 The SWTP was notable for its day for its blank appearance. Most computers in those days had lots of switches and lights. The SWTP has a blank front with only a power switch and a reset button. A ROM monitor let you use the machine with a terminal. For about the same price as a bare-bones Altair that had no interfaces or memory, you could pick one of these up with most of the extras you would need. The memory was only 2K, but that was 2K more than you got with an Altair at that price point.