The original Roomba robotic vacuum cleaner led to loads of clones and lookalikes over the years, and one of them is the ALEE mopping “robot”. [Raymond] tears it down and reveals what’s inside. Turns out it contains mostly regret! Although it does host some design cleverness in its own way.
Technically the ALEE, which cost [Raymond] a cool $85 USD, is not a robot since it has no sensors. And unless a dragging a wet cloth pad kept moist by a crude drip reservoir counts as “mopping”, it’s not much of a mop, either.
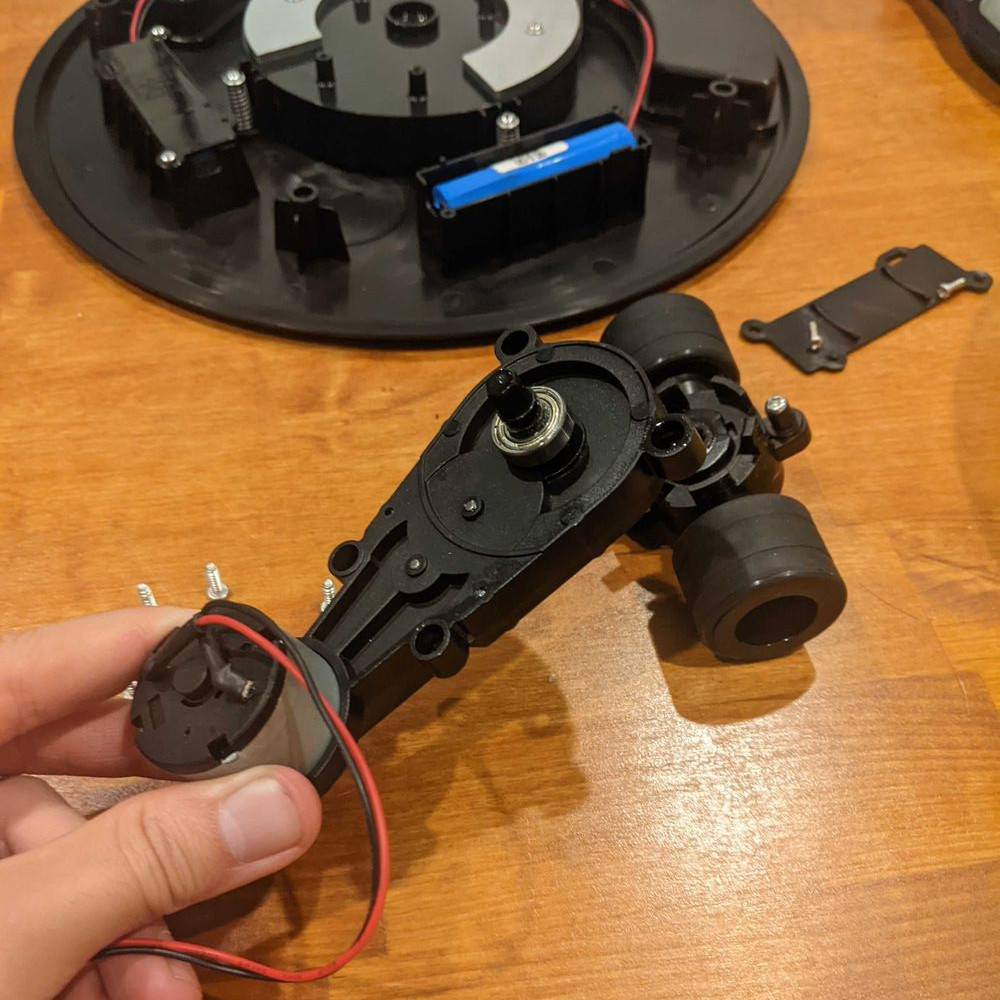
There is one interesting aspect to this thing, and it’s to do with the drive system and direction control. The whole thing is driven by a single motor, and not a very powerful one. The center of the robot has a pair of wheels that are both driven at the same rate and speed, and the wheel assembly can pivot around its axis. That’s about it. There are not even any bump sensors of any kind.
So how does this thing move, let alone change direction to (poorly) emulate an original Roomba-like crisscross pattern? The control board appears to have one job: if the motor stalls, reverse direction. That, combined with the fact that the drive unit can pivot and the enclosure is dragging a wet rag, appears to be all the chaos that’s needed to turn bonking into a wall into an undefined direction change.
It’s not great performance, but it sure is some impressive cost-cutting. You can see it bonk around unimpressively in a short video, embedded below the page break.
Just to be clear, [Raymond] knows perfectly well what he’s in for when he obtains cheap tech items from overseas retailers for teardowns. The ALEE does have some mildly interesting secrets to share, but overall, it really wasn’t worth it. Sometimes cheap tech has hacker potential, but there’s no such potential here. Seriously, don’t buy this thing.