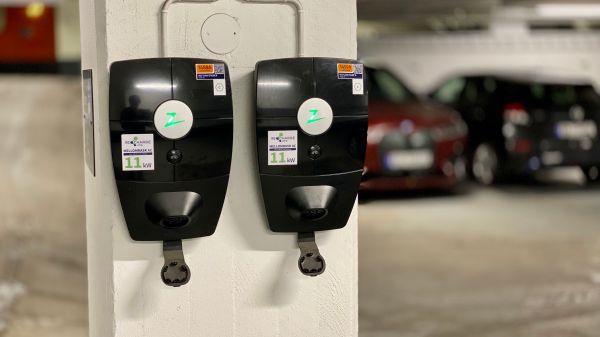
As more and more electric vehicles penetrate the market, there’s going to have to be a proportional rise in the number of charging stations that are built into parking garages, apartment complexes, and even private homes. And the more that happens, the more chargers we’re going to start seeing where security is at best an afterthought in their design.
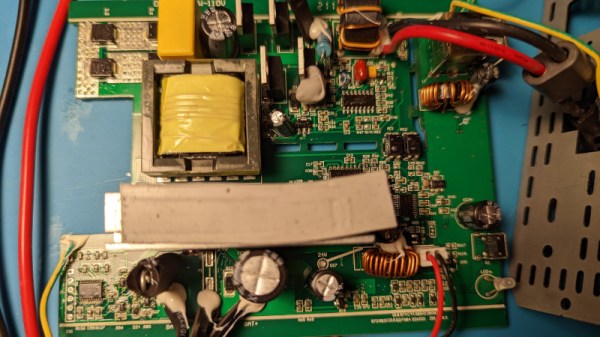
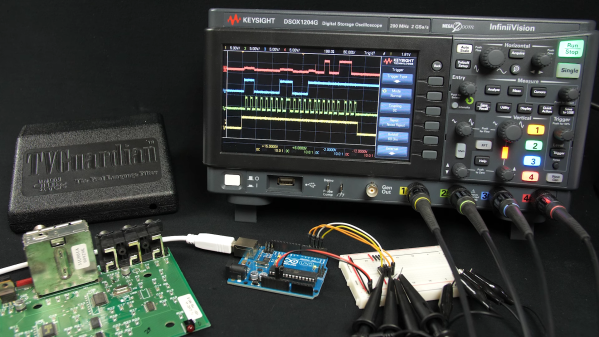
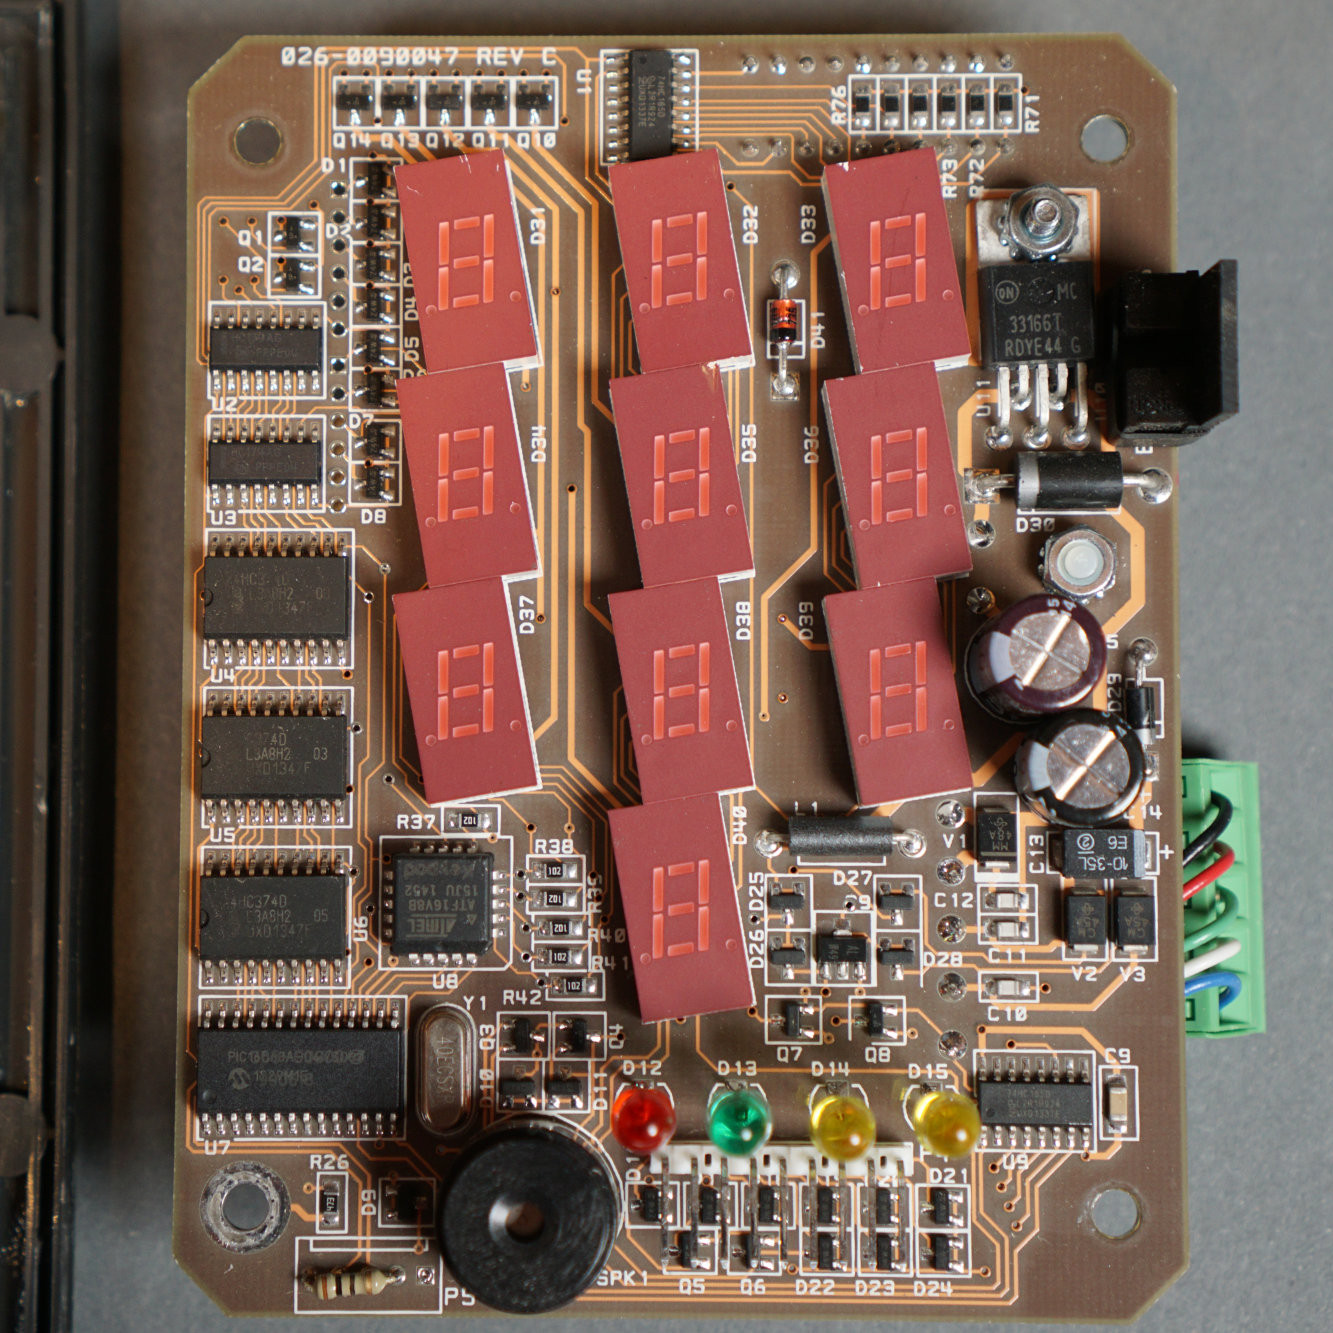
But as this EV charger teardown and reverse engineering shows, it doesn’t necessarily have to be that way. The charger is a Zaptec Pro station that can do up to 22 kW, and the analysis was done by [Harrison Sand] and [Andreas Claesson]. These are just the kinds of chargers that will likely be widely installed over the next decade, and there’s surprisingly little to them. [Harrison] and [Andreas] found a pair of PCBs, one for the power electronics and one for the control circuits. The latter supports a number of connectivity options, like 4G, WiFi, and Bluetooth, plus some RFID and powerline communications. There are two microcontrollers, a PIC and an ARM Cortex-A7.
Despite the ARM chip, the board seemed to lack an obvious JTAG port, and while some unpopulated pads did end up having a UART line, there was no shell access possible. An on-board micro SD card slot seemed an obvious target for attack, and some of the Linux images they tried yielded at least a partial boot-up, but without knowing the specific hardware configuration on the board, that’s just shooting in the dark. That’s when the NAND flash chip was popped off the board to dump the firmware, which allowed them to extract the devicetree and build a custom bootloader to finally own root.
The article has a lot of fascinating details on the exploit and what they discovered after getting in, like the fact that even if you had the factory-set Bluetooth PIN, you wouldn’t be able to get free charging. So overall, a pretty good security setup, even if they were able to get in by dumping the firmware. This all reminds us a little of the smart meter reverse engineering our friend [Hash] has been doing, in terms of both methodology and results.
Thanks to [Thinkerer] for the tip.