Depending on your taste for social interaction and tolerance for distraction, an open floor plan or “bullpen” office might not be so bad with a total of four people. Hackaday.io user [fiddlythings] likes it, but people often stop by to see him or one of his coworkers only to find them busy or absent. While their status is something they could plainly see in Microsoft Communicator from their own desk, some people like to chat in person or stop by on their way to and from meetings.
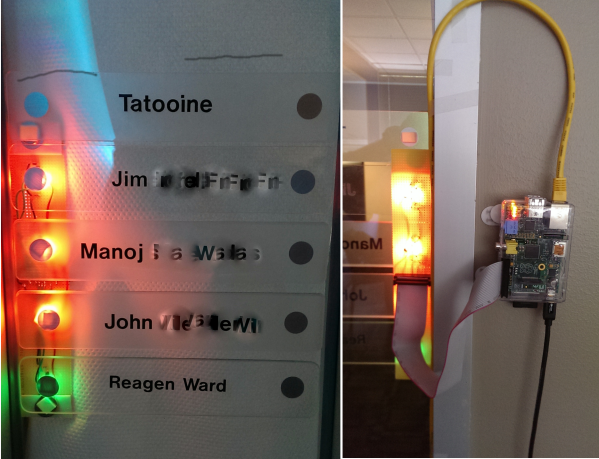
In order to save these visitors a few seconds, [fiddlythings] came up with an IM status indicator using their existing nameplates outside the door. Each of their names has a little silver dot by it which he backlit with a flattish RGB LED. These LEDs are driven by a Raspberry Pi and NPN transistors through a ribbon cable.
The plan was to imitate the Communicator status colors of green for available, red for busy, and yellow for away. [fiddlythings] dialed up a lovely shade of amber for away using a mix of red and green. Since he really only needs two colors, he’s using eight NPN transistors instead of twelve. The quick ‘n dirty proof of concept version used Python and a Pidgin IM console client called Finch. Once he got IT’s blessing, he implemented the final version in C++ using Libpurple to interface with Communicator.
This isn’t the first time we’ve seen a Pi used to indicate status—remember this mobile hackerspace indicator?


 [Roballoba] decided to