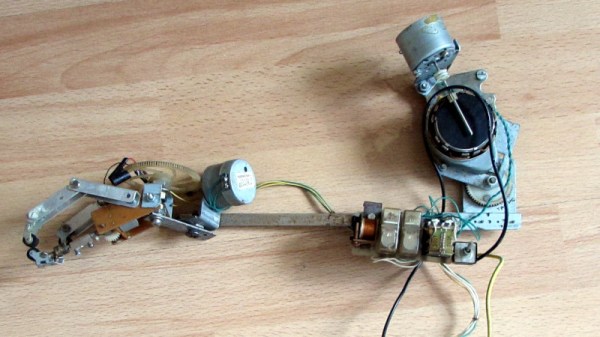
With laser cutters and 3D printers in our arsenal as well as the global toy shop of mass-produced parts and single-board computers, building a robotic project has almost never been easier. In times past though, there was more of a challenge, with a computer likely meaning a chunky desktop model and there being no plethora of motors at low prices, a robot arm required more ingenuity. [Marius Taciuc] shares with us an arm he built from the most minimal of parts back in 2003, and it’s a beautiful exercise in creative reuse.
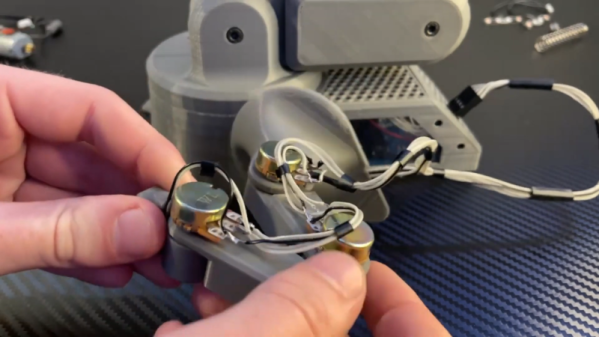
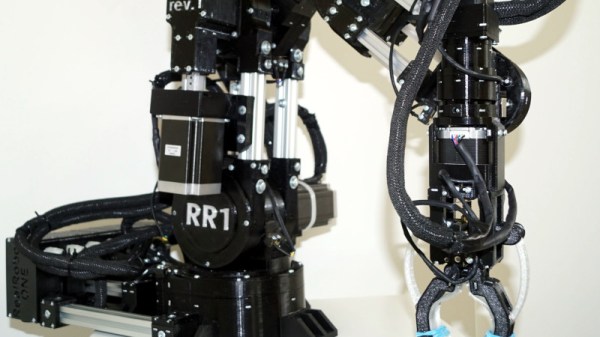
The arm itself uses metal and FR4 for its structure, and borrows extensively from cassette tape mechanisms for motors and gears. The stronger motor for the forearm is a geared unit from a heating system, and to control all this, a relay board is hooked up to a computer’s parallel port. This last assembly is particularly ingenious, having no optocouplers handy he made his own by coupling LEDs to metal can transistors with their lids removed.
The arm was entered in a competition, and he relates a tale with which we’ll all be familiar — at the critical moment, it didn’t work. Fortunately a last-minute accidental covering of the board with a floppy disk solved the problem, as it turned out that enough light was leaking into those home-made optocouplers to trigger them. The prize was won not just on the strength of the arm, but on his explanation of the lessons learned along the way.
The once-ubiquitous parallel port is now absent from most computers, but there’s still plenty of scope for experimentation if you have one.