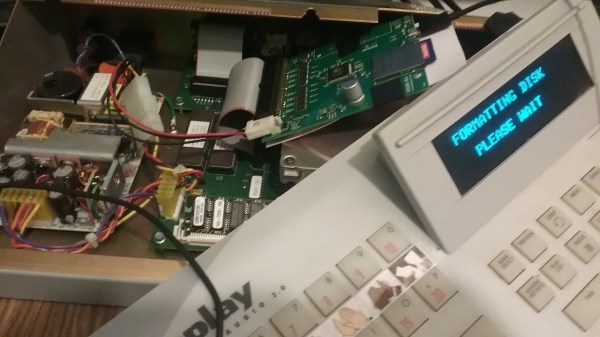
Even if you aren’t a vintage computer aficionado, you’re probably aware that older computer hard drives were massive and didn’t hold much data. Imagine a drive that weighs several pounds, and only holds 1/1000th of what today’s cheapest USB flash drives can. But what you might not realize is that if you go back long enough, the drives didn’t just have lower capacity, they utilized fundamentally different technology and relied on protocols which are today little more than historical footnotes.
 A case in point is the circa 1984 Modified Frequency Modulation (MFM) drive which [Michał Słomkowski] was tasked with recovering some files from. You can’t just pop this beast into a USB enclosure; copying files from it required an interesting trip down computing’s memory lane, with a sprinkling of modern techniques that are sure to delight hackers who still like to dip their toes into the MS-DOS waters from time to time.
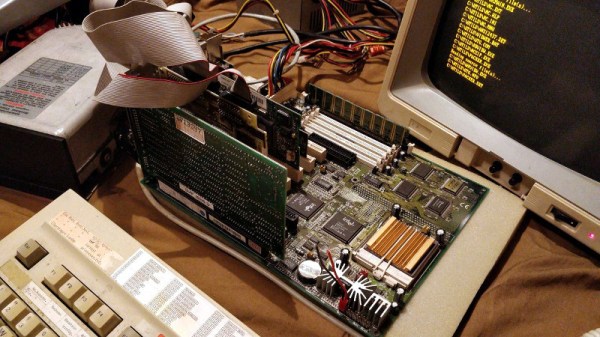
The drive, a MiniScribe 2012, has its own WD1002A-WX1 8-bit ISA controller card. [Michał] is the kind of guy who just so happens to have an ISA-compatible AT motherboard laying around, but he didn’t have the correct cooler for its Pentium processor. He stuck a random heatsink down onto it with a rubber band and set the clock speed as low as possible, which worked well enough to get him through the copying process.
Not wanting to fiddle with floppies, [Michał] then put together a setup which would let him PXE boot MS-DOS 6.22 under Arch Linux. He used PXELINUX, part of the syslinux package, and created an entry for DOS in the configuration file under the pxelinux.cfg directory. He then installed netboot which combines a DHCP and TFTP server into one simple package, and configured it for the MAC address of the AT machine’s 3com 3C905C-TXM network card.
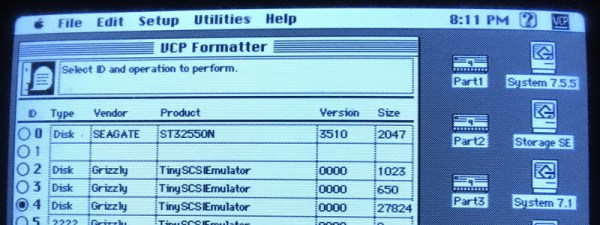
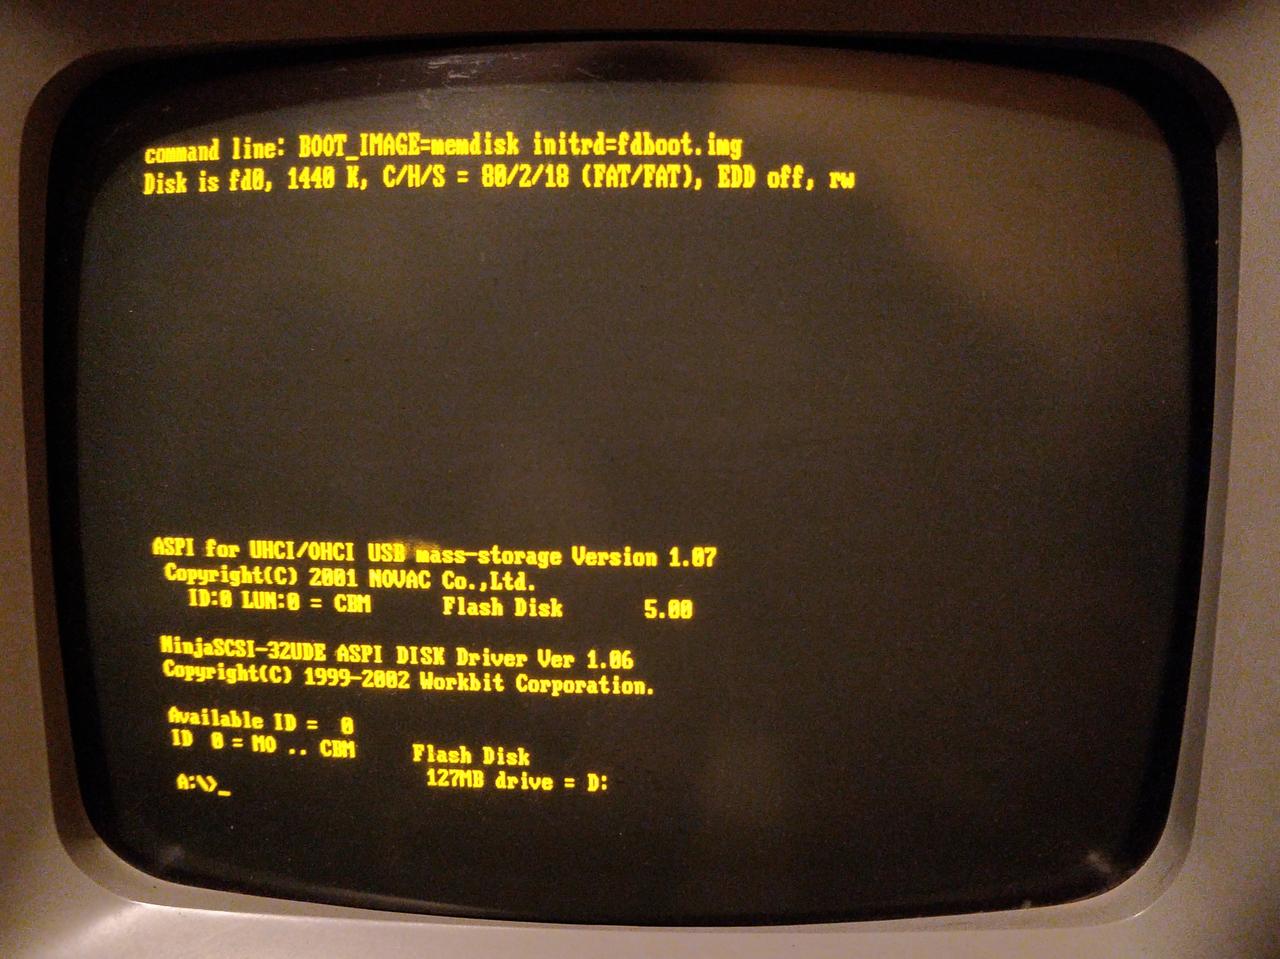
With the hardware and operating system up and running, it was just a matter of getting the files off of the MFM drive and onto something a bit more contemporary. He tried to copy them to a secondary IDE drive, but it seemed there was some kind of conflict as both drives wouldn’t operate at the same time. So he pulled another solution from his bag of tricks: using a USB mass storage device on MS-DOS. By emulating a SCSI drive, he was able to get a standard flash drive plugged into a PCI USB card working, which ultimately dragged these ~35 year old files kicking and screaming into the 21st century.
We love keeping old hardware alive here at Hackaday, and documented methods to not only PXE boot DOS but use USB storage devices when you get it up and running will hopefully inspire some more hackers to blow the dust off that old 386 in the attic.