Rotary Indexer Gives Mill A 4th Axis (sort Of)

Rotary indexer’s are standard issue in most machine shops. These allow you to hold or chuck a work piece, and then a graduated handle lets you to rotate the workpiece. Useful when you want to drill or tap axial or radial features. A rack and pinion drive ensures that the workpiece does not move under machining load. Quite often, these indexers also have a manual lock to take care of gear backlash and play. Automating them is not too difficult either. You could use just a stepper motor (open loop) or servo+encoder (closed loop) to drive the turntable.

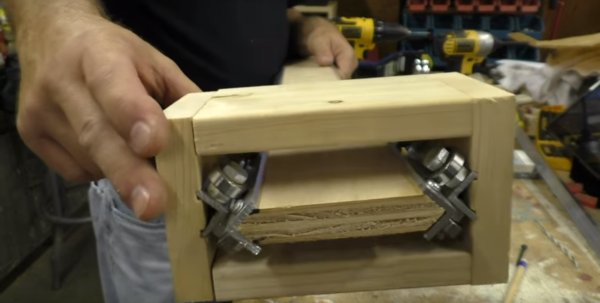
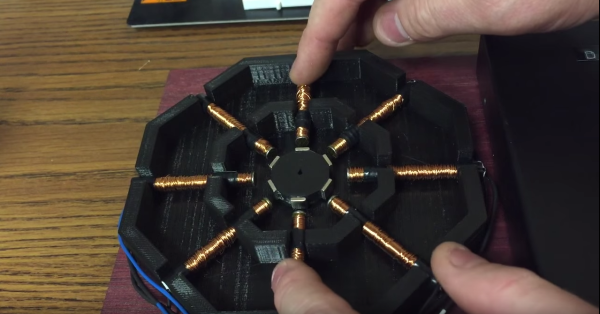
[smashedagainst] needed to drill six radial holes on a part. And he had to do it on 500 pieces for a total of 3000 holes. That was just for the first initial run, with more drilling likely in the future. The part in question was small and light weight. So instead of using a heavy duty, industrial grade unit, he built an all-electric rotary indexing jig using a stepper motor and an Arduino, giving him a sort of rotary 4th axis. His idea was to directly use the stepper motor to rotate the workpiece without any gearing, but he needed to build his own rig to do so.

Continue reading “Rotary Indexer Gives Mill A 4th Axis (sort Of)”

Pump Up The Volume With The 3D Printed Syringe Pump Rack

Syringe pumps are valuable tools when specific amounts of fluid must be dispensed at certain rates and volumes. They are used in many ways, for administering IV medications to liquid chromatography (LC/HPLC). Unfortunately, a commercial pump can cost a pretty penny. Not particularly thrilled with the hefty price tag, [Aldric Negrier] rolled up his sleeves and made a 3D-printed version for 300 USD.

[Aldric] has been featured on Hackaday before, so we knew his latest project would not disappoint. His 3D Printed Syringe Pump Rack contains five individual pumps that can operate independently of each other. Five pieces are 3D-printed to form the housing for each pump. In addition, each pump is composed of a Teflon-coated lead screw, an Arduino Nano V3, a Pololu Micro stepper motor driver, and a NEMA-17 stepper motor. The 3D Printed Syringe Pump Rack runs on a 12V power supply using a maximum of 2 amps per motor.

While the standard Arduino IDE contains the Stepper library, [Aldric] wanted a library that allowed for more precise control and went with the Accelstepper library. The 3D Printed Syringe Pump Rack has a measured accuracy of 0.5µl in a 10ml syringe, which is nothing to laugh at.

Syringe pump racks like [Aldric’s] are another great example of using open source resources and the spirit of DIY to make typically expensive technologies more affordable to the smaller lab bench. If you are interested in other open source syringe pump designs, you can check out this entry for the 2014 Hackaday Prize.

Continue reading “Pump Up The Volume With The 3D Printed Syringe Pump Rack”

A Recycled Robot Arm For All!

It’s mind boggling how much e-waste we throw out. Perfectly good components, mass produced for pennies. And at the end of their life, going straight to a landfill or some poor country to be melted down. Don’t you wish you could help?

Stepper motors are a dime a dozen when it comes to e-waste, and there’s tons of cool projects you can do with a stepper motor — [Madivak] is just starting on a robot arm design over at Hackaday.io that makes use of recycled components.

It’s fairly early in development, but that means it’s a great time to start following it on the project site. The robotic arm is being designed for his final year project in his undergrad degree. Besides the steppers, he’s using his school’s Utilimaker 3D printer to manufacture all of the other mechanical components with control coming from DRV8825 stepper drivers and the Freescale Freedom KL25Z dev kit. Check out the clips after the break to see current state of the build.

Continue reading “A Recycled Robot Arm For All!”

3D Printer Plays Music

3D Printer Plays Classic MIDIs

For whatever reason we all seem to have this obsession with making things other than speakers into speakers. Hard drives, floppy drives, CD drives, fax machines, inanimate objects, dot-matrix printers, and now — well let’s stay with times — a 3D printer!

[Andrew Sink] wanted to give stepper music a try (is that seriously a genre now? (Yes, we’re calling it Stepstep – Ed.)), so he found HomeConstructor.de, which happens to have an awesome MIDI to G-CODE converter specifically designed for making those steppers hum. His instrument of choice is an original Printrbot but unfortunately it did require a few hours of tweaking the G-Code to get it to work just right.

Feast your ears on this beautiful rendition of the Jurassic Park Theme song below.

Continue reading “3D Printer Plays Classic MIDIs”

Laser-Cut Clock Uses Planetary Gear

[wyojustin] was trying to think of projects he could do that would take advantage of some of the fabrication tech that’s become available to the average hobbyist. Even though he doesn’t have any particular interest in clocks, [wyojustin] discovered that he could learn a lot about the tools he has access to by building a clock.

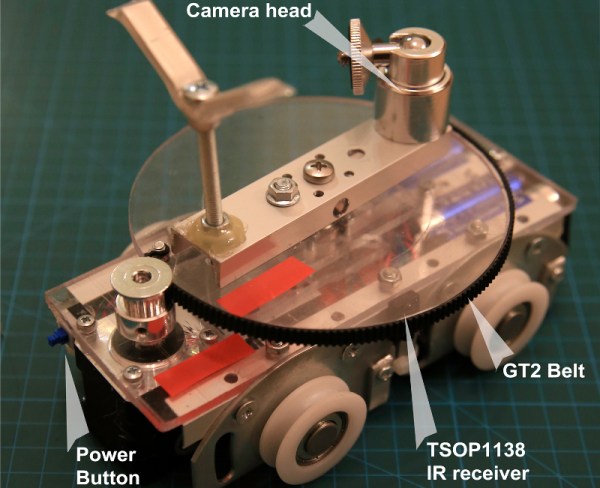
[wyojustin] first made a clock based off of a design by [Brian Wagner] that we featured a while back. The clock uses an idler wheel to move the hour ring so it doesn’t need a separate hour hand. After he built his first design, [wyojustin] realized he could add a planetary gear that could move an hour hand as well. After a bit of trial and error with gear ratios, he landed on a design that worked.

The clock’s movement is a stepper motor that’s driven by an Arduino. Although [wyojustin] isn’t too happy with the appearance of his electronics, the drive setup seems to work pretty well. Check out [wyojustin]’s site to see the other clock builds he’s done (including a version with a second hand), and you can peruse all of his design files on GitHub.

Looking for more clock-building inspiration? Check out some other awesome clock builds we’ve featured before.

New Part Day: Silent Stepper Motors

Some of the first popular printers that made it into homes and schools were Apple Imagewriters and other deafeningly slow dot matrix printers. Now there’s a laser printer in every office that’s whisper quiet, fast, and produces high-quality output that can’t be matched with dot matrix technology.

In case you haven’t noticed, 3D printers are very slow, very loud, and everyone is looking forward to the day when high-quality 3D objects can be printed in just a few minutes. We’re not at the point where truly silent stepper motors are possible just yet, but with the Trinamic TMC2100, we’re getting there.

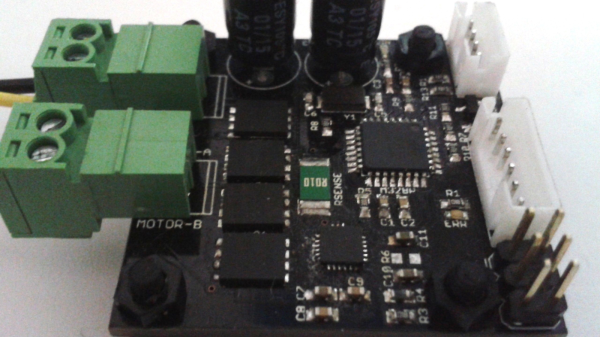
Most of the stepper motors you’ll find in RepRaps and other 3D printers are based on the Allegro A498X series of stepper motor drivers, whether they’re on breakout boards like ‘The Pololu‘ or integrated on the control board like the RAMBO. The Trinamic TMC2100 is logic compatible with the A498X, but not pin compatible. For 99% of people, this isn’t an issue: the drivers usually come soldered to a breakout board.

There are a few features that make the Trinamic an interesting chip. The feature that’s getting the most publicity is a mode called stealthChop. When running a motor at medium or low speeds, the motor will be absolutely silent. Yes, this means stepper motor music will soon be a thing of the past.

However, this stealthChop mode drastically reduces the torque a motor can provide. 3D printers throw around relatively heavy axes fairly fast when printing, and this motor driver is only supposed to be used at low or medium velocities.

The spreadCycle feature of the TMC2100 is what you’ll want to use for 3D printers. This mode uses two ‘decay phases’ on each step of a motor to make a more efficient driver. Motors in 3D printers get hot sometimes, especially if they’re running fast. A more efficient driver reduces heat and hopefully leads to more reliable motor control.

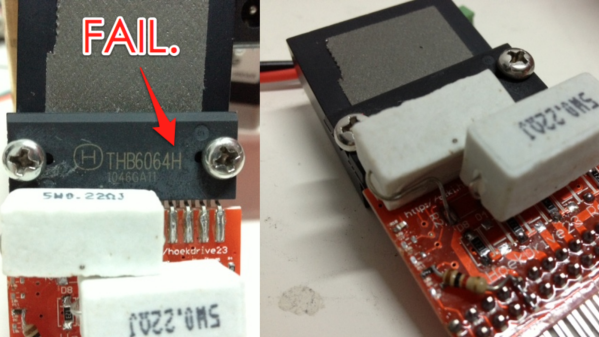
In addition to a few new modes of operation, the TMC2100 has an extremely interesting feature: diagnostics. There are pins specifically dedicated as notification of shorted outputs, high temperatures, and undervolt conditions. This is something that can’t be found with the usual stepper drivers, and it would be great if a feature like this were to ever make its way into a 3D printer controller board. I’m sure I’m not alone in having a collection of fried Pololu drivers, and properly implementing these diagnostic pins in a controller board would have saved those drivers.

These drivers are a little hard to find right now, but Watterott has a few of them already assembled into a Pololu-compatible package. [Thomas Sanladerer] did a great teardown of these drivers, too. You can check out that video below.

Continue reading “New Part Day: Silent Stepper Motors”

Drawing On Glow In The Dark Surfaces With Lasers

What do you get when you have a computer-controlled laser pointer and a big sheet of glow in the dark material? Something very cool, apparently. [Riley] put together a great build that goes far beyond a simple laser diode and servo build. He’s using stepper motors and a proper motion control software for this one.

The theory behind the device is simple – point a laser at some glow in the dark surface – but [Riley] is doing this project right. Instead of jittery servos, the X and Y axes of the laser pointer are stepper motors. These are controlled by an Arduino Due and TinyG motion control software. This isn’t [Riley]’s first rodeo with TinyG; we saw him at Maker Faire NYC with a pendulum demonstration that was absolutely phenomenal.

Right now, [Riley] is taking SVG images, converting them to Gcode, and putting them up on some glow in the dark vinyl. Since the Hackaday Skull ‘n Wrenches is available in SVG format, that was an easy call to make on what to display in weird phosphorescent green. You can see a video of that along with a few others below.

Continue reading “Drawing On Glow In The Dark Surfaces With Lasers”