There’s no shortage of cheap digital oscilloscopes available today from the usual online retailers, but that doesn’t mean the appeal of building your own has gone away — especially when we have access to powerful microcontrollers that make it easier than ever to spin up custom gear. [mircemk] is using one of those microcontrollers to build an improved, pocket-sized oscilloscope.
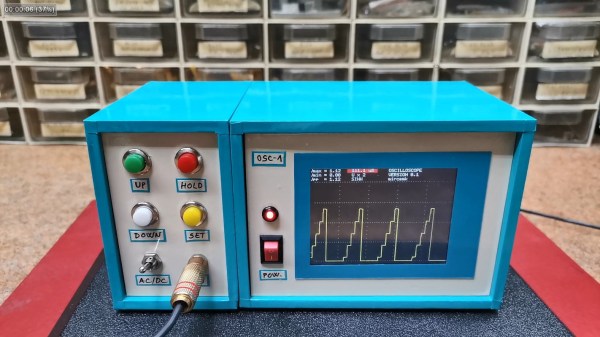
The microcontroller he’s chosen is the STM32F103C8T6, part of the 32-bit STM family which has tremendous performance compared to common 8-bit microcontrollers for only a marginally increased cost. Paired with a small 3-inch TFT color display, it has enough functions to cover plenty of use cases, capable of measuring both AC and DC signals, freezing a signal for analysis, and operating at an impressive 500 kHz at a cost of only around $15. The display also outputs a fairly comprehensive analysis of the incoming signal as well, with the small scope capable of measuring up to 6.6 V on its input.
This isn’t [mircemk]’s first oscilloscope, either. His previous versions have used Arduinos, generally only running around 50 kHz. With the STM32 microcontroller the sampling frequency is an order of magnitude higher at 500 kHz. While that’s not going to beat the latest four-channel scope from Tektronix or Rigol, it’s not bad for the form factor and cost and would be an effective scope in plenty of applications. If all you have on hand is an 8-bit microcontroller, though, we have seen some interesting scopes built with them in the past.