Bringing Guitar Synthesis To The Microcontroller

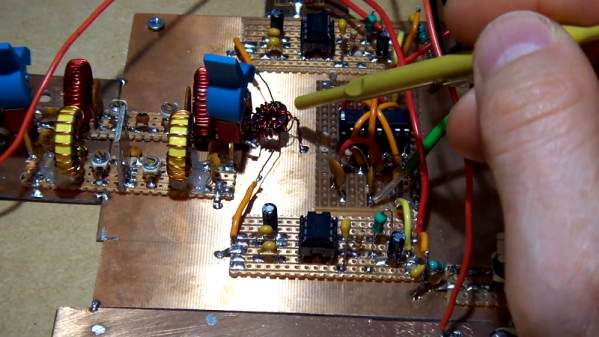
If you’re working with audio in an embedded environment, the best option for years now has been the Teensy 3 microcontroller board. This choice has mostly been due to its incredible power and audio libraries, but until now we really haven’t seen a stompbox-style interface that used the Teensy to its fullest extent. Now we have, in [Wolkstein]’s GitSynth, everything you could want in a synthesizer that processes the signals from an electric guitar.

The core of this build is a Teensy 3, and all the audio goodies that come with that. Also included is a USB MIDI and audio interface, smartly both attached to a panel-mount USB-B connector on the back of the stompbox. Other controls include a single mono in jack for guitars and synths, two mono out jacks for stereo-ish output, a bunch of footswitches for bypass, tap tempo, preset selection, a jack for an expression pedal, and some buttons to move around the LCD user interface.

While putting a powerful microcontroller in a stomp box for is a project we’ve seen many times, this project really shines with the MIDI GUI that’s built for a device with a real display and a mouse. [Wolkstein] built a PyQt-based app for this synth, and it’s a plethora of buttons and sliders that looks similar enough to a real synthesizer. There’s enough configurability here for anyone.

You can check out the demo video (in German, but auto-translate subtitles exist) below.

Thanks [Mynaru] for the tip!

Continue reading “Bringing Guitar Synthesis To The Microcontroller”

A Gif-Playing Top Hat For FRC 2018!

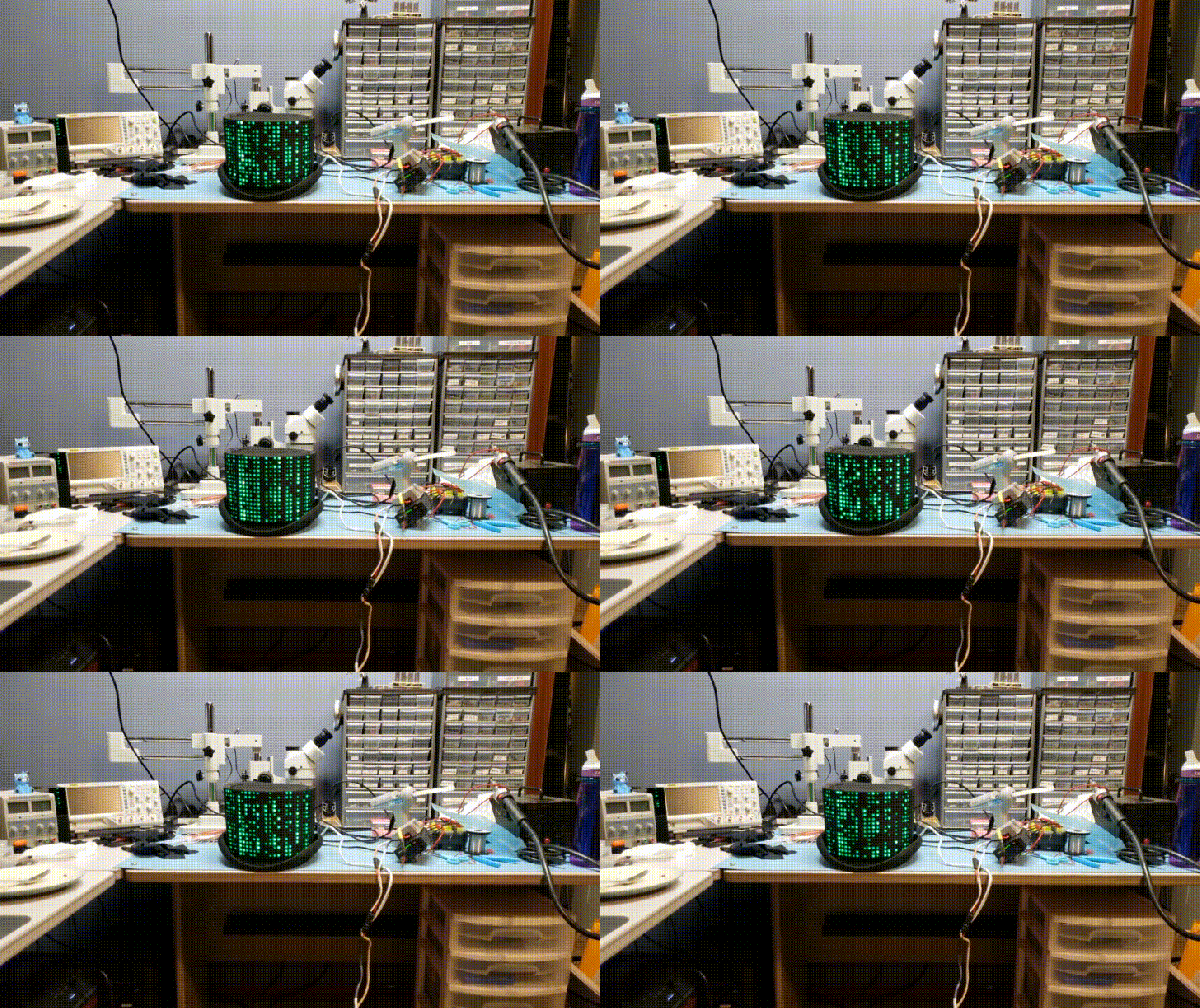
In gearing up to mentor a team at the 2018 FIRST Robotics Competition, redditor [dd0626] wanted to do something cool that resonated with this year’s 8-bit gaming theme. Over the course of a few days, they transformed a top hat into a thematically encapsulating marquee: a LED matrix display loaded with gifs!

The display is actually a sleeve — made from shipping foam, a pillow case, and an old t-shirt — that fits over the hat, leaving it intact and wearable for future events. A Teensy3.6 displays the gifs on four WS2812 16×16 RGB LED matrices, and while a sheer black fabric diffuses the light, it’s still best viewed from several feet away. This is decidedly not intended to be a stealthy hat display.

To mitigate current draw, [dd0626] is using a 5V 30A DC/DC converter and keeping the brightness at a minimum — otherwise, each panel can pull up to 15A! To offset any dip in performance, they’ve bundled in a massive 22,400mAh, 24V battery pack to keep the hat running for a while. Despite all the hardware, the hat weighs under two pounds — eminently wearable for a long day of competition. Continue reading “A Gif-Playing Top Hat For FRC 2018!”

Emulating A Complete Commodore 64

When the Commodore 64 was released in 1982, it was a masterpiece of engineering. It had capabilities far outstripping other home computers, and that was all due to two fancy chips inside the C64. The VIC-II, the video chip for the C64, had sprites and scrolling, all stuffed into a single bit of silicon. The SID chip was a complete synthesizer on a chip. These bits of silicon made the C64 the best selling computer of all time, but have also stymied efforts to emulate a complete C64 system on a microcontroller.

[Frank Bösing] has just managed to emulate an entire C64 on a Teensy 3.6. The Teensy uses an exceptionally powerful microcontroller, but this is a labor of love and code.

The inspiration for this project comes from a reverse-engineered SID chip that was ported to the Teensy 3.2. The SID chip is the make it or break it feature of any C64 emulation, but the Teensy 3.2 didn’t have enough RAM for the most recent versions of reSID. With the release of the Teensy 3.6, [Frank] figured the increased amount of RAM would allow a complete C64 system, so he built it.

The new C64 emulator uses a Teensy 3.6, with a small add-on ‘shield’ (or whetever we’re calling them) to provide connectors for joysticks and the Commodore IEC bus. There’s audio out, support for USB keyboards, and support for an IL9341 SPI display or a regular ‘ol VGA display.

The entire development of this Commodore emulator has been documented over on the PJRC forums, and all the code is over on GitHub. It’s a fantastic piece of work, and as the video (below) shows, this is a real Commodore 64 that fits in your pocket.

Continue reading “Emulating A Complete Commodore 64”

Cramming A Pi Zero Into A Cheap Handheld Game

At this point, we’ve seen the Raspberry Pi jammed into what amounts to every retro game system, handheld or otherwise, that was ever released. While they’re always fun builds, invariably somebody will come along who is upset that the original hardware had to be gutted to create it. It seems as if with each post, a classic gaming aficionado out there has his or her heart broken just a bit more. Will no one put an end to the senseless slaughter of Game Boys?

As it so happens, not all hardware modders are such unconscionable brutes. [Starfire] recently sent his latest creation into the tip line, and it’s designed specifically to address the classic gaming massacre in which Hackaday has so shamefully been a collaborator.  His build sacrifices a portable Genesis built by AtGames, and turns it into a Raspberry Pi Zero portable running RetroPie.

Opening up the back panel of his portable Pi shows an incredible amount of hardware smashed into the tiny package. Beyond the obvious Pi Zero, there’s a iUniker 2.8-inch LCD, a 2,200 mAh battery, a two-port USB hub, a Teensy microcontroller, a USB sound card, an audio amplifier, a LiPo charging module, and a boost converter. [Starfire] measured peak power consumption to be 500 mA, which should give about a 3.5 hour run time on the 2,200 mAh battery.

This is all the more impressive when you realize the original AtGames PCB is still in the system, albeit with the center cut out for the Pi’s LCD to fit in. Rather than having to figure out a new way to handle input, [Starfire] simply connected the existing inputs to the digital pins on the Teensy and used some code to convert that into USB HID for the Pi. A few case modifications were necessary, namely the removal of the battery compartment from the back panel and covering up the original SD card slot and ports; but otherwise the finished product looks completely stock.

If you don’t mind tearing into a real Game Boy to make your portable Pi, you can check out a few of the stand out examples which we’ve covered here in the past.

Continue reading “Cramming A Pi Zero Into A Cheap Handheld Game”

Glitch Delays And Teensy Audio

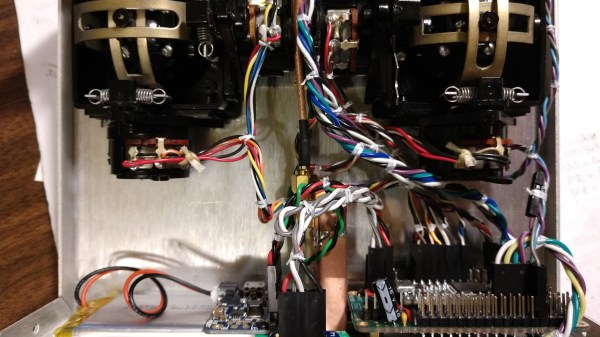
With the release of the Teensy 3.6 and the associated audio processing libraries, it’s never been a better time to get into DIY synth and effects projects. [Scott] is a musician and maker of electronic musical instruments, so he decided to leverage the power of the Teensy and make a delay module that really can’t be done any other way.

The function of this delay module is somewhat similar to a multi-head tape-based delay, only it’s completely impossible outside of the digital domain. There are four ‘read heads’ on a circular buffer. The first three heads play small loops within the buffer at different speeds, one at the original speed, one at half speed (and an octave below) and one at double speed (and an octave above). The fourth head doesn’t loop, instead, it plays the delay buffer in reverse. There are, of course, handy knobs for setting the level of each ‘read head’.

This project is built around [Scott]’s port of the JUCE framework, a very powerful audio API that’s now well suited for laptop and embedded development. The files for this project are all available on the GitHub, and [Scott] plans to build an expansion module for CV control of all the parameters.

So, how does this glitch delay sound? Pretty good. The video below is just a tele into a looper pedal, and into the glitch delay. There are surely some ambient post-rock stars wetting their skinny jeans over this one, and it’s a great application of the Teensy’s audio processing power, to boot.

Continue reading “Glitch Delays And Teensy Audio”

Eight SEGAs Singing

Way back in the dark ages, before the average computer could play back high quality recorded audio, things were done differently. Music and sounds were stored as instructions to be played back on audio synthesis chips, built into the computers and consoles of the 80s and 90s. These chips and their unique voices hold a special nostalgia that’s key to this era, making them popular to experiment with today. To that end, [little-scale] decided to wire up eight chips from the SEGA Master System to please your ears.

The chips, laid out on a breadboard with a Teensy LC running the show.

The chip in question is the SN76489, which we’ve also noted is used in the Sega Genesis as well. It packs 3 square wave tone generators, and a noise channel as well. With eight of these to play with, that’s 32 total channels. To drive these, [little-scale] decided to go the MIDI route. To get around the MIDI limit of 16 channels, he decided to split the frequency range in half. Each MIDI channel addresses two SN76489 channels, the top pitches being used for one, the lower pitches being used for the other. All this MIDI data is passed to a Teensy LC, which handles transposition of the note data to get everything back in tune, and addresses the eight chips to create a beautiful square wave symphony.

It’s a great way to create a cacophony of sound in a delightful vintage way, and code is available if you’d like to recreate the feat. What we’d like to know is this – what’s your favourite sound chip from yesteryear, and how badly do you want eight of them to sing in glorious harmony? Continue reading “Eight SEGAs Singing”

Ergonomic Keyboard Designed From The Ground Up

In 2011, [Fabio] had been working behind a keyboard for about a decade when he started noticing wrist pain. This is a common long-term injury for people at desk jobs, but rather than buy an ergonomic keyboard he decided that none of the commercial offerings had all of the features he needed. Instead, he set out on a five-year journey to build the perfect ergonomic keyboard.

Part of the problem with other solutions was that no keyboards could be left in Dvorak (a keyboard layout [Fabio] finds improves his typing speed) after rebooting the computer, and Arduino-based solutions would not make themselves available to the computer’s BIOS. Luckily he found the LUFA keyboard library, and then was able to salvage a PCB from another keyboard. From there, he programmed everything on a Teensy microcontroller, added an OLED screen, and soldered it all together (including a set of Cherry MX switches).

Of course, the build wasn’t truly complete until recently, when a custom two-part case was 3D printed. The build quality and attention to detail in this project is impressive, and if you want to roll out your own [Fabio] has made all of the CAD files and software available. Should you wish to incorporate some of his designs into other types of specialized keyboards, there are some ideas floating around that will surely improve your typing or workflow.