Most DJ tools are just ripe for DIY rework. Everything at least speaks MIDI, and the firmware side of the equation that makes a physical interface for your laptop can be downloaded and flashed with minimal effort. And this means that there’s no time better than the present to wire up a ton of buttons to a Teensy and call it a controller.
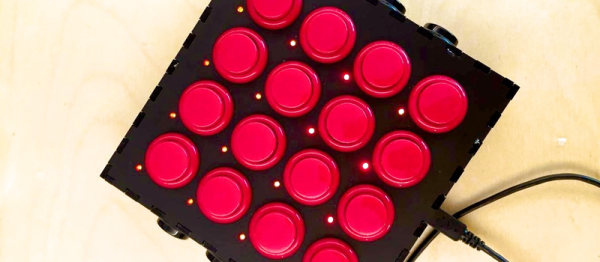
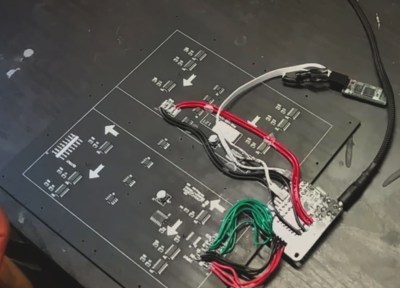
[UmamiFish]’s build goes the extra mile, though, with a nice laser-cut box and holes for display LEDs as well as the 22 arcade buttons that are packed tightly into the enclosure. A 74HC595 shift-register IC handles the LEDs, but there’s no getting around a bunch of wiring in a build like this. It pays to be neat, and using ribbon cable helps keep some of the chaos under control.
Browsing around Instructables will turn up myriad similar controllers, should the exact configuration of this one not suit your needs. And if you want something with a little more of the real-disk feel, have a look at this controller that uses hard disk platters, or this log of a timecode-vinyl-to-MIDI build.
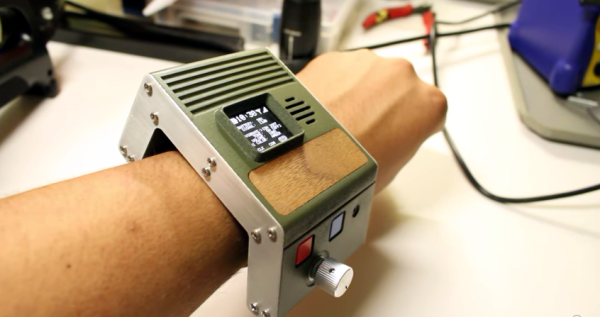
 In his latest build he has produced
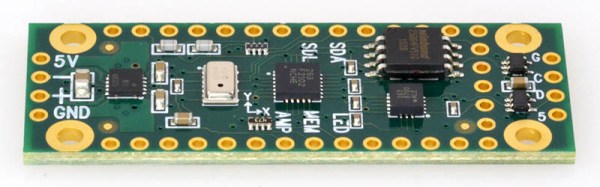
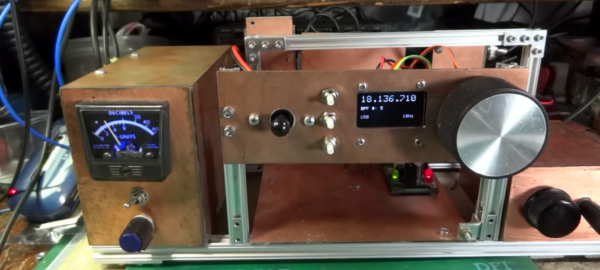
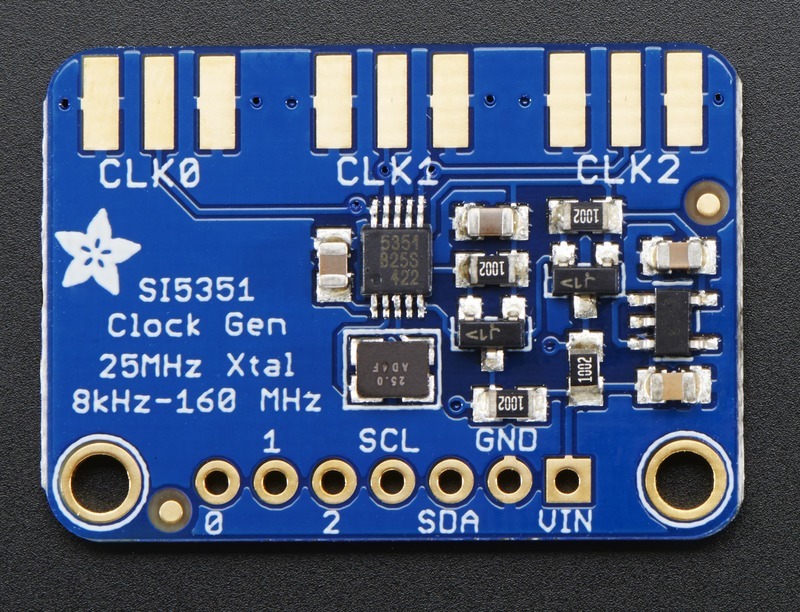 [Tom] used a Teensy 3.1 Arduino compatible board, to control the Si5351