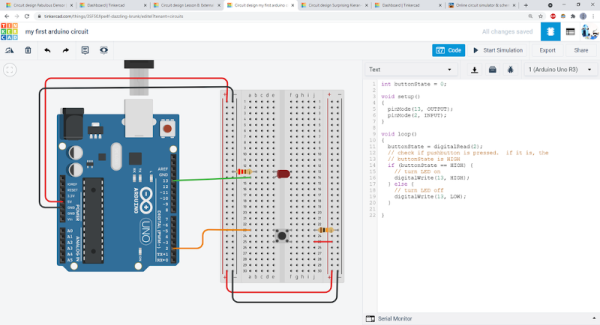
Going to the movies is an experience. But how popular do you think they’d be if you went in, bought your popcorn, picked your seat, and the curtain would rise on a large still photograph? Probably not a great business model. If a picture is worth 1,000 words, then a video is worth at least a million, and that’s why we thought it was awesome that Tinkercad now has a physics simulator built right in.

It all starts with your 3D model or models, of course. Then there’s an apple icon. (Like Newton, not like Steve Jobs.) Once you click it, you are in simulation mode. You can select objects and make them fixed or movable. You can change the material of each part, too, which varies its friction, density, and mass. There is a play button at the bottom. Press it, and you’ll see what happens. You can also share and you have the option of making an MP4 video like the ones below.
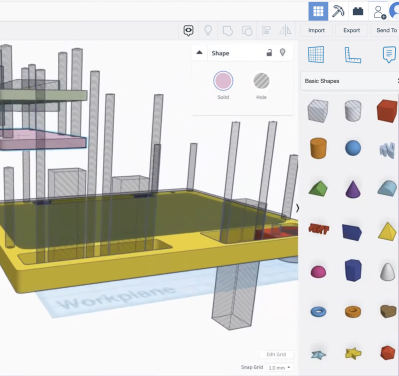
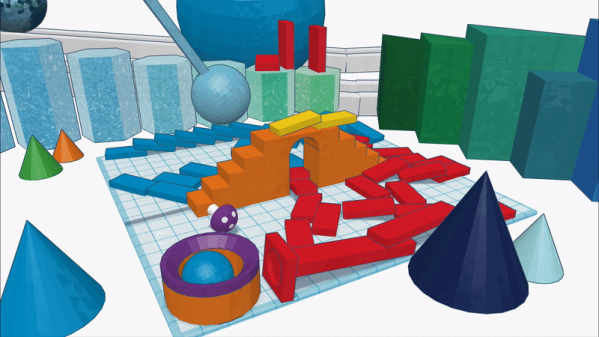
We, of course, couldn’t resist. We started with a half-sphere and made it larger. We also rotated it so the flat side was up. We then made a copy that would become the inside of our bowl. Using the ruler tool, we shaved about 2 mm off the length and width (X and Y) of the inner sphere. We also moved it 2 mm up without changing the size.
Using the alignment tools, you can then center the inner piece in the X and Y axis. Change the inner color to a hole and group the objects. This forms a simple bowl shape. Then we moved the workplane to a random part of the inner surface of our bowl and dropped a sphere. Nothing complicated.