Building something on your own usually carries with it certain benefits, such as being in full control over what it is you are building and what it will accomplish, as well as a sense of pride when you create something that finally works just the way you want it. If you continue down that path, you may eventually start making your own tools to help build your other creations, and if you also have some CAD software you can make some very high quality tools like this belt grinder.
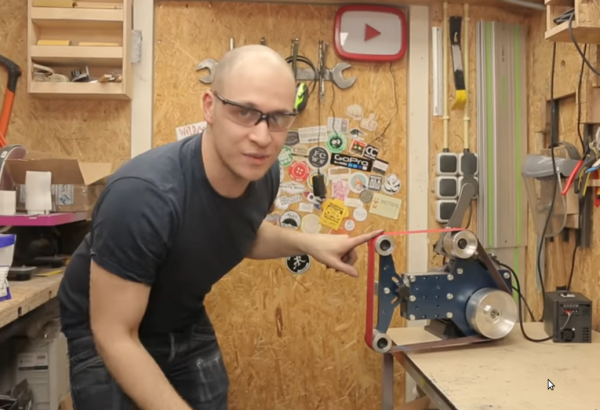
This build comes to us from [Emiel] aka [The Practical Engineer] who is known for his high quality solenoid engines. His metal work is above and beyond, and one thing he needed was a belt grinder. He decided to make a 3D model of one in CAD and then build it from scratch. The build video goes through his design process in Fusion 360 and then the actual build of this beast of a machine. The motor is 3.5 horsepower which, when paired with a variable frequency drive, can provide all of his belt grinding needs.
[Emiel]’s videos are always high quality, and his design process is easy to follow as well. We’re always envious of his shop as well, and it reminds us a lot of [Eric Strebel] and his famous designs.