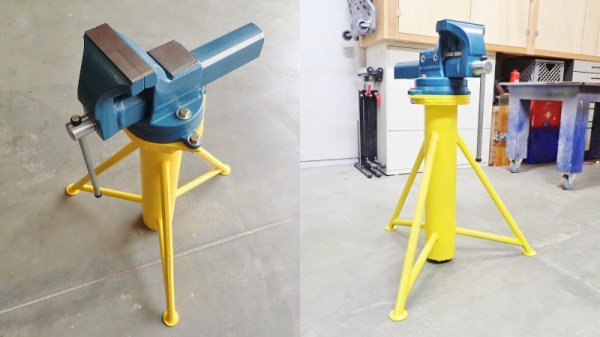
Old shop tools have a reputation for resilience and sturdiness, and though some of this is due to survivorship bias, some of it certainly comes down to an abundance of cast iron. The vise which [Marius Hornberger] recently restored is no exception, which made a good stand indispensable; it needed to be mobile for use throughout the shop, yet stay firmly in place under significant force. To do this, he built a stand with a pen-like locking mechanism to deploy and retract some caster wheels.
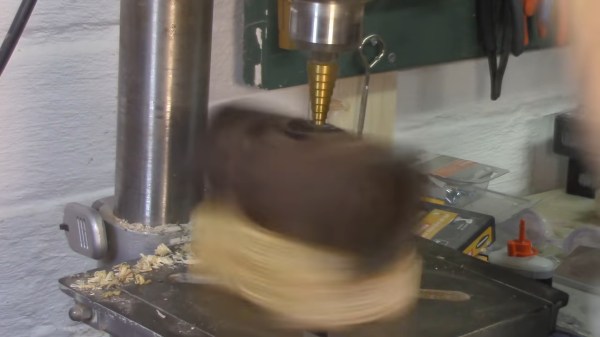
Most of the video goes over the construction of the rest of the stand, which is interesting in itself; the stand has an adjustable height, which required [Marius] to construct two interlocking center columns with a threaded adjustment mechanism. The three legs of the stand were welded out of square tubing, and the wheels are mounted on levers attached to the inside of the legs. One of the levers is longer and has a foot pedal that can be pressed down to extend all the casters and lock them in place. A second press on the pedal unlocks the levers, which are pulled up by springs. The locking mechanism is based on a cam that blocks or allows motion depending on its rotation; each press down rotates it a bit. This mechanism, like most parts of the stand, was laser-cut and laser-welded (if you want to skip ahead to its construction, it begins at about 29:00).
Continue reading “Building A Vise Stand With Pen-Like Retracting Wheels”