Surfing is an activity predominantly enjoyed during the day, primarily for reasons of warmth and water safety. Of course, if you prefer to carve the waves at night, you might enjoy the latest project from [Moritz Sivers] – a surfboard kitted out with motion-reactive LEDs.
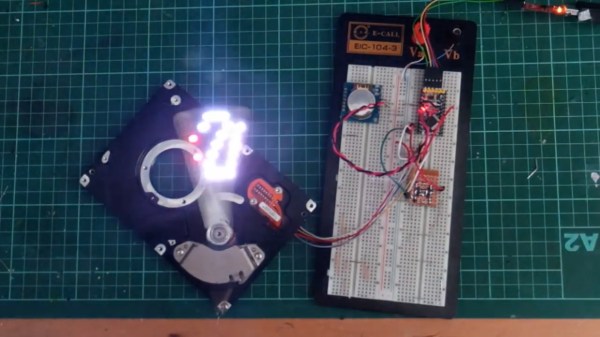
The build consists of a regular surfboard, with a channel cut around the perimeter into which WS2812B LED strips are glued. Powered by a lithium rechargable battery, commands are given by an Arduino Nano hooked up to a MPU6050 3-axis gyroscope. This allows the Arduino to change the light patterns based on the movement of the board. Left and right turns, pumping the board, and surfing down a wave all come with their own animations.
It’s a fun twist on night surfing, and makes it easier to spot a downed surfer, too. It’s a build we expect to see recreated in a high-end 4K surf film before the year is out. Of course, if you just need to know if the conditions are right before you head out, this surf weather station might be just the build for you. Video after the break. Continue reading “Surfboard LED Strips Light Up The Waves”