Battery technology is the major limiting factor for the large-scale adoption of electric vehicles and grid-level energy storage. Marginal improvements have been made for lithium cells in the past decade but the technology has arguably been fairly stagnant, at least on massive industrial scales. At smaller levels there have been some more outside-of-the-box developments for things like embedded systems and, at least in the case of this battery that can recharge itself, implantable batteries for medical devices.
The tiny battery uses sodium and gold for the anode and cathode, and takes oxygen from the body to complete the chemical reaction. With a virtually unlimited supply of oxygen available to it, the battery essentially never needs to be replaced or recharged. In lab tests, it took a bit of time for the implant site to heal before there was a reliable oxygen supply, though, but once healing was complete the battery’s performance leveled off.
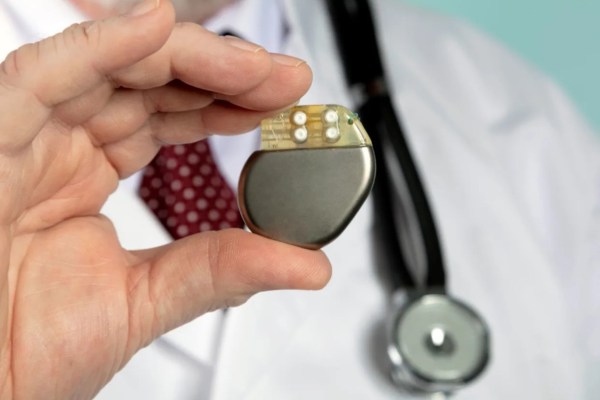
Currently the tiny batteries have only been tested in rats as a proof-of-concept to demonstrate the chemistry and electricity generation capabilities, but there didn’t appear to be any adverse consequences. Technology like this could be a big improvement for implanted devices like pacemakers if it can scale up, and could even help fight diseases and improve healing times. For some more background on implantable devices, [Dan Maloney] catches us up on the difficulties of building and powering replacement hearts for humans.