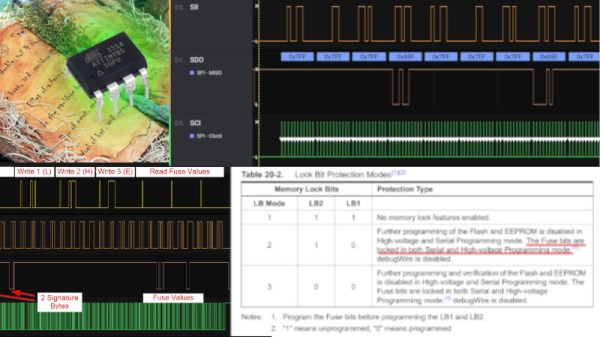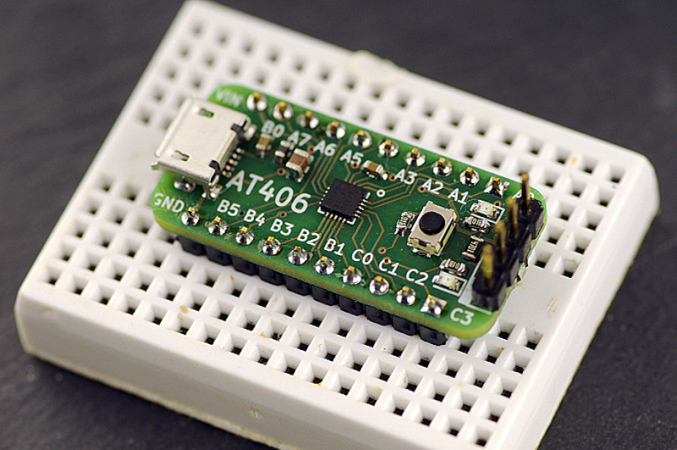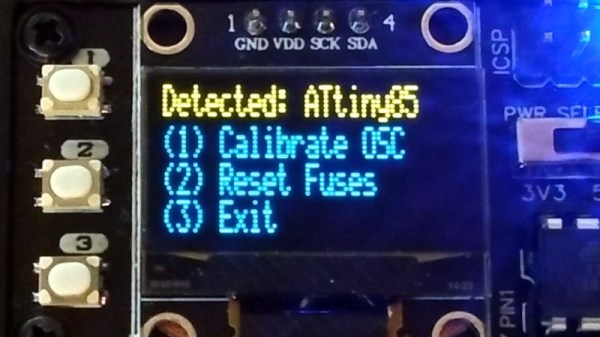
The smaller ATtiny microcontrollers have a limited number of pins, and therefore rely on an internal 9.6 MHz oscillator rather than an external crystal. This oscillator lacks the accuracy of a crystal so individual chips can vary over a significant tolerance from the nominal figure. Happily the resulting timing inaccuracies can be mitigated through a calibration process, and [Stefan Wagner] has incorporated this into his Tiny Calibrator. In addition, it also has the required charge pump circuitry to reset the internal fuses to rescue “bricked” ATtinys, thus allowing those little mistakes to be salvaged.
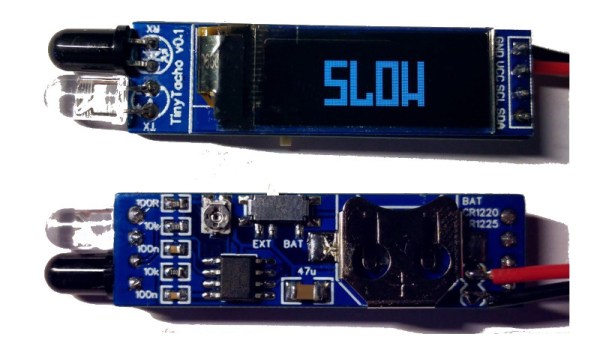
The board has its own larger ATtiny with a crystal oscillator and an OLED screen, allowing it to measure that of the test ATtiny and generate a correction factor which it applies to the chip. This process is repeated until there is the smallest possible difference from the standard. You can find the files for the hardware on EasyEDA, and the software in a GitHub repository.
It’s important to state that the result will never be as stable as a crystal so you’d be well advised not to put too much trust in those timers, but at least they won’t be as far off the mark as when shipped. All in all this is a handy board to have at hand should you be developing for the smaller ATtiny chips.
Be careful when chasing clock accuracy — it can lead you down a rabbit hole.

 Each Pixie module is designed to host two gorgeous little