It’s a problem that faces every designer of an event badge: how to make something that won’t simply become a piece of e-waste once the last attendee has gone home. Various events have had badges with extra sensors, ones designed to be dev boards, and ones that try to do useful software tasks, but this year’s Electromagnetic Field in the UK has a different take. Its badge is designed to be used across multiple events, with the badge itself being a hub for event-specific add-ons.
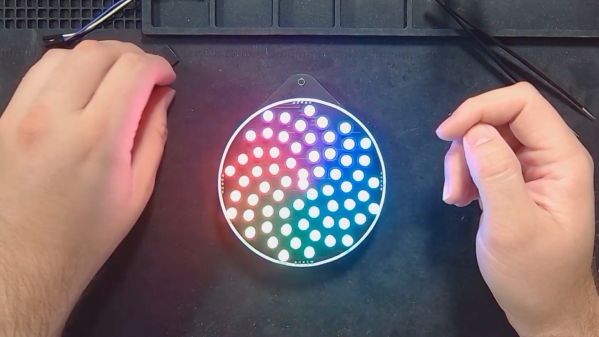
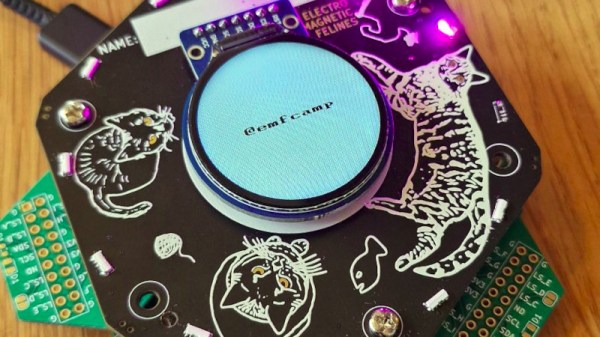
To achieve this feat, the Tildagon badge is a hexagonal hub with an expansion port on every side. Each of these sports an edge connector, and the corresponding part of the add-on is simply part of the PCB. The ‘hexpansions’ as the add-ons are called, don’t even have to have electronics, at their simplest they can even be cut from a piece of card. The brain of the outfit is an ESP32-C3 sporting a round LCD. Of course, and it has the usual buttons and LEDs.
We applaud the sentiment behind making a badge live beyond the event, and we expect that this won’t be the only take on a reusable badge we’ll see over the coming events. We’re guessing those edge connectors will add to the BoM cost though, which is why this probably will be the first EMF badge for which there will be a modest charge. We look forward to seeing it for real, meanwhile, they also published some technical info alongside the announcement linked above.