San Jose Fry's Electronics

Fry’s Electronics Has Fizzled Out Completely

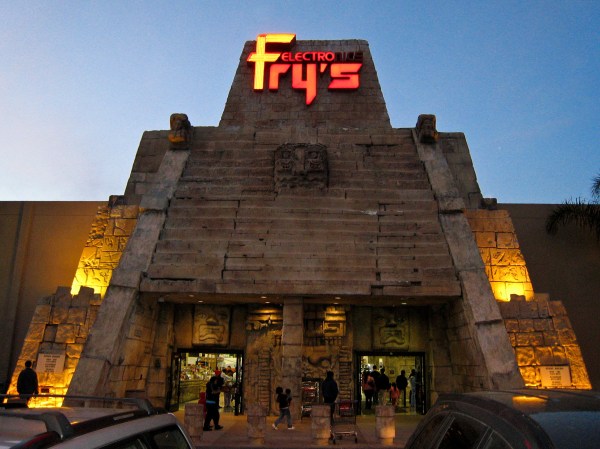
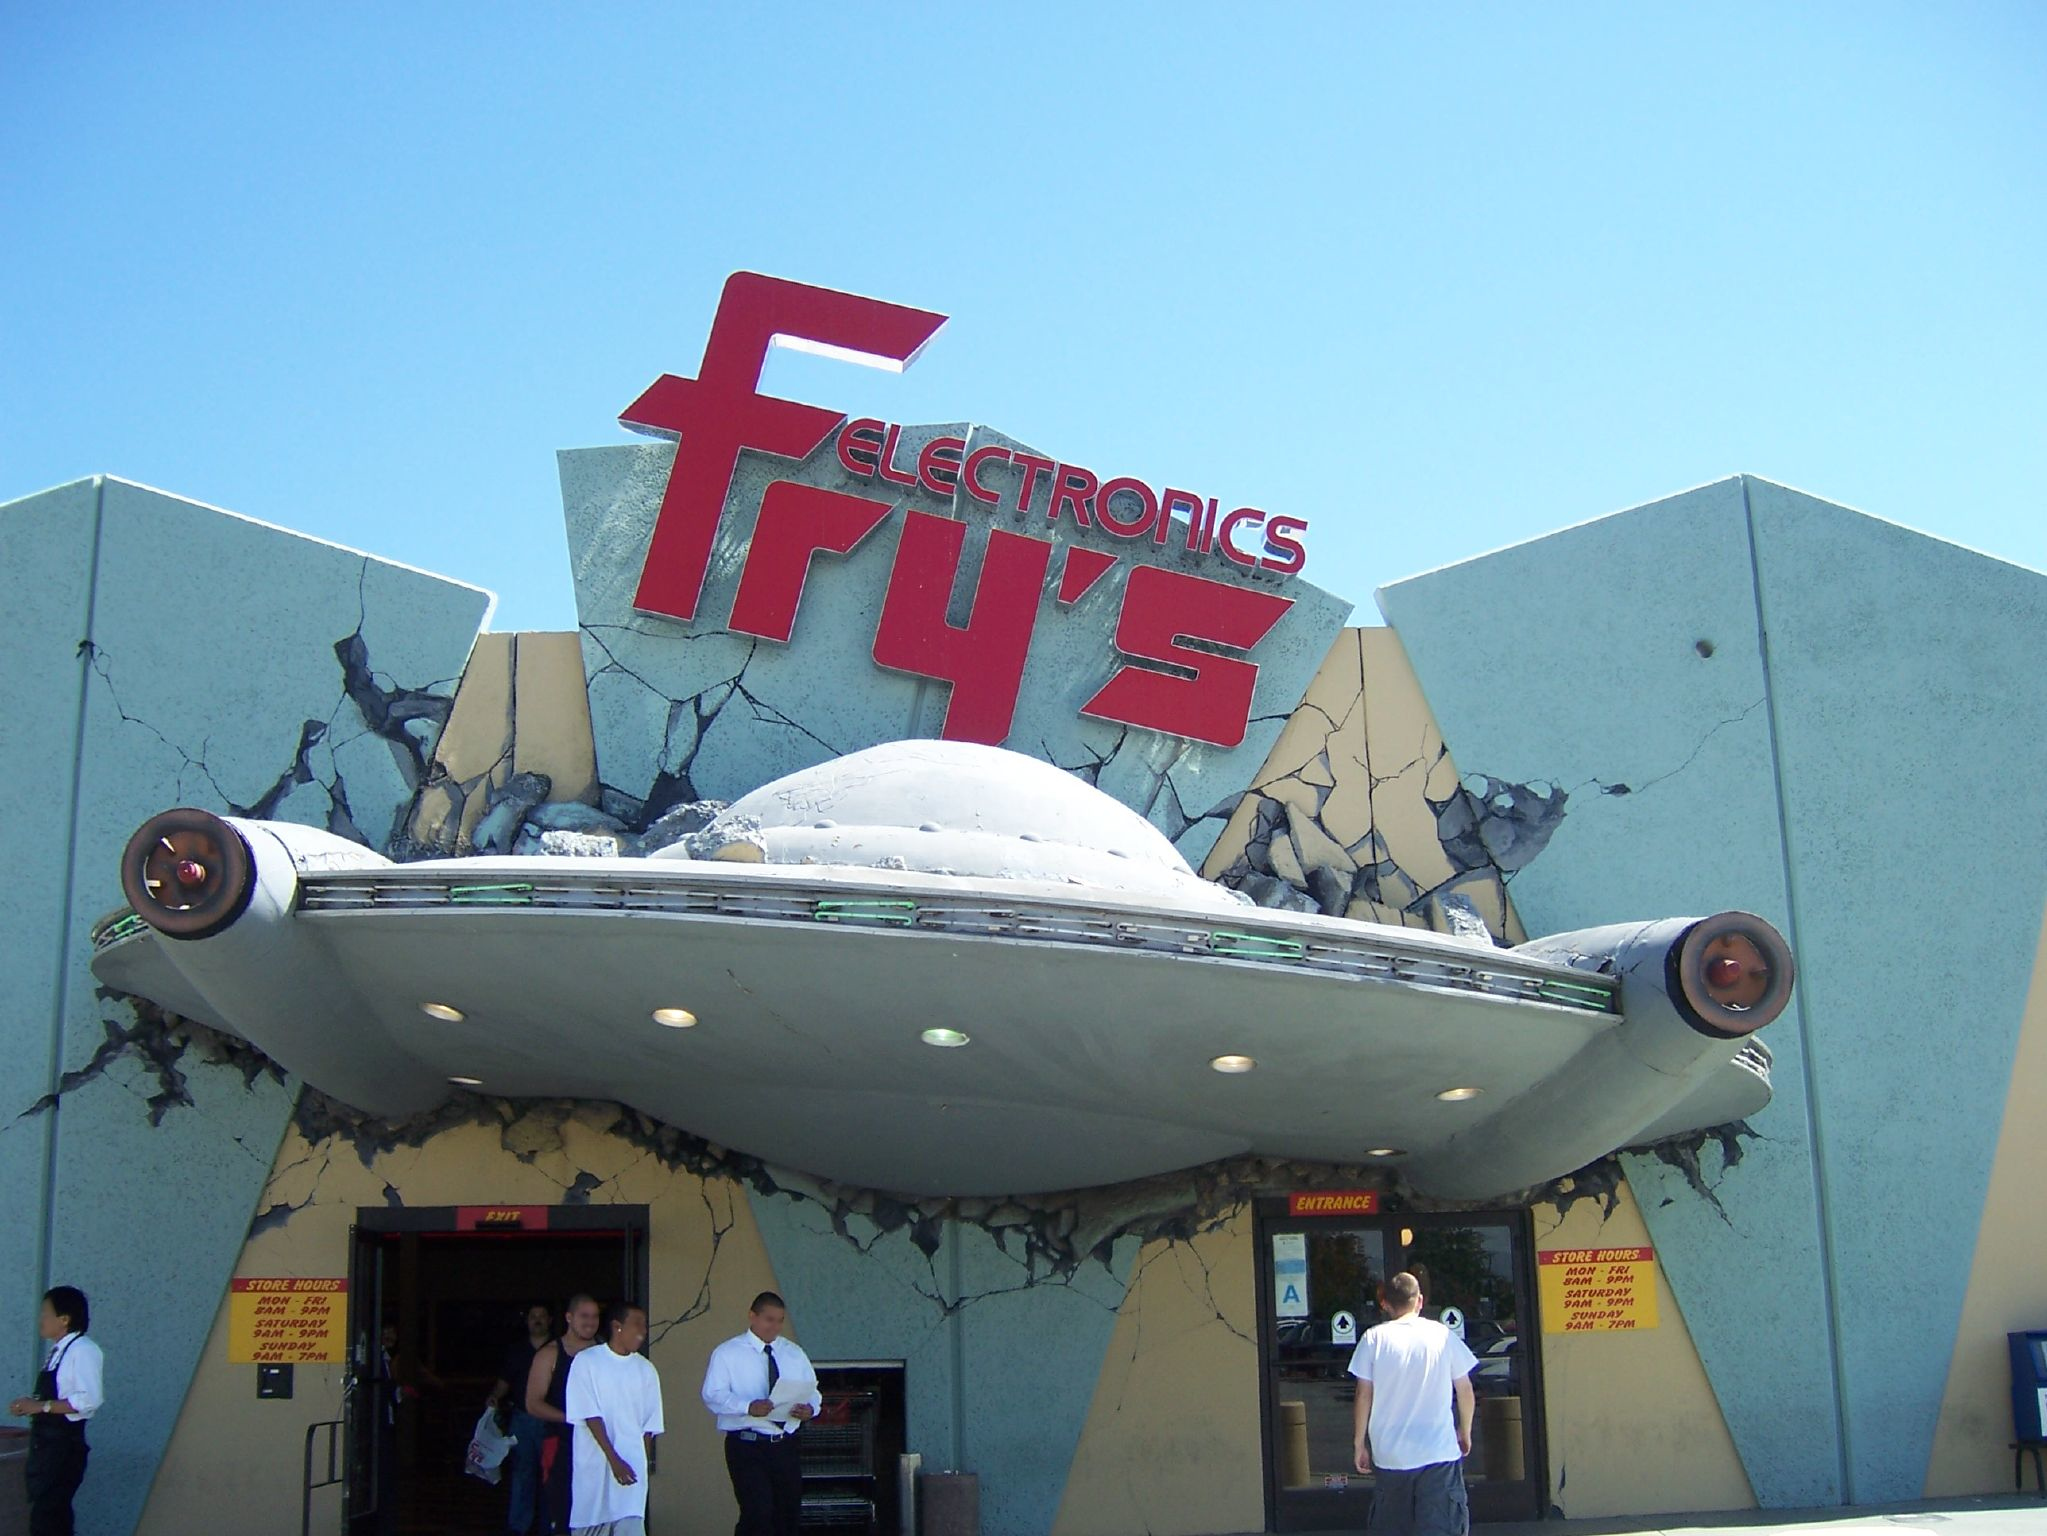
2020 and all its ills have claimed another stalwart among PC builders and electronics hobbyists: Fry’s announced yesterday that they have closed up shop for good after nearly 36 years in business both as a brick-and-mortar wonderland and an online mecca for all things electronic.

According to Fry’s website (PDF copy for posterity), all 31 stores across nine states were suddenly and permanently shuttered on Wednesday the 24th, citing changes in the retail industry and the widespread difficulties wrought by the pandemic. Signs of the retailer’s growing challenges were seen back in 2019 when the company began shifting toward a consignment model in an attempt to cut overhead and liability.

Burbank Fry’s electronics [Image source: Bryce Edwards CC-BY 2.0]
Sadly, I never set foot inside of a Fry’s though I hear it was an experience beginning with the themed entrances found at many of the locations. Now it seems I never will. Where I live, Microcenter is king, and it has been truly awesome to watch the hobby electronics section expand from a single four-foot panel in a dark corner to the multi-aisle marketplace it is today. I keep imagining that Microcenter suddenly went out of business instead, and it makes me want to cry.

So where can a person go to pick up some quick components now that Radio Shack and Fry’s are no more? Of course there’s the previously mentioned Microcenter, but you should also look for old-school supply stores in your area. They may not have an Adafruit section and they’re probably not open after 5:00PM or on the weekends, but these stores are still kicking and they need us now more than ever. We’ve previously reported on gems like Tanner’s Electronics which sadly closed its doors almost a year ago. Help spread the word about your favorites that are still open in the comments below.

Thank you [Ryan], [John], and [Jack] for tipping us off.

[Main image source: San Jose Fry’s by Bryce Edwards; CC-BY 2.0]

May (No Longer) Contain Hackers: MCH 2021 Has Been Cancelled

In a sad but unsurprising turn of events, MCH, this summer’s large hacker camp in the Netherlands, has been cancelled. Organising a large event in a pandemic would inevitably carry some risk, and despite optimism that the European vaccine strategy might have delivered a safe environment by the summer that risk was evidently too high for the event organisers IFCAT to take on. Our community’s events come from within the community itself rather than from commercial promoters, and the financial liability of committing to hire the site and infrastructure would have been too high to bear had the event succumbed to the pandemic. Tickets already purchased will be refunded, and they leave us with a crumb of solace by promising that alternatives will be considered. We understand their decision, and thank them for trying.

As with all such events the behind-the-scenes work for MCH has already started. The badge has been revealed in prototype form, the call for participation has been completed, and the various other event team planning will no doubt be well  under way. This work is unlikely to be wasted, and we hope that it will bear fruit at the next Dutch event whenever that may be.

It would have been nice to think that by now we could be seeing the light at the end of the pandemic tunnel, but despite the sterling work of scientists, healthcare workers, and epidemiologists, it seems we still have a a way to go before we’ll once more be hanging out together drinking Club-Mate in the company of thousands of others. If the pandemic is weighing upon you, take care of yourselves.

What If I Never Make Version Two?

When you make something, what does version one look like? What I mean is, how much thought do you put into the design? Do you try to make it look nice as you go along, or do you just build something that functions and say screw the presentation? Do you try to solve for everything upfront, or just plow through it and promise to fix your mistakes in version two? What if you never make version two?

No matter what you like to make, there’s a first time for everything. And it doesn’t seem to matter if you need the thing you’re making or just want to have it around: it’s a given that version one will probably be a bit rough around the edges. That’s just how it goes. Even if you’re well-versed in a skill, when you try a new type of project or a new pattern, it will be a new experience. For example, I’ve sewn a dozen different purses, but when I took on a new challenge I found I was only somewhat prepared to make my first backpack.

Great is the enemy of good, and perfection is the enemy of progress. Shooting for a pristine prototype on the first go steep and rocky path that never leads to finishing the build. So our goal here is to decide what makes rev1 good enough that we still love it, even if rev2 never happens.

Continue reading “What If I Never Make Version Two?”

Turn An Ender 3 Into A Belt 3D Printer Of Your Very Own

Infinite-bed 3D printers have long been an object of desire in our community, but it has taken a long time for the promise to catch up with the reality in terms of relatively affordable models that live up to expectations. They’re still a little expensive compared to their fixed-bed cousins though, so if you hanker for a Creality CR30 but only have the cash for an Ender 3, [Michael Sgroi] may have the project for you. He’s created the EnderLoop, a set of parts to perform the conversion from a stock Ender 3 to a fully-functional belt printer.

It takes the Ender 3 gantry and tilts it sideways on a pair of 3D printed supports, and replaces the stock Y azis with a belt on rollers driven by a larger motor through a timing belt drive. He has a variety of suggestions for sourcing a belt, and in his case he’s chosen one from PowerBelt3D. As well as the GitHub repository already linked, it can also be found on Thingiverse.

It’s clear that hacking apart a reliable printer in this way is not for the faint-hearted, and that a cautious hacker might prefer to wait a while for a cheaper off-the-shelf model. But we can see that the reliability of the Ender 3 will mean that its parts are still of decent quality in the new configuration, and that it looks as though the base printer can be reassembled should a belt-based build be a failure. Infinite bed printers will inevitably have a major presence in our community, and it is designs such as this one which will lead the way as they evolve into reliable machines.

DIY USB-C Touch Monitor Is All Polished Brass

We’ve known for a while that you can buy interface boards to turn old laptop screens into standalone monitors, but complete sets with 4K panels and control boards are also now becoming widely available on sites like eBay and AliExpress, and prices are dropping. These sets are also available with low-profile connectors like micro HDMI and USB-C, which allow for some very compact builds.

[Matt] from [DIY Perks] used one of these sets to build a slimline USB-C monitor with a brass enclosure. Video after the break. The enclosure consists of brass sheets and U-channel pieces soldered and screwed together. There is quite a bit of residue and discoloration after soldering, but this was removed with a bit of sanding and polishing. A pair of adjustable legs were added to allow it to stand on its own, and an additional chamber on the back holds the control board, an old smartphone battery, and a battery protection circuit. [Matt] also added a pair of removable speakers, which are sealed speaker units covered in brass mesh and plate.

We’ve covered several DIY monitor builds over the years, and they are perfect as an additional monitor for a laptop, or for pairing with the Raspberry Pi 400 with its integrated keyboard. We really [Matt]’s builds, which include a smartphone-based 4K projector, and a very effective cooling system for an expensive DSLR camera. Continue reading “DIY USB-C Touch Monitor Is All Polished Brass”

Micro:bit Makes Cardboard Pinball More Legit

What have you been doing to ward off the winter blues? [TechnoChic] decided to lean in to winter and make a really fun-looking game out of it by combining the awesome PinBox 3000 cardboard pinball sandbox with a couple of Micro:bits to handle and display the player’s score. Check it out the build and gameplay in the video after the break.

The story of Planet Winter is a bittersweet tale: basically, a bunch of penguins got tired of climate change and left Earth en masse for a penguin paradise where it’s a winter wonderland all year round. There’s a party igloo with disco lights and everything.

[TechnoChic] used a Micro:bit plugged into a Brown Dog Gadgets board to keep track of scoring, control the servo that kicks the ball back out of the igloo, and run the blinkenlights. It sends score updates over Bluetooth to a second Micro:bit and a Pimoroni Scrollbit display that sit opposite the pinball launcher. She went through a few switch iterations before settling on conductive maker tape and isolating the ball so it only contacts the tape tracks.

There are two ways to score on Planet Winter — the blizzard at the end of the ball launcher path nets you ten points, and getting the ball in the party igloo is good for thirty. Be careful on the icy lake in the middle of the playfield, because if the ball falls through the ice, it’s gone for good, along with your points. It’s okay, though, because both the party igloo and the ice hole trigger an avalanche which releases another ball.

Seriously, these PinBox 3000 kits are probably the most fun you can have with cardboard, even fresh out of the box. They are super fun even if you only build the kit and make a bunch of temporary targets to test gameplay, but never settle on a theme (ask us how we know). Not convinced? Hackaday Editor-in-Chief [Mike Szczys] explored them in depth at Maker Faire in 2018.

Continue reading “Micro:bit Makes Cardboard Pinball More Legit”

Robotic Pool Cue Can Be Your Friend Or Your Foe

In his everlasting quest to replace physical skill with technology, [Shane] of [Stuff Made Here] has taken aim at the game of eight-ball pool. Using a combination of computer vision and mechatronics, he created a robotic pool system that can allow a physical game of pool over the internet, or just beat human players. See the video after the break.

Making a good pool shot requires three discrete steps. First, you need to identify the best shot, then figure out how exactly to strike the balls to achieve the desired results, and finally physically execute the shot accurately. [Shane’s] goal was to automate all these steps. For the physical part, he built a pool cue with a robotic tip which only requires the user to place in approximately the right position, while a pneumatic piston mounted on a Stewart platform does the rest. A Stewart platform is a triangular plate mounted with six reciprocating rods, which gives it the required freedom of motion. The rods’ bases are attached to a set of cranks actuated by tension cables pulled by servos mounted at the rear-end of the cue. An adjustable air system allows the power of the shot to be adjusted as required.

A camera mounted is mounted over the table and connected to computer vision software to gather the required position information. Fiducials on the corners of the table and the cue tip allow the position of the pockets, balls, and cue to be accurately determined, and theoretically should allow the robot to take the perfect shot. Getting this to work in reality quickly turned into a very frustrating experience. After many hours of debugging, [Shane] tracked the error to a tiny forgotten test function that was introducing 5-10 mm of position error, and 2 of the six servos in the cue not performing up to spec. To determine the vertical positioning of the cue, an IMU and fixed height foot were added. [Shane] also added an overhead projector to overlay all required information directly on the table. Continue reading “Robotic Pool Cue Can Be Your Friend Or Your Foe”