
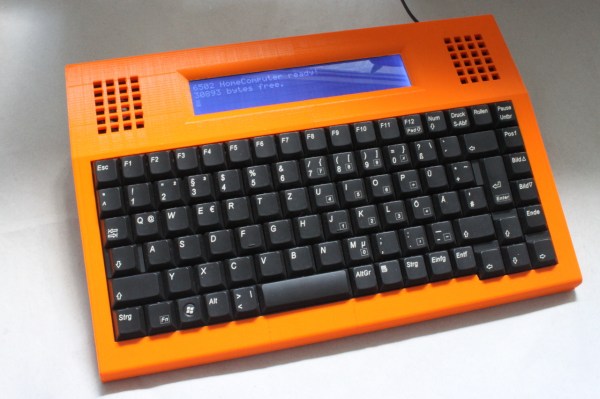
Over the years, we’ve seen a lot of DIY retro computers, but [Dirk Grappendorf] has created one of the most polished looking 6502 systems to date. His battery-powered portable machine utilizes a 4 line by 40 character LCD, and a modified USB keyboard. Cover all that in a slick 3D printed case, and you have a machine that reminds us quite a bit of the venerable TRS-80 Model 100.
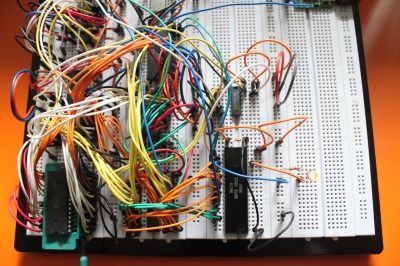 [Dirk] has some great documentation to go with his computer. He started with a classic MOS 6502 processor. He surrounded the processor with a number of support chips correct for the early 80’s period. RAM is easy-to -use static RAM, while ROM is handled by UV erasable EPROM. A pair of MOS 6522 Versatile Interface Adapter (VIA) chips connect the keyboard, LCD, and any other peripherals to the CPU. Sound is of course provided by the 6581 SID chip. All this made for a heck of a lot of wires when built up on a breadboard. The only thing missing from this build is a way to store software written on the machine. [Dirk] already is looking into ways to add an SD card interface to the machine.
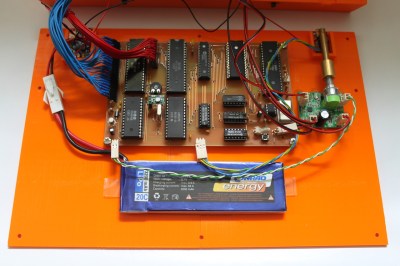 The home building didn’t stop there though. [Dirk] designed and etched his own printed circuit board (PCB) for his computer. DIY PCBs with surface mount components are easy these days, but things are a heck of a lot harder with older through hole components. Every through hole pin and via had to be drilled, and soldered to the top and bottom layers of the board. Not to mention the fact that both layers had to line up perfectly to avoid missing holes! To say this was a lot of work would be an understatement.
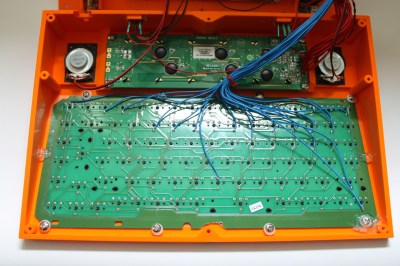 [Dirk] designed a custom 3D printed case for his computer and printed it out on his Ultimaker. To make things fit, he created his design in halves, and glued the case once printing was complete.
If awesome hardware and a case weren’t enough, [Dirk] also spent time designing software for the machine. He wrote his own abbreviated BASIC interpreter along with several BASIC programs. You can find everything over on his GitHub repository.
We always love writing up well-documented, and just generally awesome projects like [Dirk’s]. If you know of any retro computers like this one, drop us a tip!
[Thanks MicroHex!]
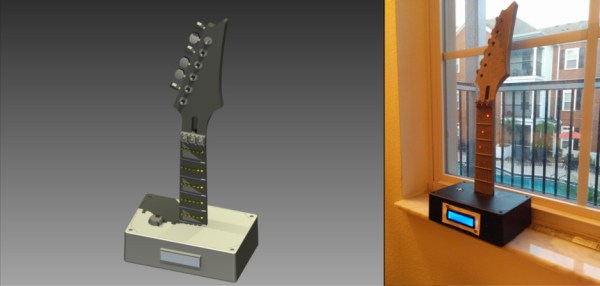
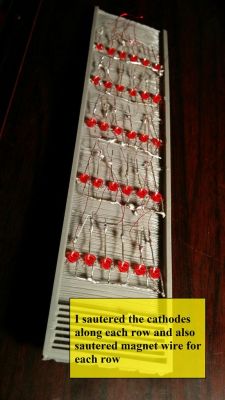 [MushfiqM] started by rendering a 3D model of an abbreviated guitar using Autodesk Inventor. He then printed his creation in 3 parts: headstock, neck, and fretboard. The neck of the guitar was hollowed out to allow room for a matrix of LEDs which would show the finger positions. [MushfiqM] then painstakingly soldered in a charlieplexed matrix of 30 leds, all connected by magnet wire. The LEDs are controlled by an Arduino UNO, which has the chord and scale charts stored in flash.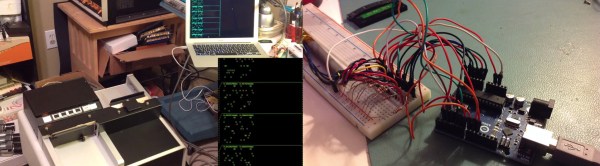

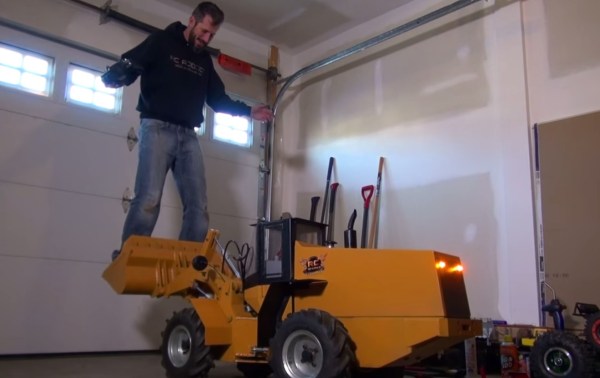
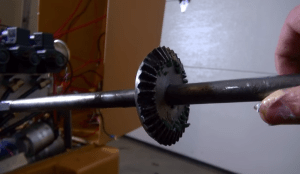 After several years of hard life, the loader came to [djMedic] in need of some TLC. The biggest issue was that the rear axle bevel gear had lost several teeth. This gear is under enormous loads when the loader is turning. A gear made of harder steel was the easy answer. Thankfully, you can order








