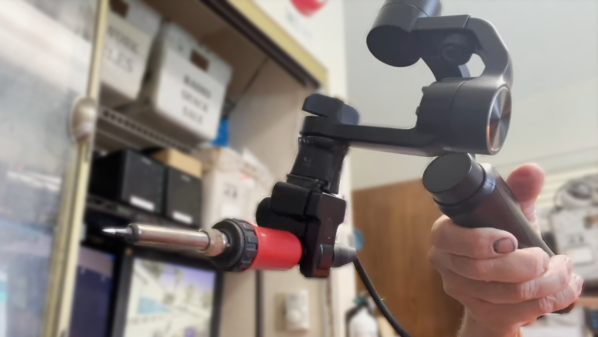
[Kerry Wong] isn’t afraid to get his hands dirty, and is always more than willing to open things up and see what makes them tick. This time, he reviews and tears down the Topshak LW-3010EC programmable DC power supply, first putting the unit through its paces, then opens it up to see how it looks on the inside.
 The Topshak LW-3010EC is in a family of reasonably economical power supplies made by a wide variety of manufacturers, which all share many of the same internals and basic construction. This one is both programmable as well as nice and compact, and [Kerry] compares and contrasts it with other power supplies in the same range as he tests the functions and checks over the internals.
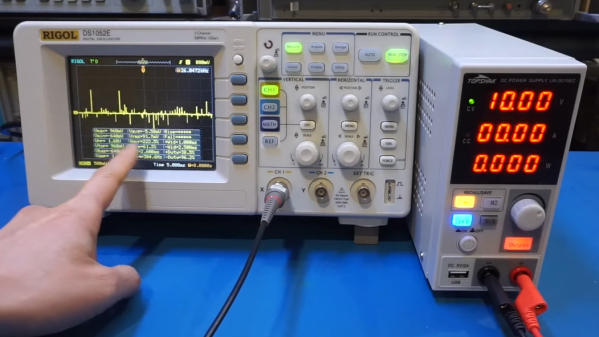
Overall, [Kerry] seems pleased with the unit. You can watch him put the device through its paces in the video embedded below, which ends with him opening it up and explaining what’s inside. If you’ve ever been curious about what’s inside one of these power supplies and how they can be expected to perform, be sure to fire up the video below the page break.
Speaking of power supplies, most of us have ready access to ATX power supplies. They are awfully capable pieces of hardware, and hackable in their own way. Our own Jenny List will tell you everything you need to know about the ATX power supply, and how to put it to new uses.
Continue reading “Review And Teardown Of Economical Programmable DC Power Supply”