Data manipulation is at the heart of computation, and a system is said to be Turing-complete if it can be configured to manipulate data in a way that makes implementing arbitrary computation possible. [Keigo Oka] shared a proof that find and mkdir together are Turing-complete, which is to say, a system with only GNU’s find and mkdir has access to enough functionality to satisfy the requirements of Turing completeness, which ignores questions of efficiency or speed.
[Keigo Oka]’s first attempt at a proof worked to implement Rule 110, an elementary cellular automata configuration that has been shown to be Turing-complete, or ‘universal’, but has been updated to implement a tag system as it’s proof, and you can see it in action for yourself.
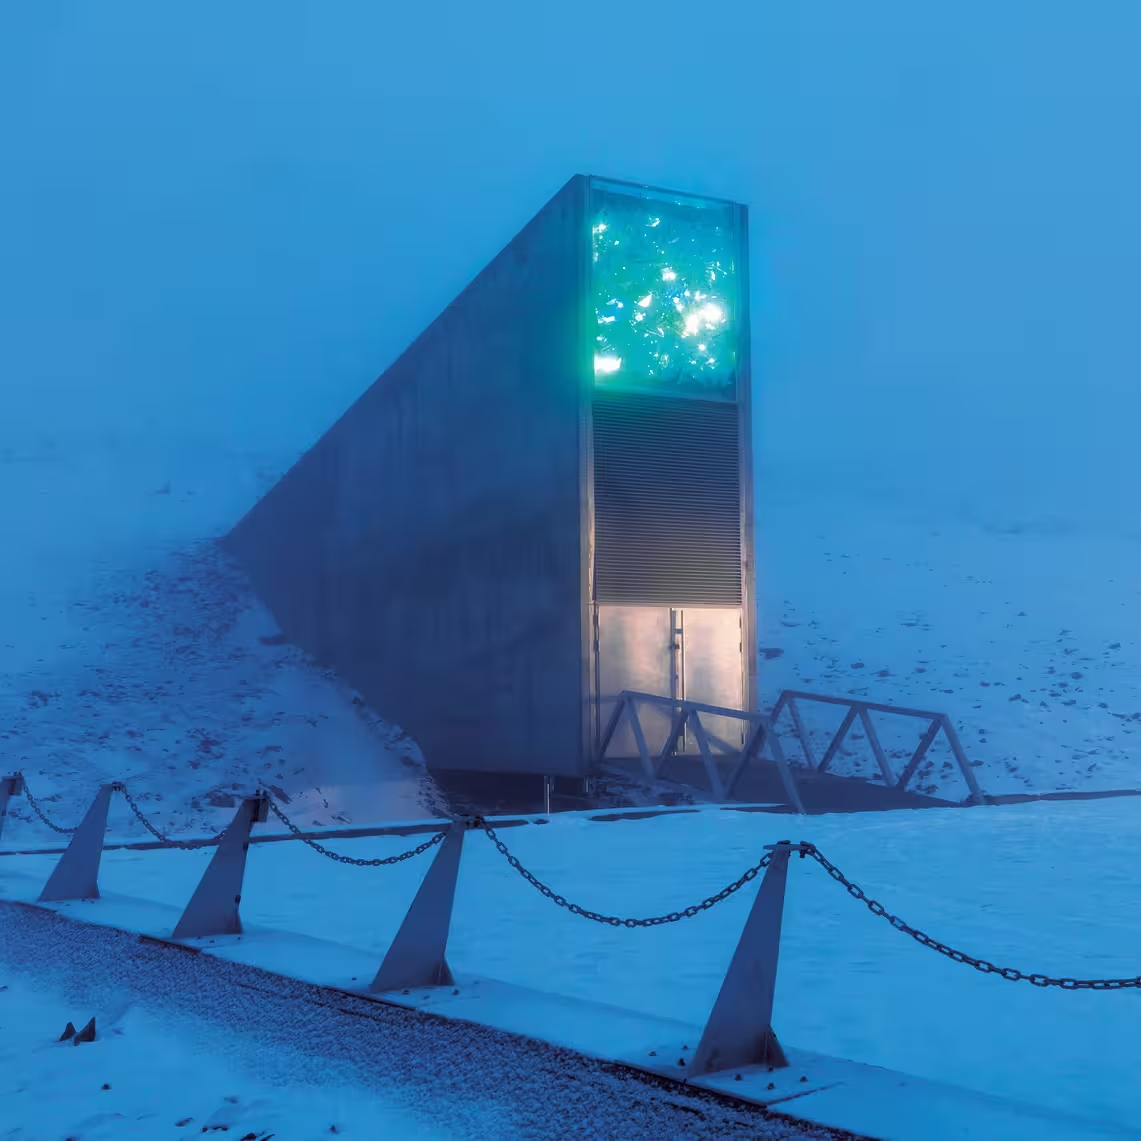
A safe haven to preserve samples of biodiversity from climate change, habitat loss, natural disaster, and other threats is recognized as a worthwhile endeavor. Everyone knows good backup practice involves a copy of critical elements at a remote location, leading some to ask: why not the moon?
A biological sample repository already exists in the form of the Svalbard global seed vault, located in a mountain on a remote island in the Arctic circle. Even so, not even Svalbard is out of the reach of our changing Earth. In 2017, soaring temperatures in the Arctic melted permafrost in a way no one imagined would be possible, and water infiltrated the facility. Fortunately the flooding was handled by personnel and no damage was done to the vault’s contents, but it was a wake-up call.
An off-site backup that requires no staffing could provide some much-needed redundancy. Deep craters near the moon’s polar regions offer stable and ultra-cold locations that are never exposed to sunlight, and could offer staffing-free repositories if done right. The lunar biorepository proposal has the details, and is thought-provoking, at least.
The moon’s lack of an atmosphere is inconvenient for life, but otherwise pretty attractive for some applications. A backup seed vault is one, and putting a giant telescope in a lunar crater is another.
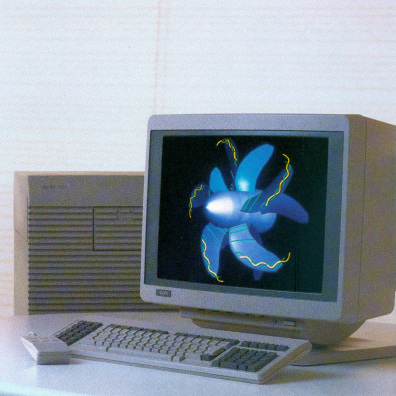
Ever heard of Apollo Computer, Inc.? They were one of the first graphical workstation vendors in the 1980s, and at the time were competitors to Sun Microsystems.
But that’s enough dry historical context. Feast your eyes on this full-color, 26-page product brochure straight from 1988 for the Series 10000 “Personal Supercomputer” featuring multiple processors and more! It’s loaded with information about their hardware and design architecture, giving a unique glimpse into just how Apollo was positioning their offerings, and the markets they were targeting with their products.
Apollo produced their own hardware and software, which meant much of it was proprietary. Whatever happened to Apollo? They were acquired by Hewlett-Packard in 1989 and eventually shuttered over the following decade or so. Find yourself intrigued? [Jim Rees] of The Apollo Archive should be your next stop for everything Apollo-oriented.
Vintage computing has a real charm of its own, but no hardware lasts forever. Who knows? Perhaps we might someday see an Apollo workstation brought to life in VR, like we have with the Commodore 64 or the BBC Micro (which even went so far as to sample the sound of authentic keystrokes. Now that’s dedication.)
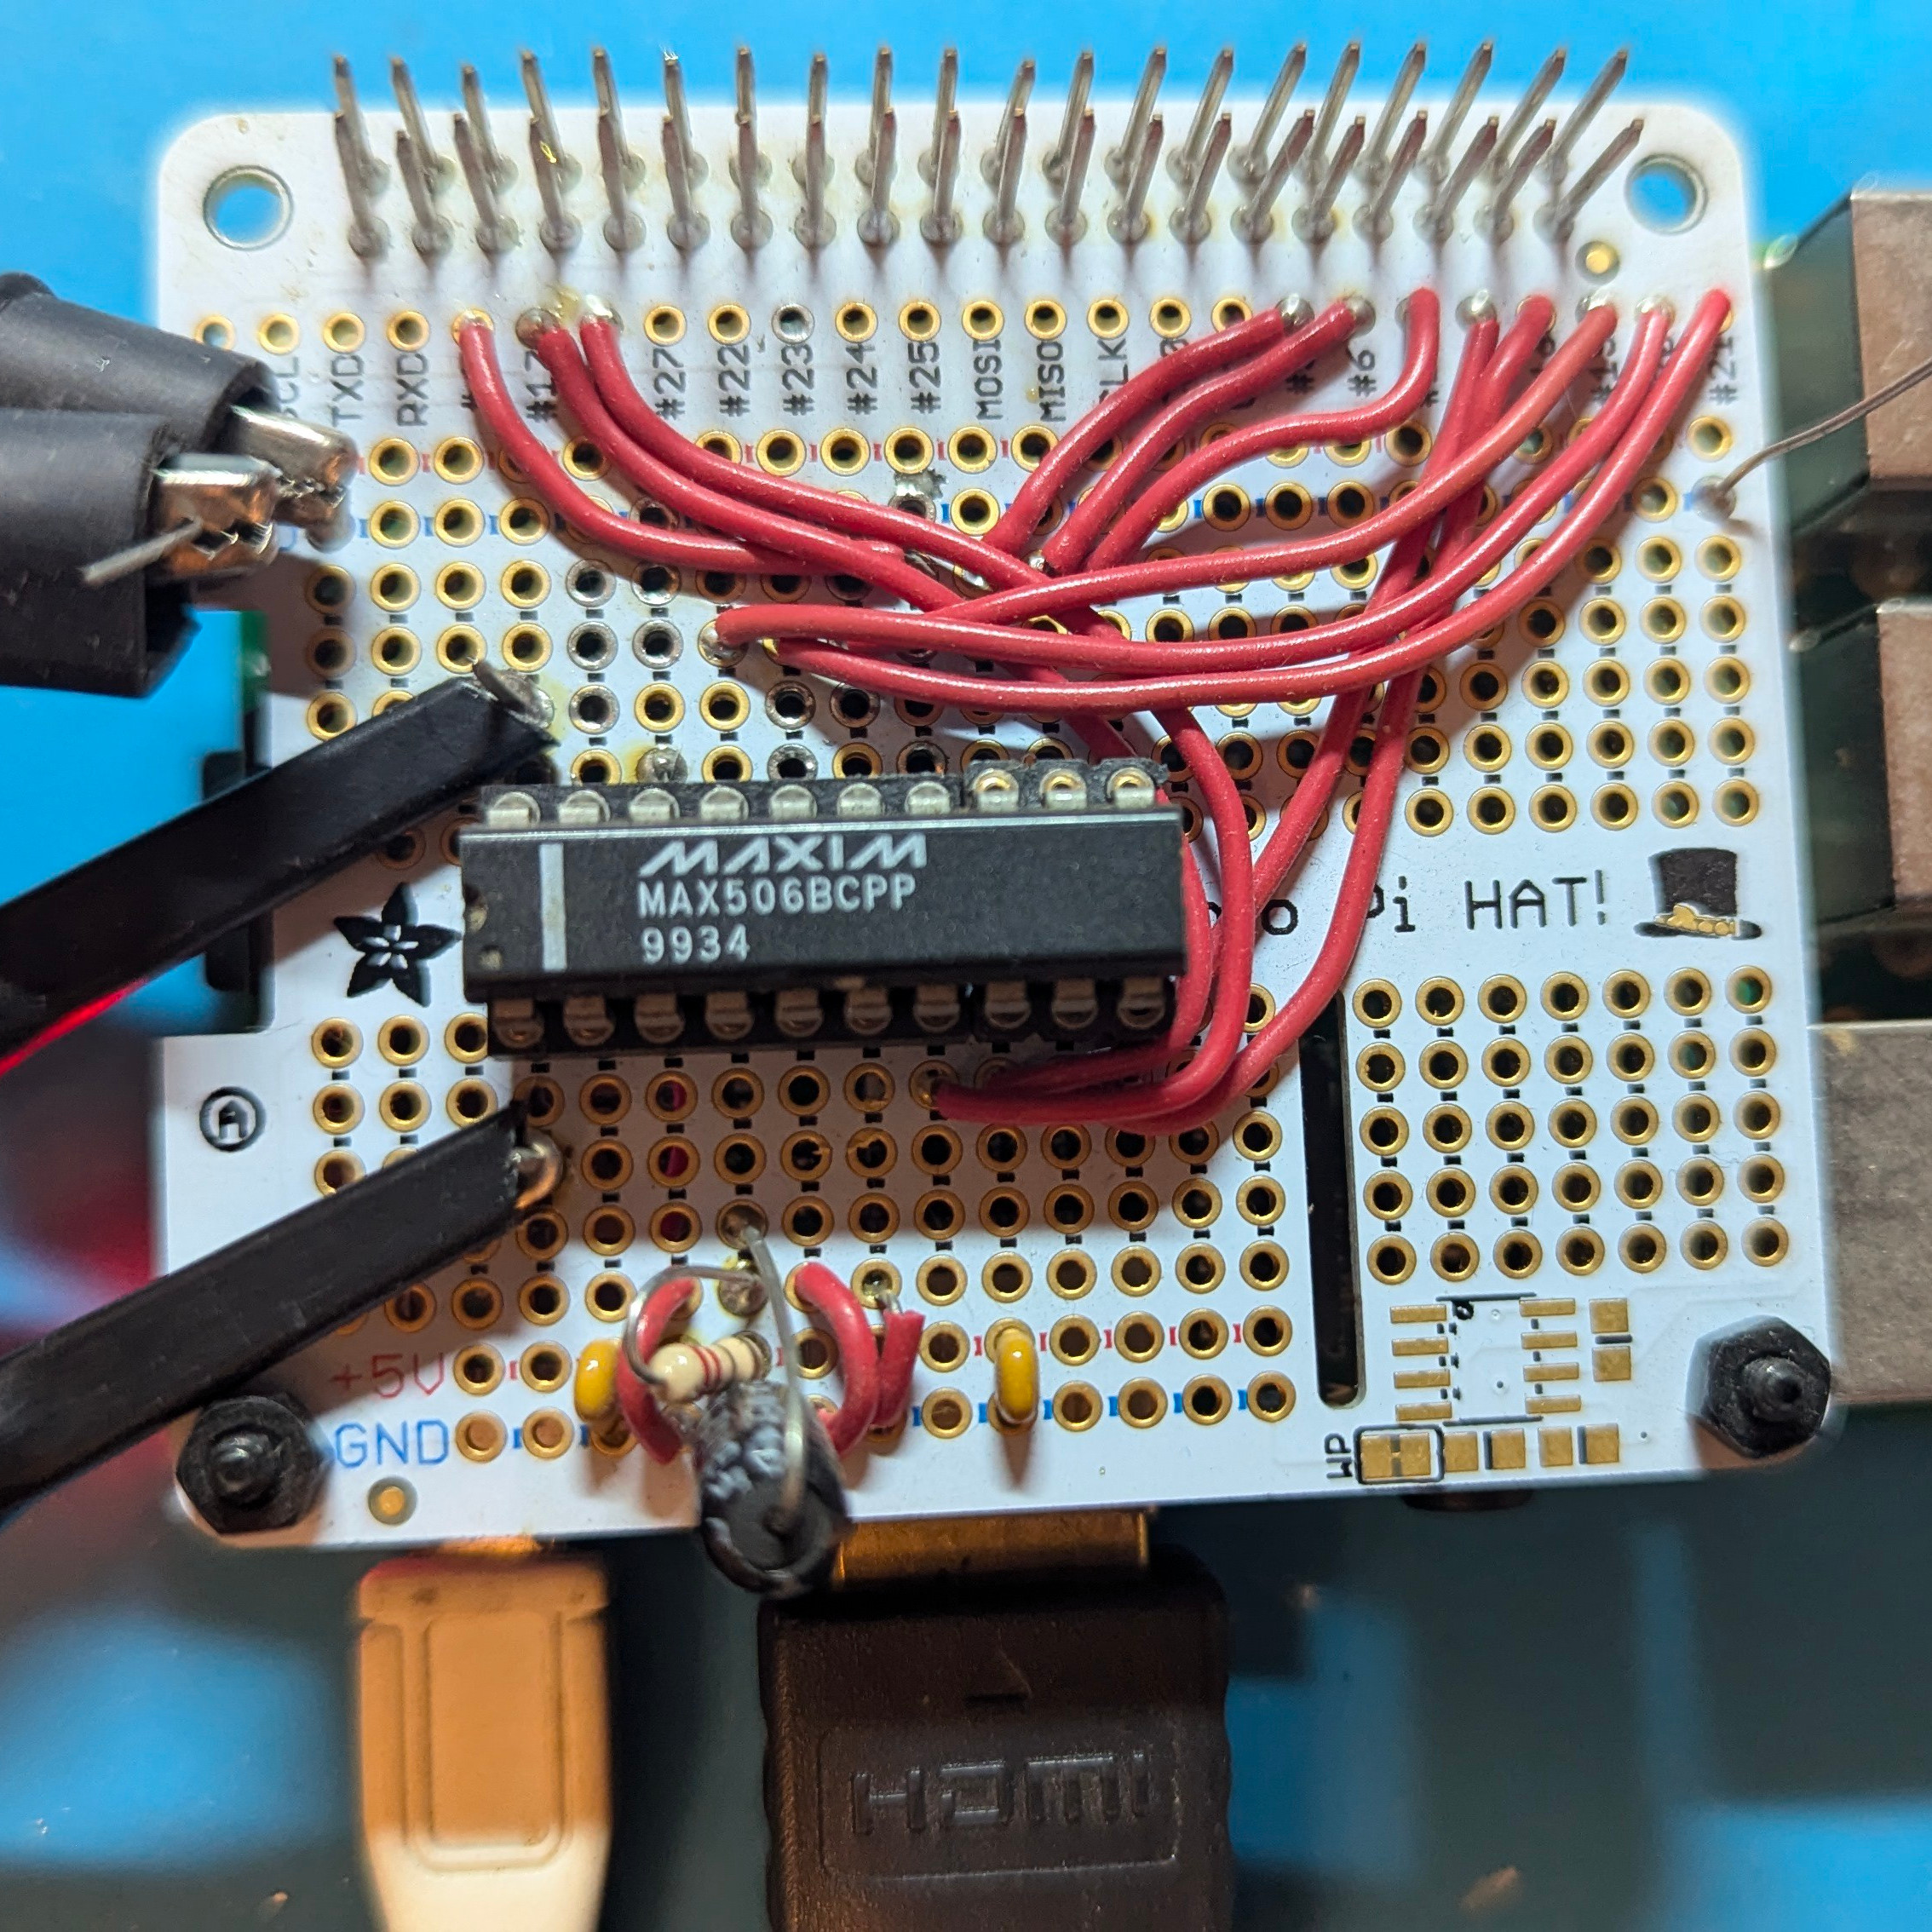
[Aaron Lager]’s Pi-O-Scope-Pong project takes a minimal approach to Pong by drawing on an oscilloscope to generate crisp paddles and ball. A Raspberry Pi takes care of the grunt work of signal generation, and even uses the two joysticks of an Xbox controller (connected to the Pi over Bluetooth) for inputs.
Originally, [Aaron] attempted to generate the necessary signals directly from the Pi’s PWM outputs by doing a little bit of RC filtering on the outputs, but was repulsed by the smeary results. The solution? An old but perfectly serviceable 8-bit MAX506 DAC now handles crisping up the visuals with high-quality analog outputs. Code is available on the project’s GitHub repository.
There isn’t any score-keeping or sound, but one thing that it has over the original Pong is a round ball. The ball in the original Pong game was square, but mainly because cost was a concern during design and generating a round ball would have ballooned the part count.
In many ways, Pong itself is a great inspiration for the Tiny Games Challenge, because the simplicity of its gameplay was likely a big part of its success.
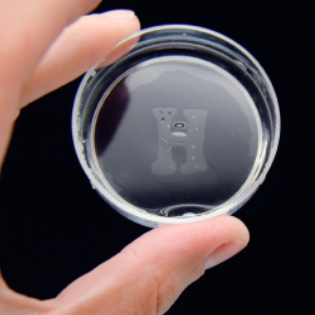
Here’s a short research paper from 2013 that explains how to create “hydroglyphics”, or writing with selecting surface wetting. In it, an apparently normal-looking petri dish is treated so as to reveal a message when wetted with water vapor. The contrast between hydrophobic and hydrophilic surfaces, which is not visible to the naked eye, becomes visible when misted with water. All it took was a mask, and a little treatment with a modified Tesla coil.
Plastics tend to be hydrophobic, meaning their surface repels water. These plastics also tend to be non-receptive to things like inks and adhesives. However, there is an industrial process called corona treatment (invented by Verner Eisby in 1951) that changes the surface energy of materials like plastics, rendering them more receptive to inks, coatings, and adhesives. Eisby’s company Vetaphone still exists today, and has a page describing the process.
What’s this got to do with the petri dishes and their secret messages? The process is essentially the same. By using a Tesla coil modified with a metal wire mesh, the surface of the petri dish is exposed to the coil’s discharge, altering its surface energy and rendering it hydrophilic. By selectively blocking the discharge with a nonconductive mask made from a foam sticker, the masked area remains hydrophobic. Mist the surface with water, and the design becomes visible.
The effects of corona treatment decay over time, but we think this is exactly the sort of thing that is worth keeping in mind just in case it ever comes in useful. Compact Tesla coils are fairly easy to get a hold of nowadays, but it’s also possible to make your own.
[Johannes] uses Stable Diffusion‘s SDXL Turbo to create a baseline image of “photo of a red brick house, blue sky”. The hardware dials act as manual controls for applying different embeddings to this baseline, such as “coral”, “moss”, “fire”, “ice”, “sand”, “rusty steel” and “cookie”.
By adjusting the dials, those embeddings are applied to the base image in varying strengths. The results are generated on the fly and are pretty neat to see, especially since there is no appreciable amount of processing time required.
The MIDI controller is integrated with the help of lunar_tools, a software toolkit on GitHub to facilitate creating interactive exhibits. As for the image end of things, we’ve previously covered how AI image generators work.
Don’t let the name of the Open-TeleVision project fool you; it’s a framework for improving telepresence and making robotic teleoperation far more intuitive than it otherwise would be. It accomplishes this in part by taking advantage of the remarkable technology packed into modern VR headsets like the Apple Vision Pro and Meta Quest. There are loads of videos on the project page, many of which demonstrate successful teleoperation across vast distances.
Teleoperation of robotic effectors typically takes some getting used to. The camera views are unusual, the limbs don’t move the same way arms do, and intuitive human things like looking around to get a sense of where everything is don’t translate well.
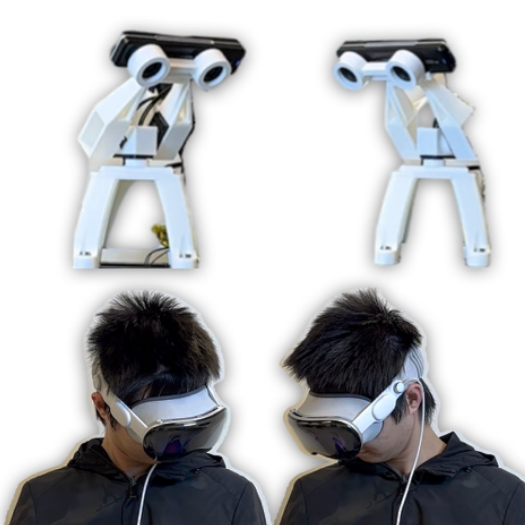
A stereo camera with gimbal streaming to a VR headset complete with head tracking seems like a very hackable design.
To address this, researches provided a user with a robot-mounted, real-time stereo video stream (through which the user can turn their head and look around normally) as well as mapping arm and hand movements to humanoid robotic counterparts. This provides the feedback to manipulate objects and perform tasks in a much more intuitive way. In short, when our eyes, bodies, and hands look and work more or less the way we expect, it turns out it’s far easier to perform tasks.
The research paper goes into detail about the different systems, but in essence, a stereo depth and RGB camera is perched with a 3D printed gimbal atop a humanoid robot frame like the Unitree H1 equipped with high dexterity hands. A VR headset takes care of displaying a real-time stereoscopic video stream and letting the user look around. Hand tracking for the user is mapped to the dexterous hands and fingers. This lets a person look at, manipulate, and handle things without in-depth training. Perhaps slower and more clumsily than they would like, but in an intuitive way all the same.
Interested in taking a closer look? The GitHub repository has the necessary code, and while most of us will never be mashing ADD TO CART on something like the Unitree H1, the reference design for a stereo camera streaming to a VR headset and mirroring head tracking with a two-motor gimbal looks like the sort of thing that would be useful for a telepresence project or two.