AI image generators have gained new tools and techniques for not just creating pictures, but modifying them in consistent and sensible ways, and it seems that every week brings a fascinating new development in this area. 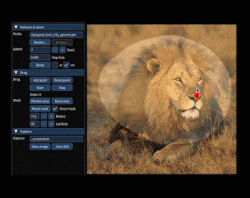 One of the latest is Drag Your GAN, presented at SIGGRAPH 2023, and it’s pretty wild.
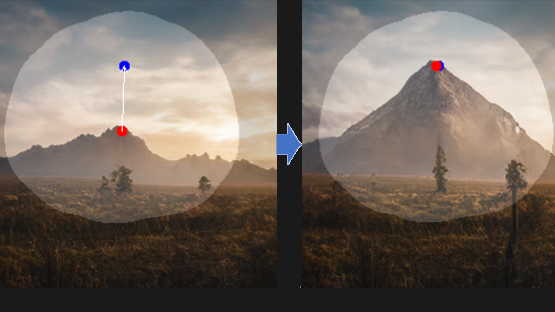
It provides a point-dragging interface that modifies images based on their implied structure. A picture is worth a thousand words, so this short animation shows what that means. There are plenty more where that came from at the project’s site, so take a few minutes to check it out.
GAN stands for generative adversarial network, a class of machine learning that features prominently in software like image generation; the “adversarial” part comes from the concept of networks pulling results between different goalposts. Drag Your GAN has a GitHub repository where code is expected to be released in June, but in the meantime, you can read the full paper or brush up on the basics of how AI image generators work, as well as see how image generation can be significantly enhanced with an understanding of a 2D image’s implied depth.