Lessons Learned: Plastic Injection Molding For Products

Injection molding is one of the technologies that makes the world go round. But what does it actually look like to go through the whole process to get a part made? [Achim Haug] wrote up a blog post that does a fantastic job of explaining what to expect when getting plastic enclosures injection molded in China.

These air quality monitors required a two-part enclosure.

Injection molding a part requires making a custom mold, which is then used by an injection molding machine in a shop to crank out parts. These are two separate jobs, but in China the typical business model is for a supplier to quote a price for both the mold as well as the part production. [Achim] describes not only what navigating that whole process was like, but also goes into detail on what important lessons were learned and shares important tips.

One of the biggest takeaways is to design the part with injection molding in mind right from the start. That means things like avoiding undercuts and changes in part thickness, as well as thinking about where the inevitable mold line will end up.

[Achim] found that hiring a been-there-done-that mold expert as a consultant to review things was a huge help, and well worth the money. As with any serious engineering undertaking, apparently small features or changes can have an outsized impact on costs, and an expert can recognize and navigate those.

In the end, [Achim] says that getting their air quality monitor enclosures injection molded was a great experience and they are very happy with the results, so long as one is willing to put the work in up front. Once the mold has been made, downstream changes can be very costly to make.

[Achim]’s beginning-to-end overview is bound to be useful to anyone looking to actually navigate the process, and we have a few other resources to point you to if you’re curious to learn more. There are basic design concerns to keep in mind when designing parts to make moving to injection molding easier. Some injection molding techniques have even proven useful for 3D printing, such as using crush ribs to accommodate inserted hardware like bearings. Finally, shadow lines can help give an enclosure a consistent look, while helping to conceal mold lines.

Micromanipulator Touches The Tiny Things, Cheaply

Some things are small and fragile enough that they cannot be held or touched by even the steadiest of hands. Such cases call for a micromanipulator, and [BYU CMR]’s DIY micromanipulator design can be 3D printed and assembled with the help of some common hardware, and a little CA glue.

You may recall an ultra-tiny Nerf-like blaster recently; clearly such a tiny mechanical device cannot be handled directly, yet needed to be loaded and have its trigger pressed. A micromanipulator is exactly the tool for such a job. This design is in fact the very same one used to move and manipulate that tiny blaster at a microscopic level.

The design doesn’t include any end effectors — those depend on one’s application — but there is a mount point for them and the manipulator can effectively move it in X, Y, and Z axes by turning three different knobs. In addition, because the structural parts can be 3D printed and the hardware is just some common nuts and screws, it’s remarkably economical which is always a welcome thing for a workshop.

Polish Up Your Product With Graphic Overlays

[Kevin Hunckler] recently did some in-house manufacturing for a product and shared his experiences in adding high-quality custom graphic overlays or acrylic panels to give the finished units a professional look. The results look great and were easy to apply, making his product more attractive without needing much assembly work.

A graphic overlay with transparent areas, a cutout, and adhesive backing to fit an off-the-shelf Hammond enclosure.

Sadly, when doing initial research he was disappointed to find very little information on the whole process. While in the end it isn’t terribly complex, it still involved a lot of trial and error before he zeroed in on what the suppliers in the industry expect. Fortunately, everything can be done with tools most hackers probably already have access to.

The process seems to us somewhat reminiscent of having PCBs manufactured. One defines the product housing, outlines the overlay, creates the artwork, defines an adhesive layer, and makes a design document explaining each layer and important feature. [Kevin] provides examples of his work, one of which fits an off-the-shelf Hammond enclosure.

Professionally-made acrylic panels or graphic overlays is something worth keeping in mind for hobbyists and those who might engage in desktop manufacturing, as long as the costs are acceptable. Rather like PCBs, costs go down as quantities go up. [Kevin]’s 50 mm x 50 mm overlay cost about 1 USD each in quantity 200, but only 0.50 USD each when buying 500.

These may be great for low or middling quantities, but that doesn’t mean one is out of options for prototypes or micro quantities. We have seen fantastic results adding full-color images to 3D prints, and even using a 3D printer to draw labels directly onto prints.

Sine-wave Speech Demonstrates An Auditory One-way Door

Sine-wave speech can be thought of as a sort of auditory illusion, a sensory edge case in which one’s experience has a clear “before” and “after” moment, like going through a one-way door.

Sine-wave speech (SWS) is intentionally-degraded audio. Here are the samples, and here’s what to do:

  1. Choose a sample and listen to the sine-wave speech version (SWS). Most people will perceive an unintelligible mix of tones and beeps.
  2. Listen to the original version of the sentence.
  3. Now listen to the SWS version again.

Most people will hear only some tones and beeps when first listening to sine-wave speech. But after hearing the original version once, the SWS version suddenly becomes intelligible (albeit degraded-sounding).

These samples were originally part of research by [Chris Darwin] into speech perception, but the curious way in which one’s experience of a SWS sample can change is pretty interesting. The idea is that upon listening to the original sample, the brain — fantastic prediction and learning engine that it is — now knows better what to expect, and applies that without the listener being consciously aware. In fact, if one listens to enough different SWS samples, one begins to gain the ability to understand the SWS versions without having to be exposed to the originals. In his recent book The Experience Machine: How Our Minds Predict and Shape Reality, Andy Clark discusses how this process may be similar to how humans gain fluency in a new language, perceiving things like pauses and breaks and word forms that are unintelligible to a novice.

This is in some ways similar to the “Green Needle / Brainstorm” phenomenon, in which a viewer hears a voice saying either “green needle” or “brainstorm” depending on which word they are primed to hear. We’ve also previously seen other auditory strangeness in which the brain perceives ever-increasing tempo in music that isn’t actually there (the Accelerando Illusion, about halfway down the list in this post.)

Curious about the technical details behind sine-wave speech, and how it was generated? We sure hope so, because we can point you to details on SWS as well as to the (free) Praat software that [Chris] used to generate his samples, and the Praat script he wrote to actually create them.

Smart Coffee Replaces Espresso Machine Controller With Arduino, Sensors

A common hacker upgrade to an espresso machine is to improve stability and performance with a better temperature controller, but [Schematix]’s Smart Coffee project doesn’t stop there. It entirely replaces the machine’s controller and provides an optional array of improvements for a variety of single-boiler machines (which is most of them).

Smart Coffee isn’t free, it costs 16 NZD (about 10 USD) but there is a free demo version. There is no official support, but there are wiring guides and sources aplenty from which to purchase the various optional parts. It runs on an Arduino MEGA 2560 PRO (or similar microcontroller) and supports a wide array of additional hardware including pressure transducer, water level sensor, flow meter, OLED display, and more.

Modification of one’s espresso machine is a rewarding endeavor, but the Smart Coffee project provides a way for one to get straight to the hacking and function modifying, instead of figuring out the wiring hardware interfacing from scratch.

We’ve seen [Schematix]’s work before with a DIY induction heater which showed off thoughtful design, and it’s clear he takes his coffee at least as seriously. Check out the highly comprehensive overview and installation video for Smart Coffee, embedded just below the page break.

Continue reading “Smart Coffee Replaces Espresso Machine Controller With Arduino, Sensors”

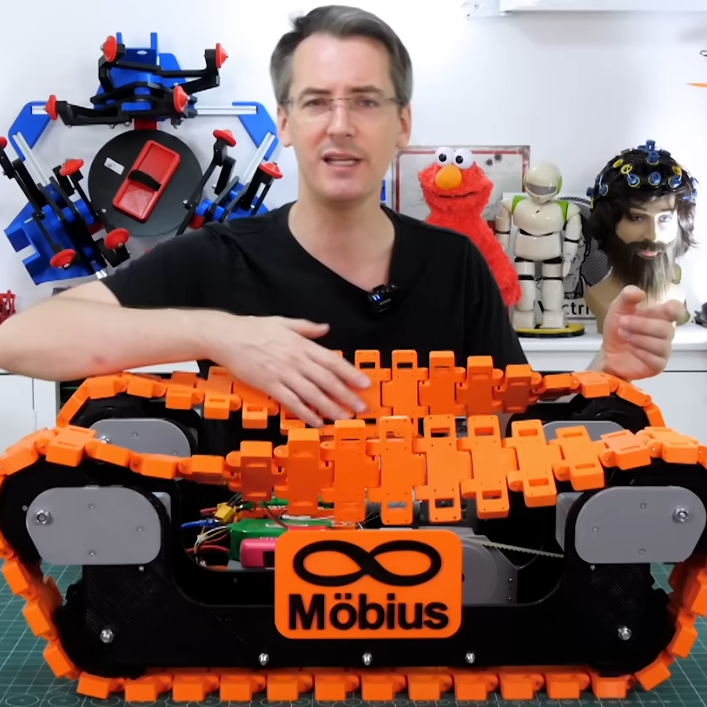
How Warehouse Robots Actually Work, As Explained By Amazon

Amazon has been using robots to manage and automate their warehouses for years. Here’s a short feature on their current robot, Hercules. This is absolutely Amazon tooting their own horn, but if you have been curious about what exactly such robots do, and how exactly they help a busy warehouse work better, it’s a good summary with some technical details.

Amazon claims to have over 750,000 robots across their network.

The main idea is that goods are stored on four-sided shelves called pods. Hercules can scoot underneath to lift and move these pods a little like a robotic forklift, except much smaller and more nimble. Interestingly, the robots avoid rotating shelves as much as possible and are designed to facilitate this. To change direction, Hercules sets the pod down, turns, then picks the pod back up.

The overall system is centralized, but Hercules itself navigates autonomously thanks to a depth-sensing camera and a grid of navigation markers present on the floor throughout the facility.  Hercules also can wirelessly sense and communicate with nearby human-worn vests and other robots outside its line of sight.

Essentially, instead of human workers walking up and down aisles of shelves to pick products, the product shelves come to the humans. This means the organization and layout of the shelves themselves can be dynamic, higher density, and optimized for efficient robotic access. Shelves do not need to be in fixed rows or aisles, conform to a human-readable categorical layout, nor do they necessarily need walking space between them.

Sometimes robots really are the right tool for the job, and our favorite product-retrieval robot remains [Cliff Stoll]’s crawlspace warehouse bot, a diminutive device made to access boxes of product — in [Cliff]’s case, Klein bottles — stored in an otherwise quite claustrophobic crawlspace.

Passive Desalination Discovers How To Avoid Salt-Clogging

Saltwater is plentiful, but no good for drinking. Desalinization is the obvious solution, but a big problem isn’t taking the salt out, it’s where all that leftover salt goes. Excess salt accumulates, crystallizes, collects, and clogs a system. Dealing with this means maintenance, which means higher costs, which ultimately limits scalability.

The good news is that engineers at MIT and in China have succeeded in creating a desalination system that avoids this problem by intrinsically flushing accumulated salt as it is created, keeping the system clean. And what’s more, the whole thing is both scalable and entirely passive. The required energy all comes from gravity and the sun’s heat.

To do this, the device is constructed in such a way that it mimics the thermohaline circulation of the ocean on a small scale. This is a process in which temperature and density differentials drive a constant circulation and exchange. In the team’s system, this ultimately flushes concentrations of salt out of the system before it has a chance to collect.

The entirely passive nature of the device, its scalability, and the fact that it could desalinate water without accumulating salt for years means an extremely low cost to operate. The operating principle makes sense, but of course, it is careful engineering that shows it is actually possible. We have seen projects leveraging the passive heating and circulation of water before, but this is a whole new angle on letting the sun do the work.