[Samuel]’s first foray into making DIY hardware authentication tokens was a great success, but he soon realized that a device intended for everyday carry and use has a few different problems to solve, compared to a PCB that lives and works on a workbench. This led to TurtleAuth 2.1, redesigned for everyday use and lucky for us all, he goes into detail on all the challenges and solutions he faced.
 When we covered the original TurtleAuth DIY security token, everything worked fantastically. However, the PCB layout had a few issues that became apparent after a year or so of daily use. Rather than 3D print an enclosure and call it done, [Samuel] decided to try a different idea and craft an enclosure from the PCB layers themselves.
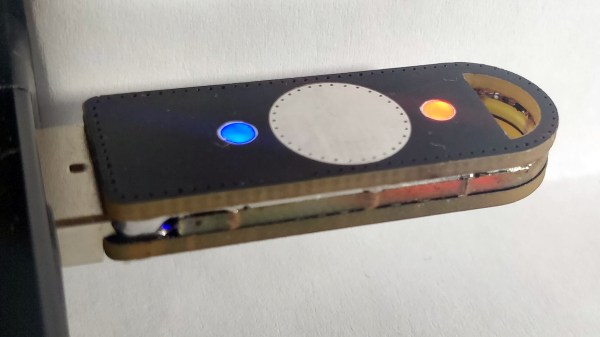
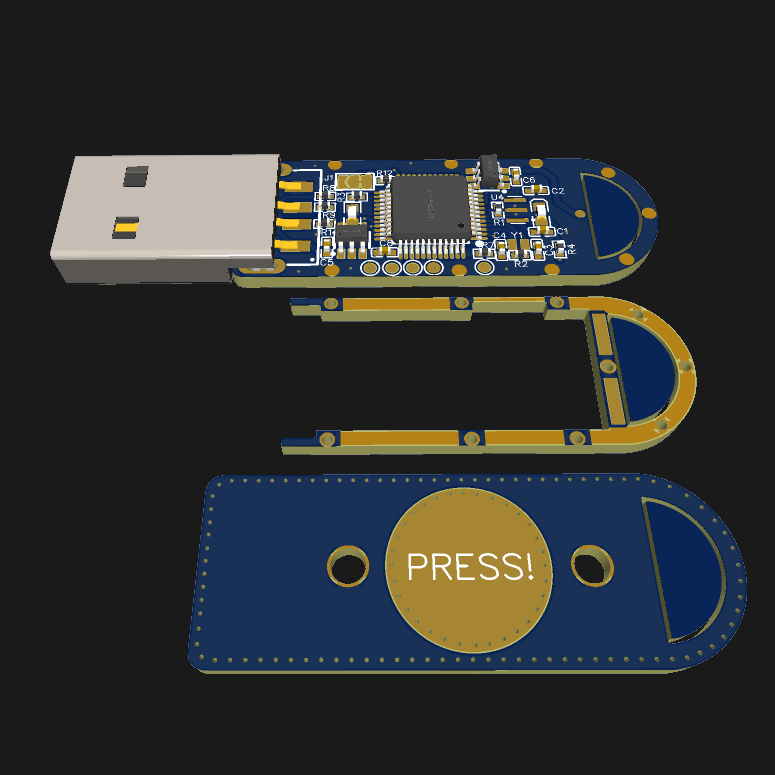
The three-layered PCB sandwich keeps components sealed away and protected, while also providing a nice big touch-sensitive pad on the top, flanked by status LEDs. Space was a real constraint, and required a PCB redesign as well as moving to 0402 sized components, but in the end he made it work. As for being able to see the LEDs while not having any component exposed? No problem there; [Samuel] simply filled in the holes over the status LEDs with some hot glue, creating a cheap, effective, and highly durable diffuser that also sealed away the internals.
Making enclosures from PCB material can really hit the spot, and there’s no need to re-invent the wheel when it comes to doing so. Our own [Voja Antonic] laid out everything one needs to know about how to build functional and beautiful enclosures in this way.