Launch Pad For Air-Water Rockets Is Good Clean Fun For STEM Students

We have fond memories of air-water rockets, which were always a dime store purchase for summertime fun in the pool. Despite strict guidance from mom to shoot them only straight up, the first target was invariably a brother or friend on the other side of the pool. No eyes were lost, and it was good clean fun that was mercifully free of educational value during summer break.
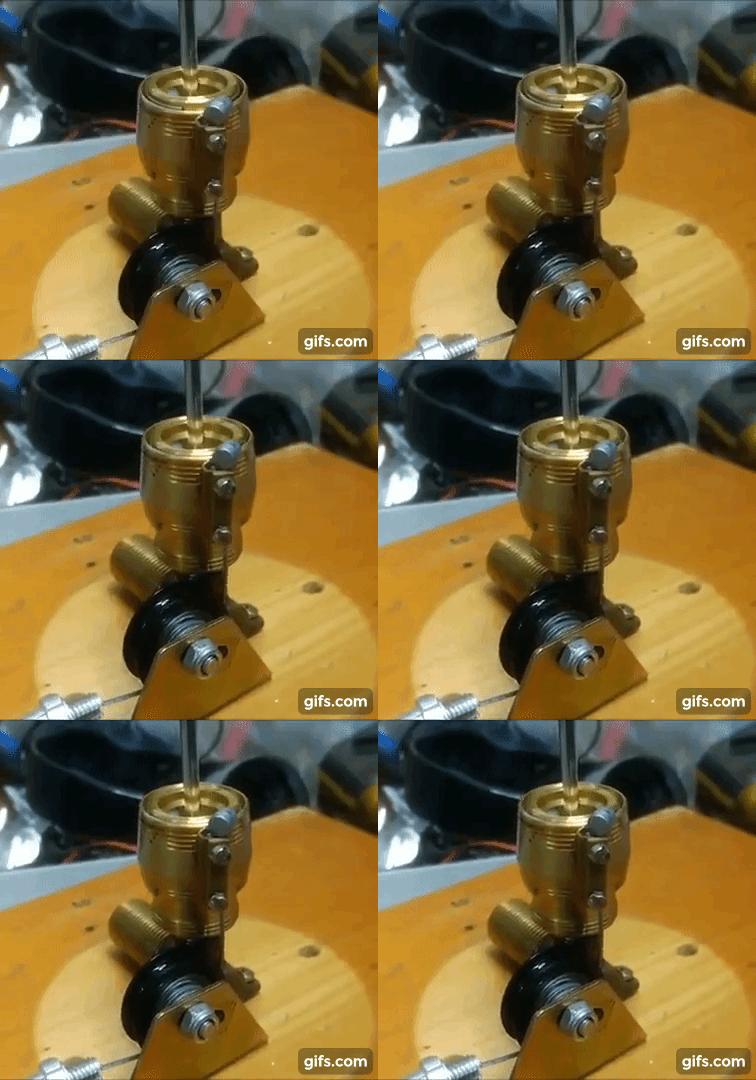
But now a teacher has gone and ruined all that by making an air-water rocket launching pad for his STEM students. Just kidding — [Robert Hart] must be the coolest teacher in Australia when Friday launch days roll around. [Mr. Hart] wanted a quick and easy way to safely launch air-water rockets and came up with a pretty clever system. The core task is to pump air into the partially filled water bottle and then release it cleanly. [Robert] uses quick-disconnect fittings, with the female coupling rigged to a motor through a bicycle brake cable. The control box has a compressor, the release motor, and a wireless alarm remote, all powered by a 12-volt battery. With the male coupling glued to the cap of a bottle acting as a nozzle and a quick, clean release, flights are pretty spectacular.

There are many ways to launch an air-water rocket, from the simple to the complex. [Robert]’s build leans toward the complex, but looks robust enough for repeated use and makes the launch process routine so the kids can concentrate on the aerodynamics. Or to just enjoy being outdoors and watching things fly.

Continue reading “Launch Pad For Air-Water Rockets Is Good Clean Fun For STEM Students”
3D-Printed Halbach Motor Part Two: Tuning, Testing

Building your own Halbach-effect brushless DC motor is one thing. Making sure it won’t blow up in your face another matter, and watching how [Christoph Laimer] puts his motor to the test is instructive.

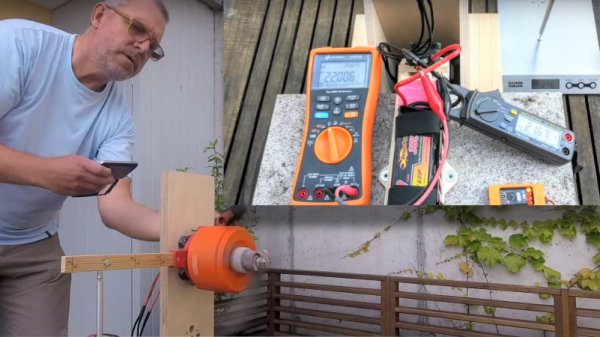
You’ll remember [Christoph]’s giant 3D-printed BLDC motor from a recent post where he gave the motor a quick test spin. That the motor held together under load despite not being balanced is a testament to the quality of his design and the quality of the prints. But not wishing to tempt fate, and having made a few design changes, [Christoph] wisely chose to perform a static balancing of the rotor. He also made some basic but careful measurements of the motor’s parameters, including the velocity constant (Kv) using an electric drill, voltmeter, and tachometer, and the torque using a 3D-printed lever arm and a kitchen scale. All his numbers led him to an overall efficiency of 80%, which is impressive.

[Christoph] is shipping his tested BLDC off to the folks at FliteTest, where he hopes they put it to good use. They probably will — although they might ask for three more for a helicarrier.

Continue reading “3D-Printed Halbach Motor Part Two: Tuning, Testing”

This Way To The Ingress: Keeping Stuff Dry And Clean With IP And NEMA

When designing a piece of hardware that has even the faintest chance of being exposed to the elements, it’s best to repeat this mantra: water finds a way. No matter how much you try to shield a project from rain, splashing, or even just humid air, if you haven’t taken precautions to seal your enclosure, I’ll bet you find evidence of water when you open it up. Water always wins, and while that might not be a death knell for your project, it’s probably not going to help. And water isn’t the only problem that outdoor or rough-service installations face. Particle intrusion can be a real killer too, especially in an environment where dust can be conductive.

There’s plenty you can do to prevent uninvited liquid or particulate guests to your outdoor party, but it tends to be easier to prevent the problem at design time than to fix it after the hardware is fielded. So to help you with your design, here’s a quick rundown of some standards for protection of enclosures from unwanted ingress.

Continue reading “This Way To The Ingress: Keeping Stuff Dry And Clean With IP And NEMA”

Fly Across The Water On A 3D-Printed Electric Hydrofoil

Paddleboards, which are surfboard-like watercraft designed to by stood upon and paddled around calm waters, are a common sight these days. So imagine the surprise on the faces of beachgoers when what looks like a paddleboard suddenly but silently lurches forward and rises up off the surface, lifting the rider on a flight over the water.

That may or may not be [pacificmeister]’s goal with his DIY 3D-printed electric hydrofoil, but it’s likely the result. Currently at part 12 of his YouTube playlist in which he completes the first successful lift-off, [pacificmeister] has been on this project for quite a while and has a lot of design iterations that are pretty instructive — we especially liked the virtual reality walkthrough of his CAD design and the ability to take sections and manipulate them. All the bits of the propulsion pod are 3D-printed, which came in handy when the first test failed to achieve liftoff. A quick redesign of the prop and duct gave him enough thrust to finally fly.

There are commercially available e-foils with a hefty price tag, of course; the header image shows [pacificmeister] testing one, in fact. But why buy it when you can build it? We’ve seen a few hydrofoil builds before, from electric-powered scale models to bicycle powered full-size craft. [pacificmeister]’s build really rises above, though.

[pacificmeister], if you’re out there, this might be a good entry in the Hackaday Prize Wheels, Wings, and Walkers round. Just sayin’.

Continue reading “Fly Across The Water On A 3D-Printed Electric Hydrofoil”

Copper, Brass, Mahogany, And Glass Combine In Clock With A Vintage Look

No two words can turn off the average Hackaday reader faster than “Nixie” and “Steampunk.” But you’re not the average Hackaday reader, so if you’re interested in a lovely, handcrafted timepiece that melds modern electronics with vintage materials, read on. But just don’t think of it as a Nixie Steampunk clock.

No matter what you think of the Steampunk style, you have to admire the work that went into [Aeon Junophor]’s clock, as well as his sticktoitiveness –he started the timepiece in 2014 and only just finished it. We’d wager that a lot of that time was spent finding just the right materials. The body and legs are copper tube and some brass lamp parts, the dongles for the IN-12A Nixies are copper toilet tank parts and brass Edison bulb bases, and the base is a fine piece of mahogany. The whole thing has a nice George Pal’s Time Machine vibe to it, and the Instructables write-up is done in a pseudo-Victorian style that we find charming.

If you haven’t had enough of the Nixie Steampunk convergence yet, check out this Nixie solar power monitor, or this brass and Nixie clock. And don’t be bashful about sending us tips to builds in this genre — we don’t judge.

Continue reading “Copper, Brass, Mahogany, And Glass Combine In Clock With A Vintage Look”

Dual-Purpose DIY Spot Welder Built With Safety In Mind

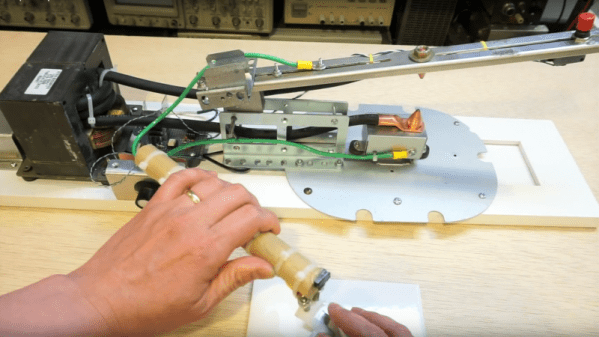
Ho-hum, another microwave oven transformer spot welder, right? Nope, not this one — [Kerry Wong]’s entry in the MOT spot welder arms race was built with safety in mind and has value-added features.

As [Kerry] points out, most MOT spot welder builds use a momentary switch of some sort to power the primary side of the transformer. Given that this means putting mains voltage dangerously close to your finger, [Kerry] chose to distance himself from the angry pixies and switch the primary with a triac. Not only that, he optically coupled the triac’s trigger to a small one-shot timer built around the venerable 555 chip. Pulse duration control results in the ability to weld different materials of varied thickness rather than burning out thin stock and getting weak welds on the thicker stuff. And a nice addition is a separate probe designed specifically for battery tab welding — bring on the 18650s.

Kudos to [Kerry] for building in some safety, but he may want to think about taking off or covering up that ring when working around high current sources. If you’re not quite so safety minded, this spot welder may or may not kill you.

Continue reading “Dual-Purpose DIY Spot Welder Built With Safety In Mind”

The PDP-1: The Machine That Started Hacker Culture

One of my bucket list destinations is the Computer History Museum in Mountain View, California — I know, I aim high. I’d be chagrined to realize that my life has spanned a fair fraction of the Information Age, but I think I’d get a kick out of seeing the old machines, some of which I’ve actually laid hands on. But the machines I’d most like to see are the ones that predate me, and the ones that contributed to the birth of the hacker culture in which I and a lot of Hackaday regulars came of age.

If you were to trace hacker culture back to its beginning, chances are pretty good that the machine you’d find at the root of it all is the Digital Equipment Corporation’s PDP-1. That’s a tall claim for a machine that was introduced in 1959 and only sold 53 units, compared to contemporary offerings from IBM that sold tens of thousands of units. And it’s true that the leading edge of the explosion of digital computing in the late 50s and early 60s was mainly occupied by “big iron” machines, and that mainframes did a lot to establish the foundations for all the advances that were to come.

Continue reading “The PDP-1: The Machine That Started Hacker Culture”