To say that 2020 was a transformative year would be something of an understatement. The COVID-19 pandemic completely changed the way we worked, learned, and lived. Despite all those jokes about how much time people spend on their devices rather than interacting face-to-face with other humans, it turns out that when you can’t get more than a few people together in the same room, it throws our entire society into disarray.
Our community had to rethink how we congregated, and major events like HOPE, DEF CON, and even our own Hackaday Supercon, had to be quickly converted into virtual events that tried with varying degrees of success to capture the experience of hundreds or thousands of hackers meeting up in real life. While few would argue that a virtual hacker convention can ever truly replace a physical one, we learned there are undeniable benefits to embracing the advantages offered by cyberspace. If nothing else, the virtual hacker meetups of 2020 saw a far larger and more diverse array of attendees and presenters than ever before.
 As we begin seeing the first rays of light at the end of the long, dark, tunnel we’ve been stuck in, it’s clear that some of the changes that COVID-19 forced on our community are here to stay. As eager as we all are to get back to the epic hackfests of old, nobody wants to close the door on all those who would be unable to attend physically now that they’ve gotten to peek behind the curtain.
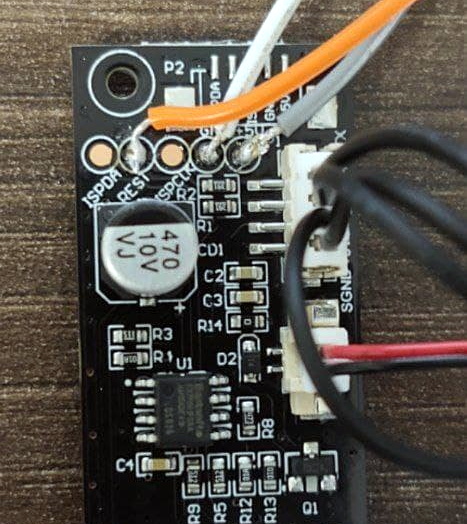
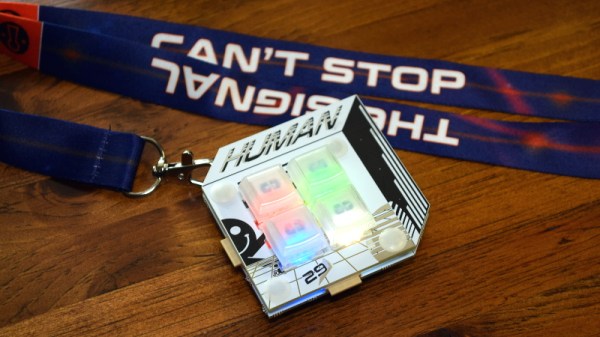
With this in mind, this year’s DEF CON is being presented in both physical and virtual forms simultaneously. If you made to Las Vegas, great. If not, you can follow along through chat rooms and video streams from the comfort of your own home. Following the theme, the DC29 badge is not only a practical tool for virtual attendees, but an electronic puzzle for those who are able to bring a few of them together physically. Let’s take a closer look at this socially distanced badge and the tech that went into it.
Continue reading “Hands On: DEF CON 29 Badge Embraces The New Normal”