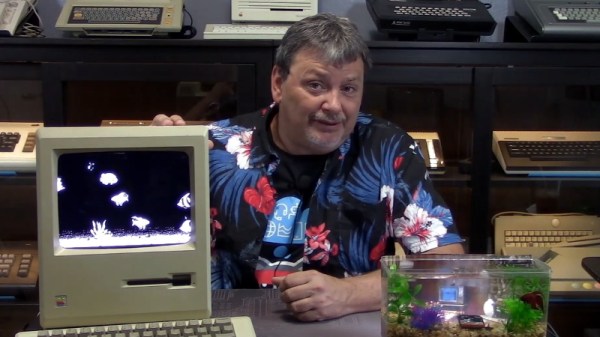
Like many before it, this Mac 512K case was originally slated to get turned into a kitschy desktop aquarium. But its owner never found the time to take on the project, and instead gave it to [Tony Landi]. Luckily, he decided to forgo the fish and instead outfit the case with a new LCD display and Raspberry Pi to emulate Mac OS 7.5.
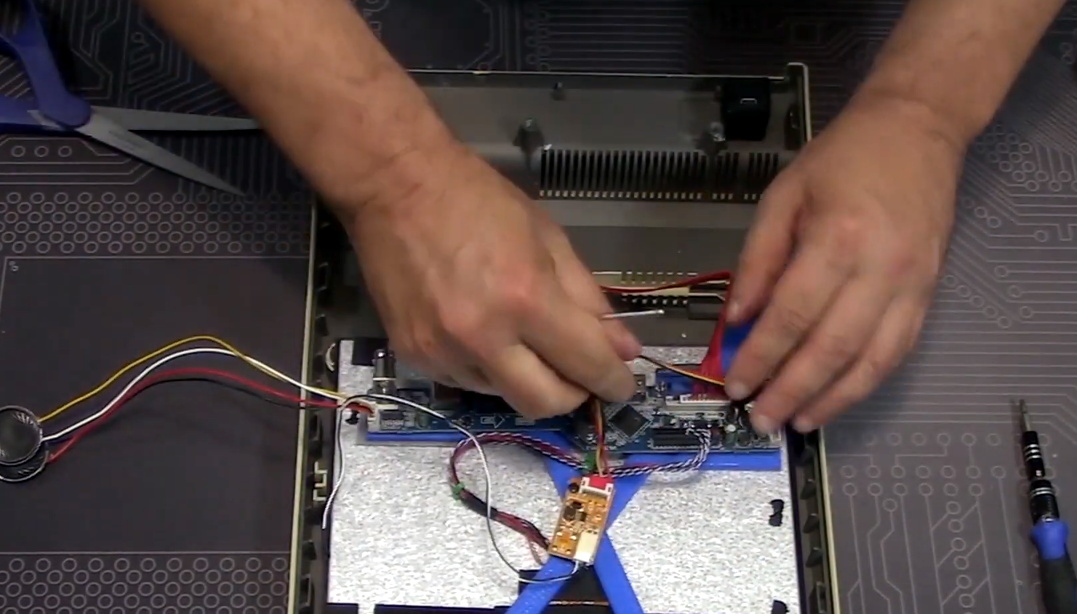
In the video after the break, [Tony] walks viewers through the process of mounting the new components into the nearly 30+ year old enclosure. Things are naturally made a lot easier by the fact that the modern electronics take up a small fraction of the Mac’s internal volume. Essentially the only things inside the case are the 10 inch 4:3 LCD panel, the Raspberry Pi, and a small adapter that turns the Mac’s pre-ADB keyboard into standard USB HID.
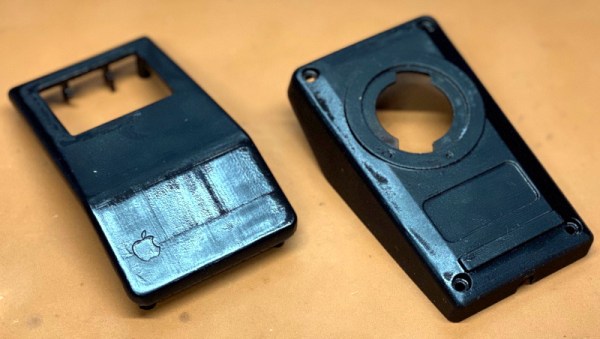
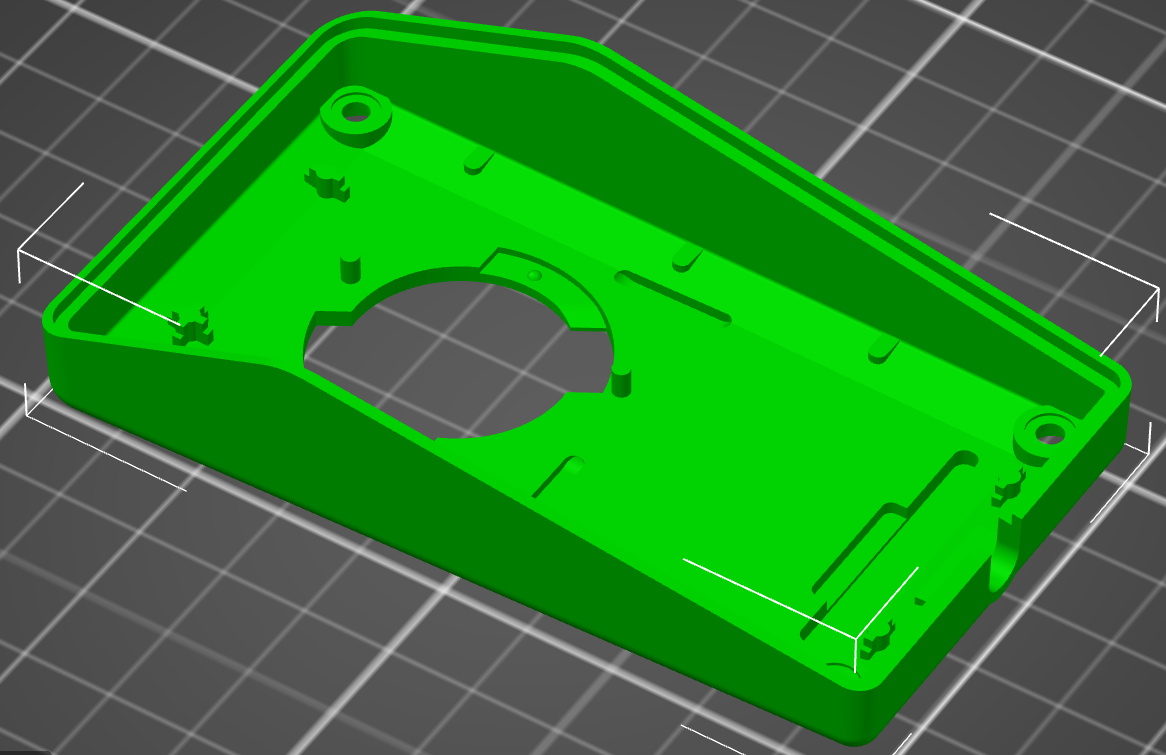
[Tony] had to design a 3D printed adapter to mount the modern LCD panel to the Mac’s frame, and while he was at it, he also came up with printable dummy parts to fill in the various openings on the case that are no longer necessary. The mock power switch on the back and the static brightness adjustment knob up front are nice touches, and the STLs for those parts will certainly be helpful for others working on similar Mac conversions.
With the hardware out of the way, [Tony] switches gears and explains how he got the emulated Mac OS environment up and running on the Raspberry Pi. Again, even if you don’t exactly follow his lead on this project, his thorough walk-through on the subject is worth a watch for anyone who wants to mess around with Apple software from this era.
Continue reading “Pi Saves Vintage Mac Case From A Watery Grave”