3D Mouse Drives Robot Arm

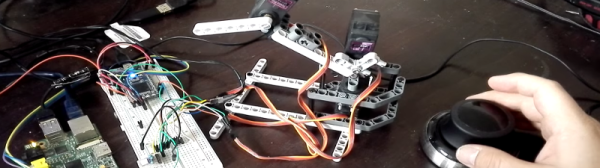
You’ve built the perfect robotic arm. How do you drive it? If you are [angrymop] you interface a 3D mouse from 3DConnexion via a few microcontroller boards. The Spacenavigator mouse is a staple anywhere professional CAD people are working, and it looks like it is a natural fit for a robot arm.

According to [angrymop], the Raspberry Pi can read the mouse’s commands via /dev/hidraw (that’s the raw human interface device). Each motion generates two lines of output. Each line has a unique identifying byte and values corresponding to the axis positions.

The Raspberry Pi then uses an SPI interface to talk to an ARM microcontroller and that drives the servos. The arm (the robot arm, not the processor) itself is well done, made from Lego Technic parts and common RC servos. Not that this is the most amazing thing we’ve ever seen built from Technic, but it is still pretty impressive.

You have to wonder if other 3D controllers might be useful for controlling robot arms or how the Spacenavigator would do controlling a bigger, more capable arm. Then again, maybe this arm would be the right size to build something inspired by Escher.
Continue reading “3D Mouse Drives Robot Arm”

Simple One-Chip Regenerative Receiver

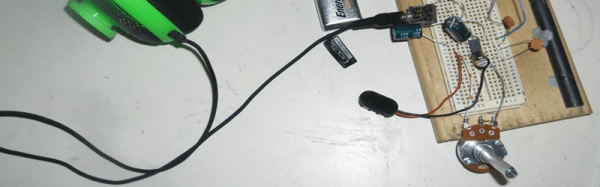
Crystal radios may be the simplest kind to make, but regenerative receivers are more practical and only a little more complicated. A recent design by [Selenium] is super simple because it uses a single LM386 audio amplifier IC.

You might be surprised that you can convert an audio amplifier to a receiver using just a handful of components (a variable capacitor, a coil, a handful of capacitors, and a speaker). However, [Selenium] realized he could subvert the gain and bypass pins to cause regeneration and wound up with a very simple receiver.

If you haven’t looked at regenerative receivers before, the principle is simple (and dates back to 1912). An oscillator is an amplifier that gets (theoretically) an infinite amount of gain at one particular frequency. A regenerative receiver is just an amplifier that is almost (but not quite) at the point of oscillation. This gives it very high frequency-specific gain and a measure of selectivity. You can also nudge the receiver just into oscillation to receive CW or SSB signals.

[Selenium] built his prototype on an old receiver chassis because it had the IC and the variable capacitor already in place. However, others have built successful copies on breadboards ([Austin Heller] created several good looking breadboard versions) and on PCB material. [Selenium] also released some other unique LM386-based designs that use more parts (and, probably, have better performance). Looks like a simple way to build a practical receiver.

The Three Dollar Frequency Standard

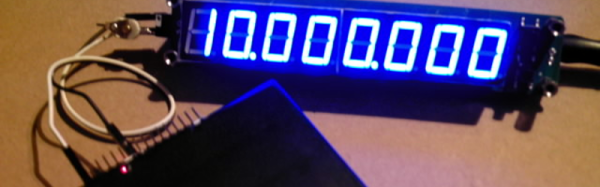
[Paulie] over on the EEVBlog forums picked up an inexpensive frequency counter on eBay and realized it was just a little bit off. As a result, he decided to build a frequency standard. His build wound up costing him about $3 and he shared the design and the software for it.

The hardware design is very simple: a TCXO (also from eBay), an ATMega8, a pushbutton, and a AA battery with DC to DC converter to power the whole thing. The software does all the work, providing frequencies from 10MHz down to a few hundred hertz (including some common audio test frequencies).

If you haven’t worked with a TCXO before, it is a crystal oscillator that includes a temperature compensation circuit to pull the crystal frequency up or down depending on temperature. Although crystal oscillators are pretty accurate already, adding this temperature compensation improves accuracy over the design temperature dramatically (typically, 10 to 40 times better than a naked crystal oscillator). If you want to learn more about TCXOs, here’s a good write-up.
A TCXO isn’t as good as an OCXO (where the first O stands for Oven). However, OCXOs cost more, are larger, and drain batteries (after all, it is running an oven). You can even hack your own OCXO, but it is going to cost more than $3.

If you want to see the real guts of one TCXO, check out the video.

Continue reading “The Three Dollar Frequency Standard”

Retro TO-3 Switching Voltage Regulator

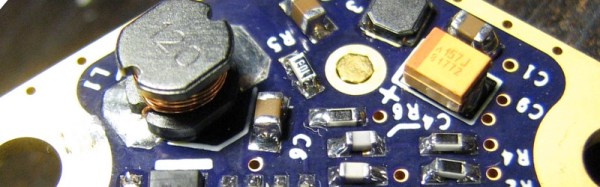
Restoring old gear often means replacing unavailable parts with modern equivalents. [Alex Eisenhut] needed to replace some old TO-3 voltage regulators and decided to make an authentic-looking switching power supply replacement. These three pin metal cans were very common, especially the LM340 5V regulator which was, of course, a linear regulator. Today, you are more likely to see a 7805 in a TO-220 case or something surface mount for a comparable linear regulator.

As you might expect, the board uses surface mount components. [Alex] used Mill Max machine pins to match the original regulator footprint and calls the regulator Ton3y. He plans to cover it up with a 3D printed lid, but it seems a shame to hide the fine PCB work.

In the pictures, you can see that the machine pins are a tight fit. [Alex] used a hammer to lightly tap them into place. Of course, the original TO-3 regulators were linear and would generate a lot of heat. The Ton3y, as you’d expect from a switching power supply, runs cool (according to the scientific measurement made with [Alex]’s pinky finger) and surely has a wider input voltage range and more output current capacity.

We’ve seen replacement switching regulators before, but this one is really a work of art.

It Keeps On Going And… Arduino Edition

How long can you keep an Arduino circuit running on three AA batteries? With careful design, [educ8s] built a temperature sensor that lasts well over a year on a single charge of three 2250 mAH rechargeable cells (or, at least, should last that long).

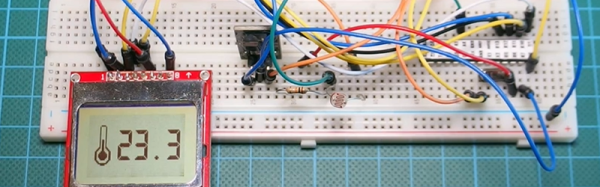
Like most long-life designs, this temperature sensor spends most of its time sleeping. The design uses a DS18B20 temperature sensor and a Nokia 5110 LCD display. It also uses a photoresistor to shut off the LCD display in the dark for further power savings.

During sleep, the device only draws 260 microamps with the display on and 70 microamps with the display off. Every two minutes, the processor wakes up and reads the temperature, drawing about 12 milliamps for a very short time.

Along with the code, [educ8s] has a spreadsheet that computes the battery life based on the different measured parameters and the battery vendor’s claimed self discharge rate.

Of course, with a bigger battery pack, you could get even more service from a charge. If you need a refresher on battery selection, we covered that not long ago. Or you can check out a ridiculously complete battery comparison site if you want to improve your battery selection.

Continue reading “It Keeps On Going And… Arduino Edition”

Arduino (PCI) Express

It is almost impossible these days to find a PC with old ISA card slots. Full size PCI card slots are in danger of going the same way. Many PCs today feature PCI Express connectors. PCI Express offers a lot of advantages including a small size, lower pin count, and a point-to-point serial bus topology that allows multiple simultaneous transfers between different pairs of end points. You’ll find PC Express connectors in things other than PCs too, including a lot of larger embedded systems.

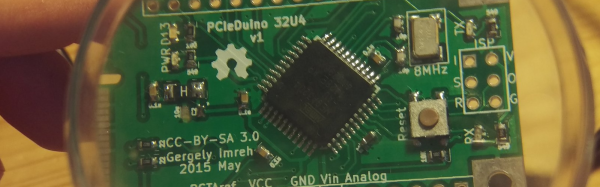
If you ever wanted to prototype something on PCI Express, you’d usually turn to an FPGA. However, [moonpunchorg] posted a workable design for an Arduino on a mini PCI Express board. (As [imroy264] points out in the comments, the board is using the USB port present on the PCI-E connector.) The design files use KiCAD so it should be fairly easy to replicate or change. Naturally, there are pins on the edges to access I/O ports and power. You do need to use ISP to program the Arduino bootloader on the chip.

The board appears to a host computer as a SparkFun as a Pro Micro 3.3V board, and from there you could easily add function to a computer with a PCI Express slot using nothing more than the Arduino IDE. The board is known to work with the VIA VAB-600 Springboard and VIA VAB-820 boards, although it is likely to work with other PCI Express hosts, too.

Another IoT Platform In The (Blue)Mix

Many major companies (Intel, Oracle, Atmel, and IBM, for example) are competing to be the standard interconnect fabric for the Internet of Things. As a developer, it is hard to cut through the marketing hype and decide which platform is the best for you and your application. Luckily, there’s a plethora of projects on the web that showcase these frameworks. These project sites are an easy way to evaluate the strengths and weaknesses of IoT frameworks in practical applications without having to develop prototypes yourself.

[diyhacking], for example, posted a demo of using IBM’s Bluemix along with a Raspberry Pi, to do some simple home automation tasks. The project hardware is modest, using a PIR motion sensor and a relay to control an AC load. However, that’s good because it lets you focus on the Bluemix tools. The example client and server software is less than 200 lines of Python.

Bluemix looks like it has good integration with the Raspberry Pi and features a simulator so you can work without real hardware for development. Bluemix does offer a free plan (with limits), but the fee options may be a turn off to some IoT hackers.

Continue reading “Another IoT Platform In The (Blue)Mix”